Create a Plugin
This guide covers creating a plugin and adding components to it. For the fields on each component form, see Plugin Components Reference. For publishing and syncing, see Distribute a Plugin. Open Build > Plugins to start.
Prerequisites
You need:
- admin access to Willow
- the components you want to bundle (skills, toolkits, commands, and so on), or you can create them inline
Create the plugin
- Open Build > Plugins.
- Select Add Plugin, then Manual. The other option, From GitHub, imports plugins from a repository instead; see Sync Plugins from GitHub.
- Fill in the Create Plugin dialog:
- Name: display name of the plugin.
- Slug: URL-safe identifier, auto-generated from the name. Set at creation and not editable afterward.
- Description: what the plugin does.
- Select Create Plugin to save it as a
draft, or use the split-button menu to select Create & Publish to save and publish in one step.
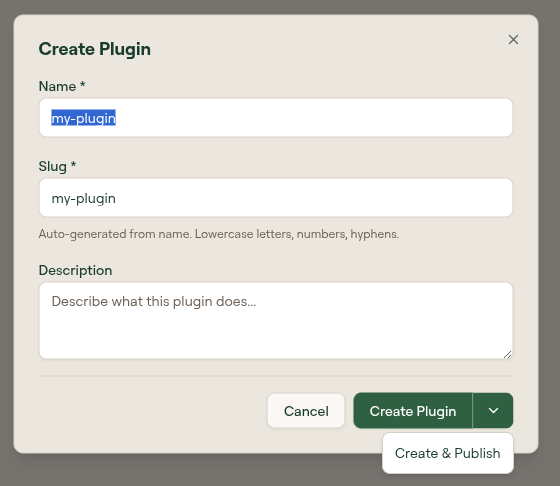
Willow opens the plugin's edit page.
The edit page
The edit page has two columns: the component editor on the left and a Marketplace Preview tree on the right that shows the file structure Willow will generate.
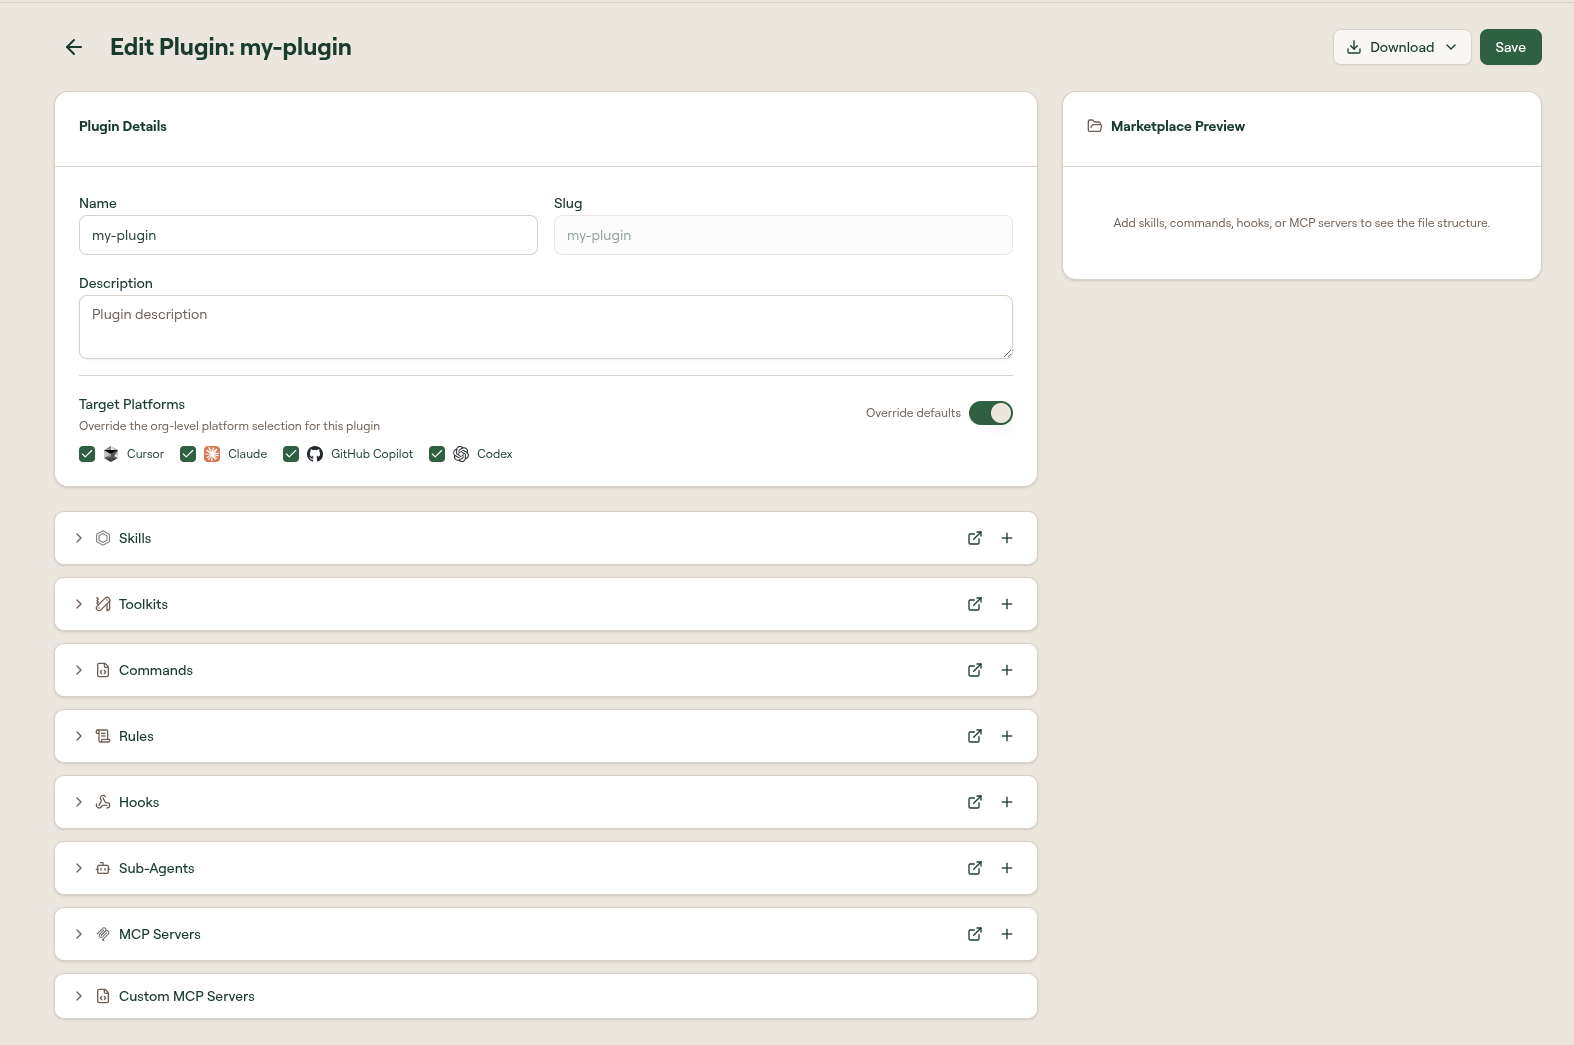
Plugin details
At the top, edit the plugin Name and Description. Slug and Version are read-only in the edit form. The version is shown as a badge beside the plugin's name in the list.
Select Verified to show a verified badge and include the plugin in verified-only catalog results.
Under Target Platforms, a plugin inherits the organization-level marketplace platforms by default. Turn on Override defaults to choose a custom set for this plugin only. See Target marketplace platforms for the organization options.
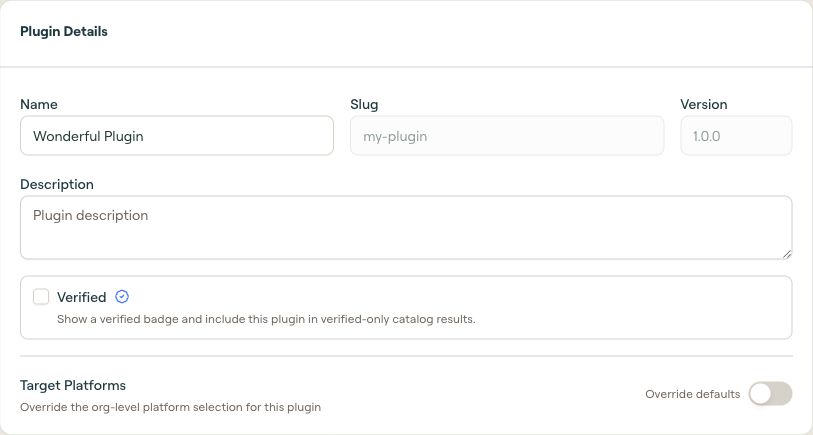
Add components
Below the details card are collapsible sections, one per component type: Skills, Toolkits, Commands, Rules, Hooks, Sub-Agents, MCP Servers, and Custom MCP Servers. In each section you can:
- Search existing items and add them with the + button.
- Create a new item inline from the section header.
- Remove an included item.
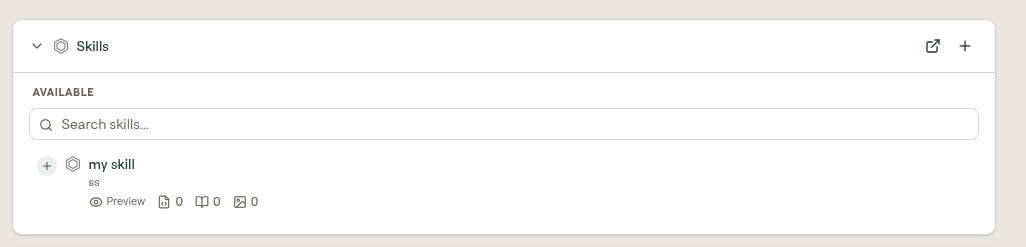
For every field on the Create Hook, Create Rule, Create Command, Create Sub-Agent, and Custom MCP Server forms, see Plugin Components Reference.
Marketplace preview
As you add components, the right-side Marketplace Preview panel updates to show the file tree Willow will generate for the plugin. Use it to confirm the structure before syncing.
Save
Select Save in the top right to persist the plugin. Changes do not take effect until saved.
What to do next
- Plugin Components Reference: every component type and field
- Distribute a Plugin: publish, download, and sync
- Plugins: list columns, states, and settings