Invite Users and Manage Access with Groups
This tutorial takes you from an empty Users page to a group with verified MCP server access and a user who can connect through the Willow gateway.
By the end, you will have:
- invited at least one user
- created a group
- assigned one or more MCP servers to that group
- added the user to the group
- confirmed the user can connect and make a tool call
Prerequisites
You need:
- admin access to Willow
- a deployed Willow MCP gateway
- at least one published MCP server with tools enabled
- an email address for the user you want to invite
If you have not added an MCP server yet, complete Add and Configure Your First MCP Server before continuing. Groups without any MCP servers assigned give users nothing to connect to.
Step 1: Invite a user
In the admin dashboard, open Manage > Users.
The Users page lists everyone in your organization. The table shows each user's name, email, and the number of groups they belong to.
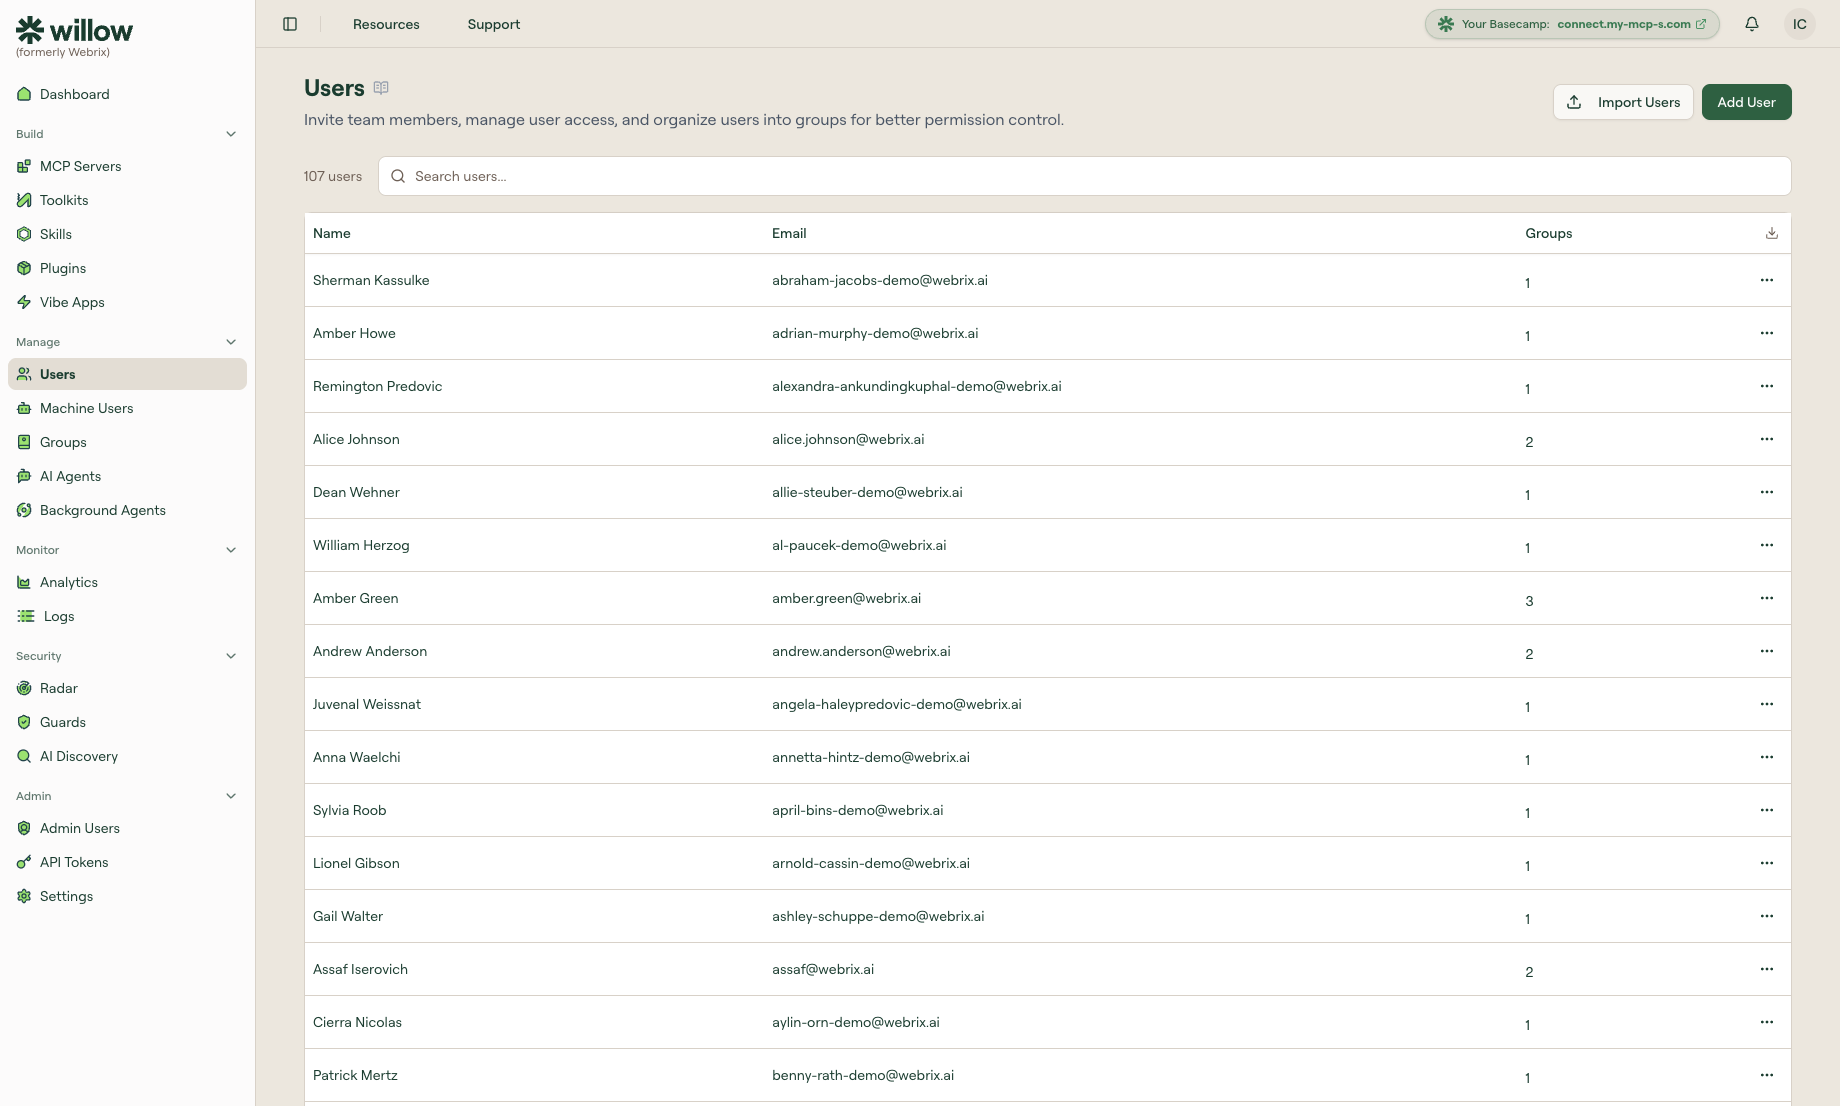
Select Add User.
In the Create User modal, fill in the Name and Email fields. Check Send Invite to send the invitation email immediately. Select Create.
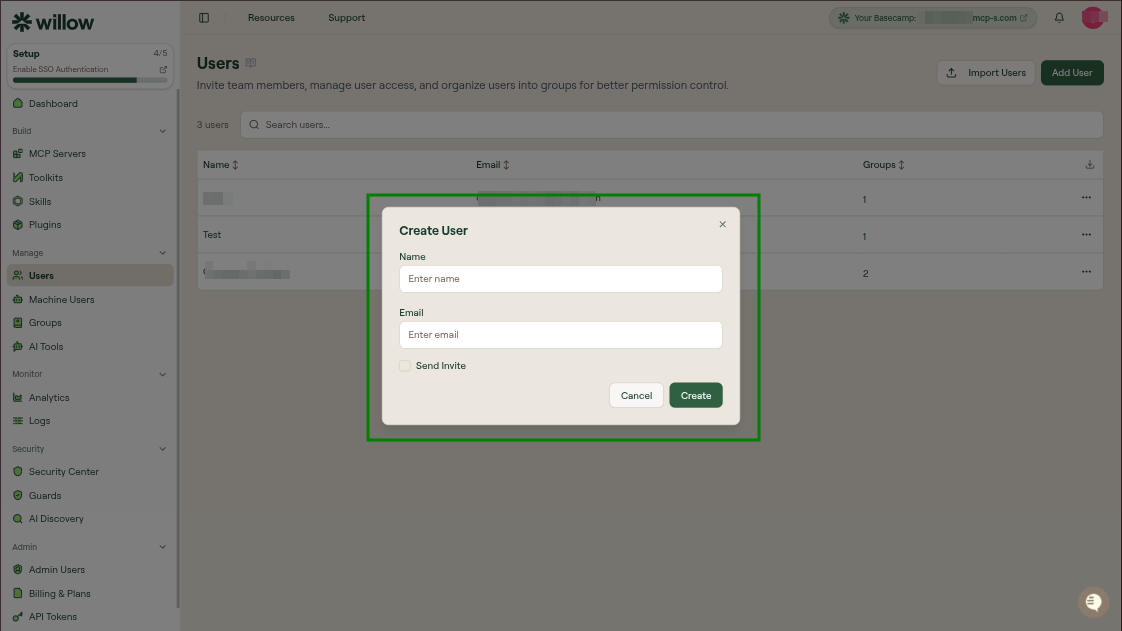
The user appears in the table. If you need to send the invitation again later, open their row menu and select Send an Invite.
To invite multiple users at once, select Import Users and follow the CSV import flow.
Step 2: Create a group
Open Manage > Groups.
The Groups page lists every group in your organization with counts for users, MCP servers, toolkits, skills, and owners. Willow creates two default groups automatically: Admin and All Users. Create a new group when you want to scope access to a specific set of users rather than everyone.
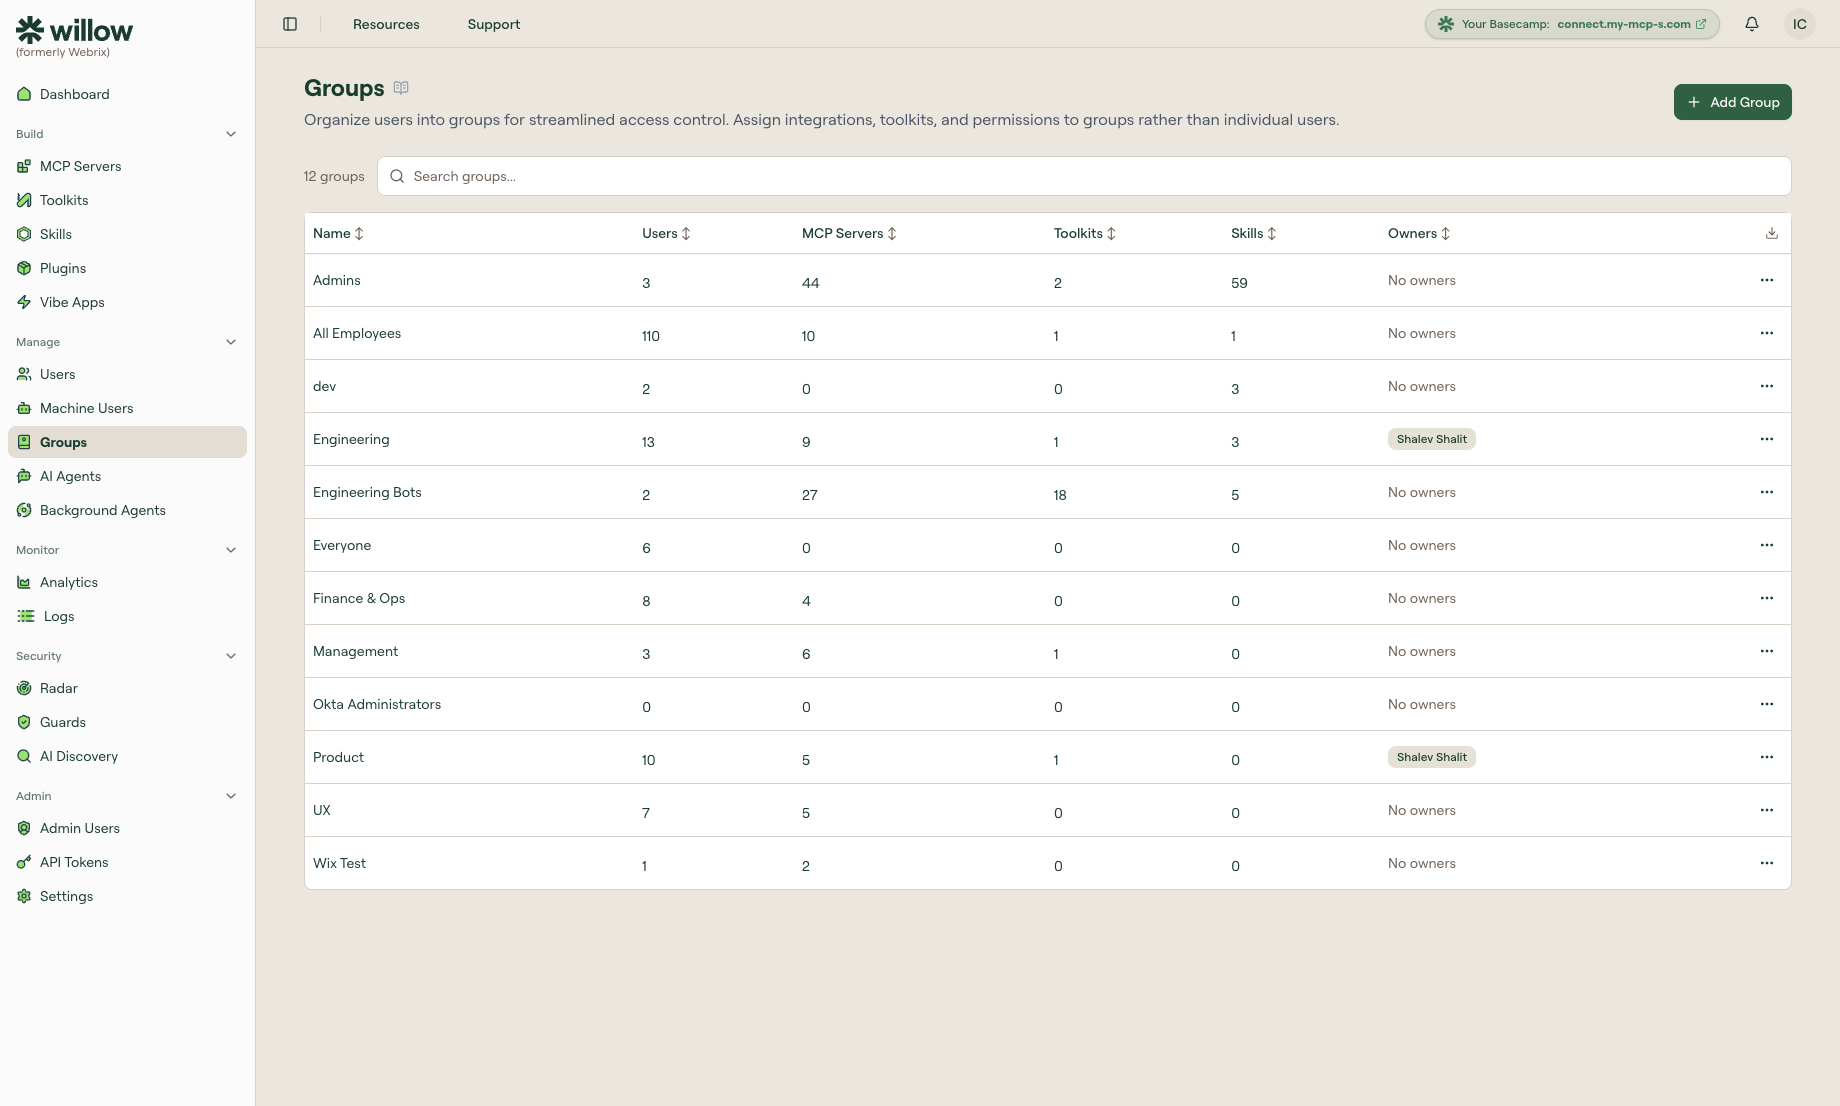
Select + Add Group.
In the Create Group modal, enter a Name for the group. The Advanced Settings section exposes automatic assignment behavior for users, MCP servers, toolkits, and skills. Leave these at their defaults for now and configure them after you have confirmed basic access.
Select Create.
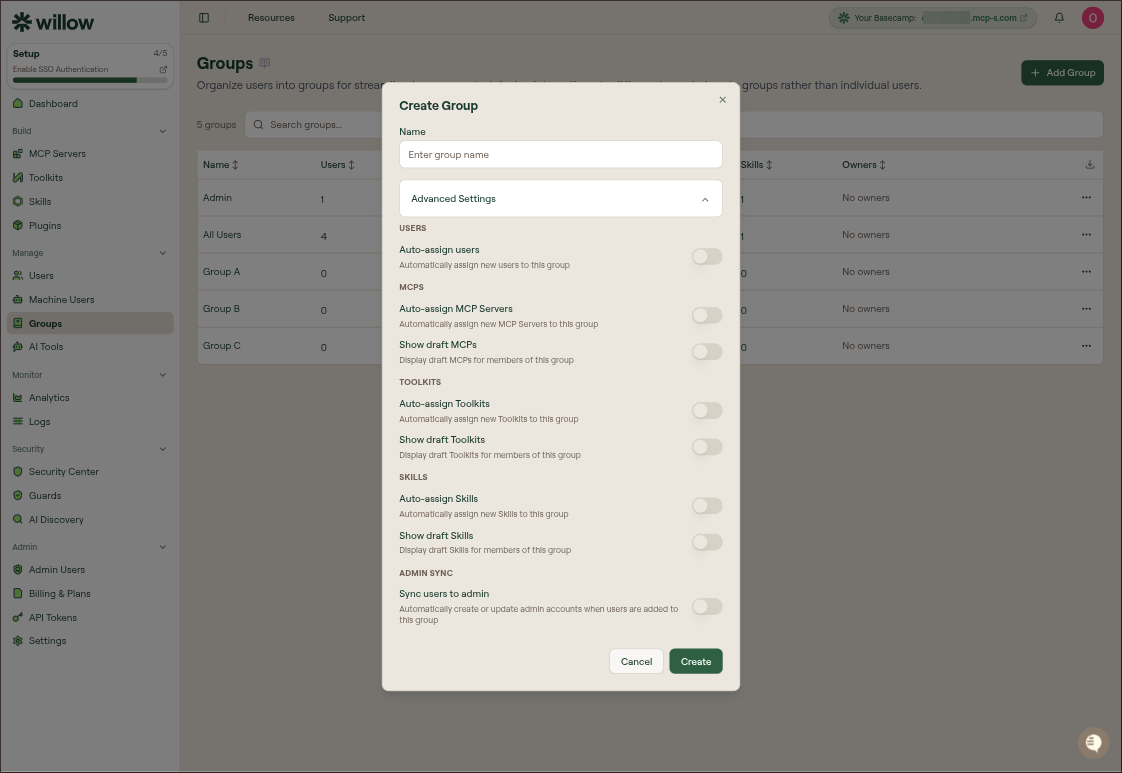
The new group appears in the table with zero counts across all columns.
Step 3: Assign MCP servers to the group
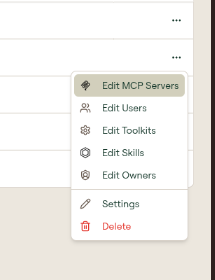
On the Groups page, open the row menu for the group you just created and select Edit MCP Servers.
The Edit Group MCP Servers modal lists every MCP server in your organization by display name and slug. Check each server you want members of this group to access, then select Done.
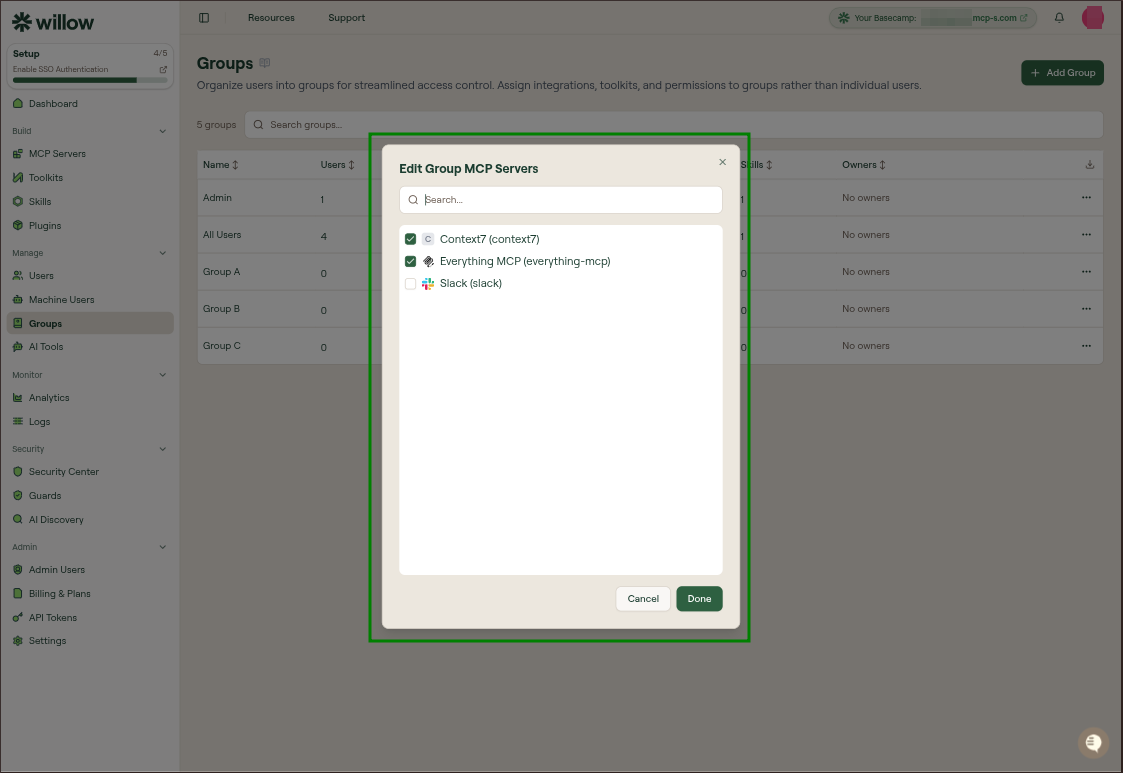
The MCP Servers count in the group row updates to reflect the assignment. Only published, active MCP servers are reachable through the gateway even when assigned to a group.
Step 4: Add the user to the group
Open the row menu for the same group and select Edit Users.
The Edit Group Users modal lists every user and machine user in your organization. Check the user you invited, then select Done.
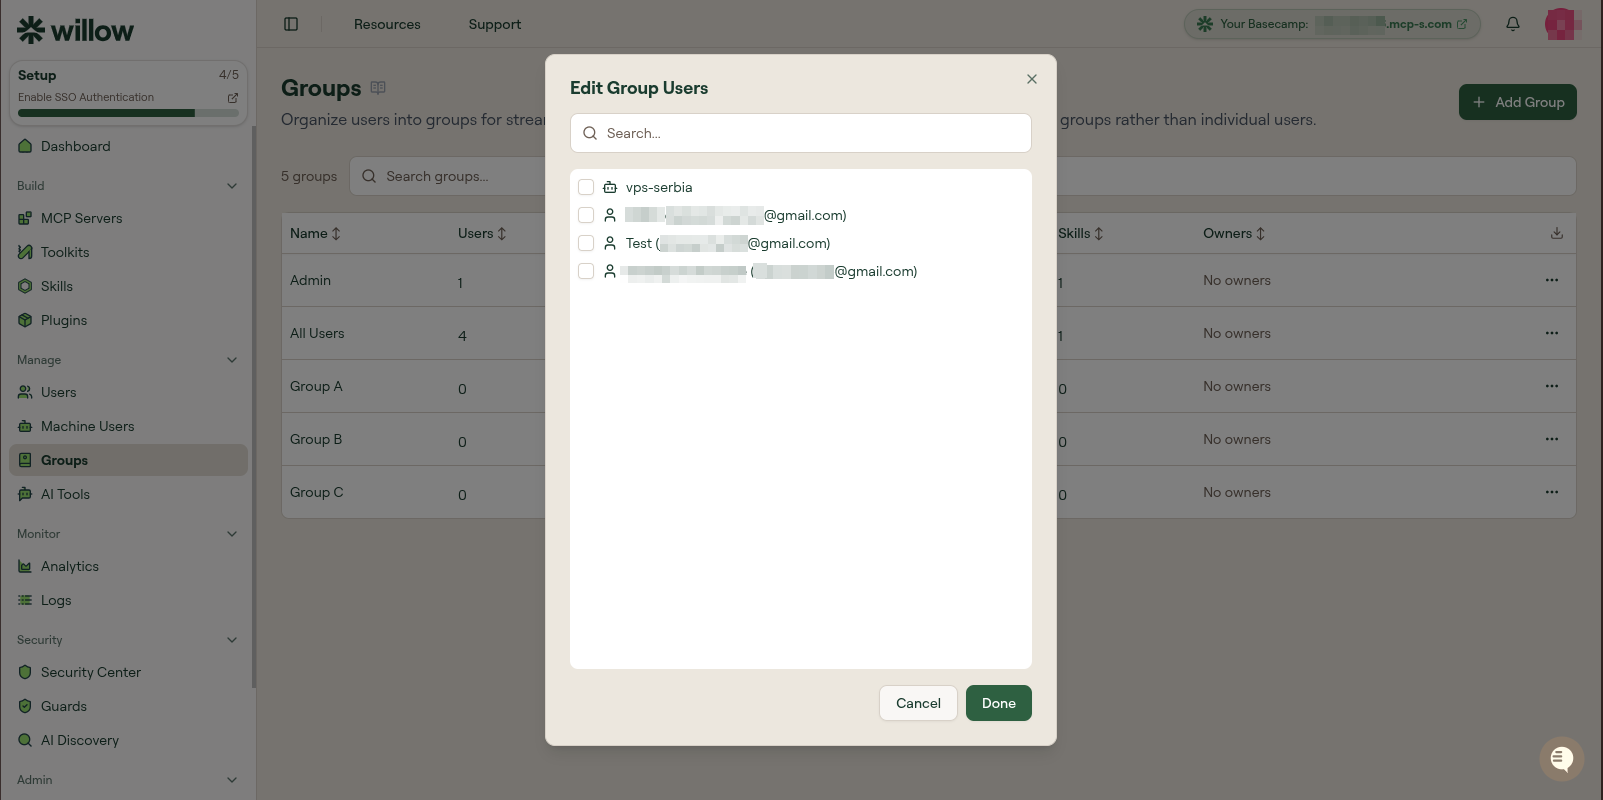
The Users count in the group row updates. Group membership is what the gateway checks at runtime. A user who exists in Willow but is not a member of a group that has the MCP server assigned cannot reach that server's tools.
You can also assign users to groups from the Users side. Open the row menu for a user and select Edit Groups to manage which groups they belong to from there.
Step 5: Verify the user can connect
Ask the user to accept their invitation and connect their AI client. Direct them to Getting Started for the connection steps.
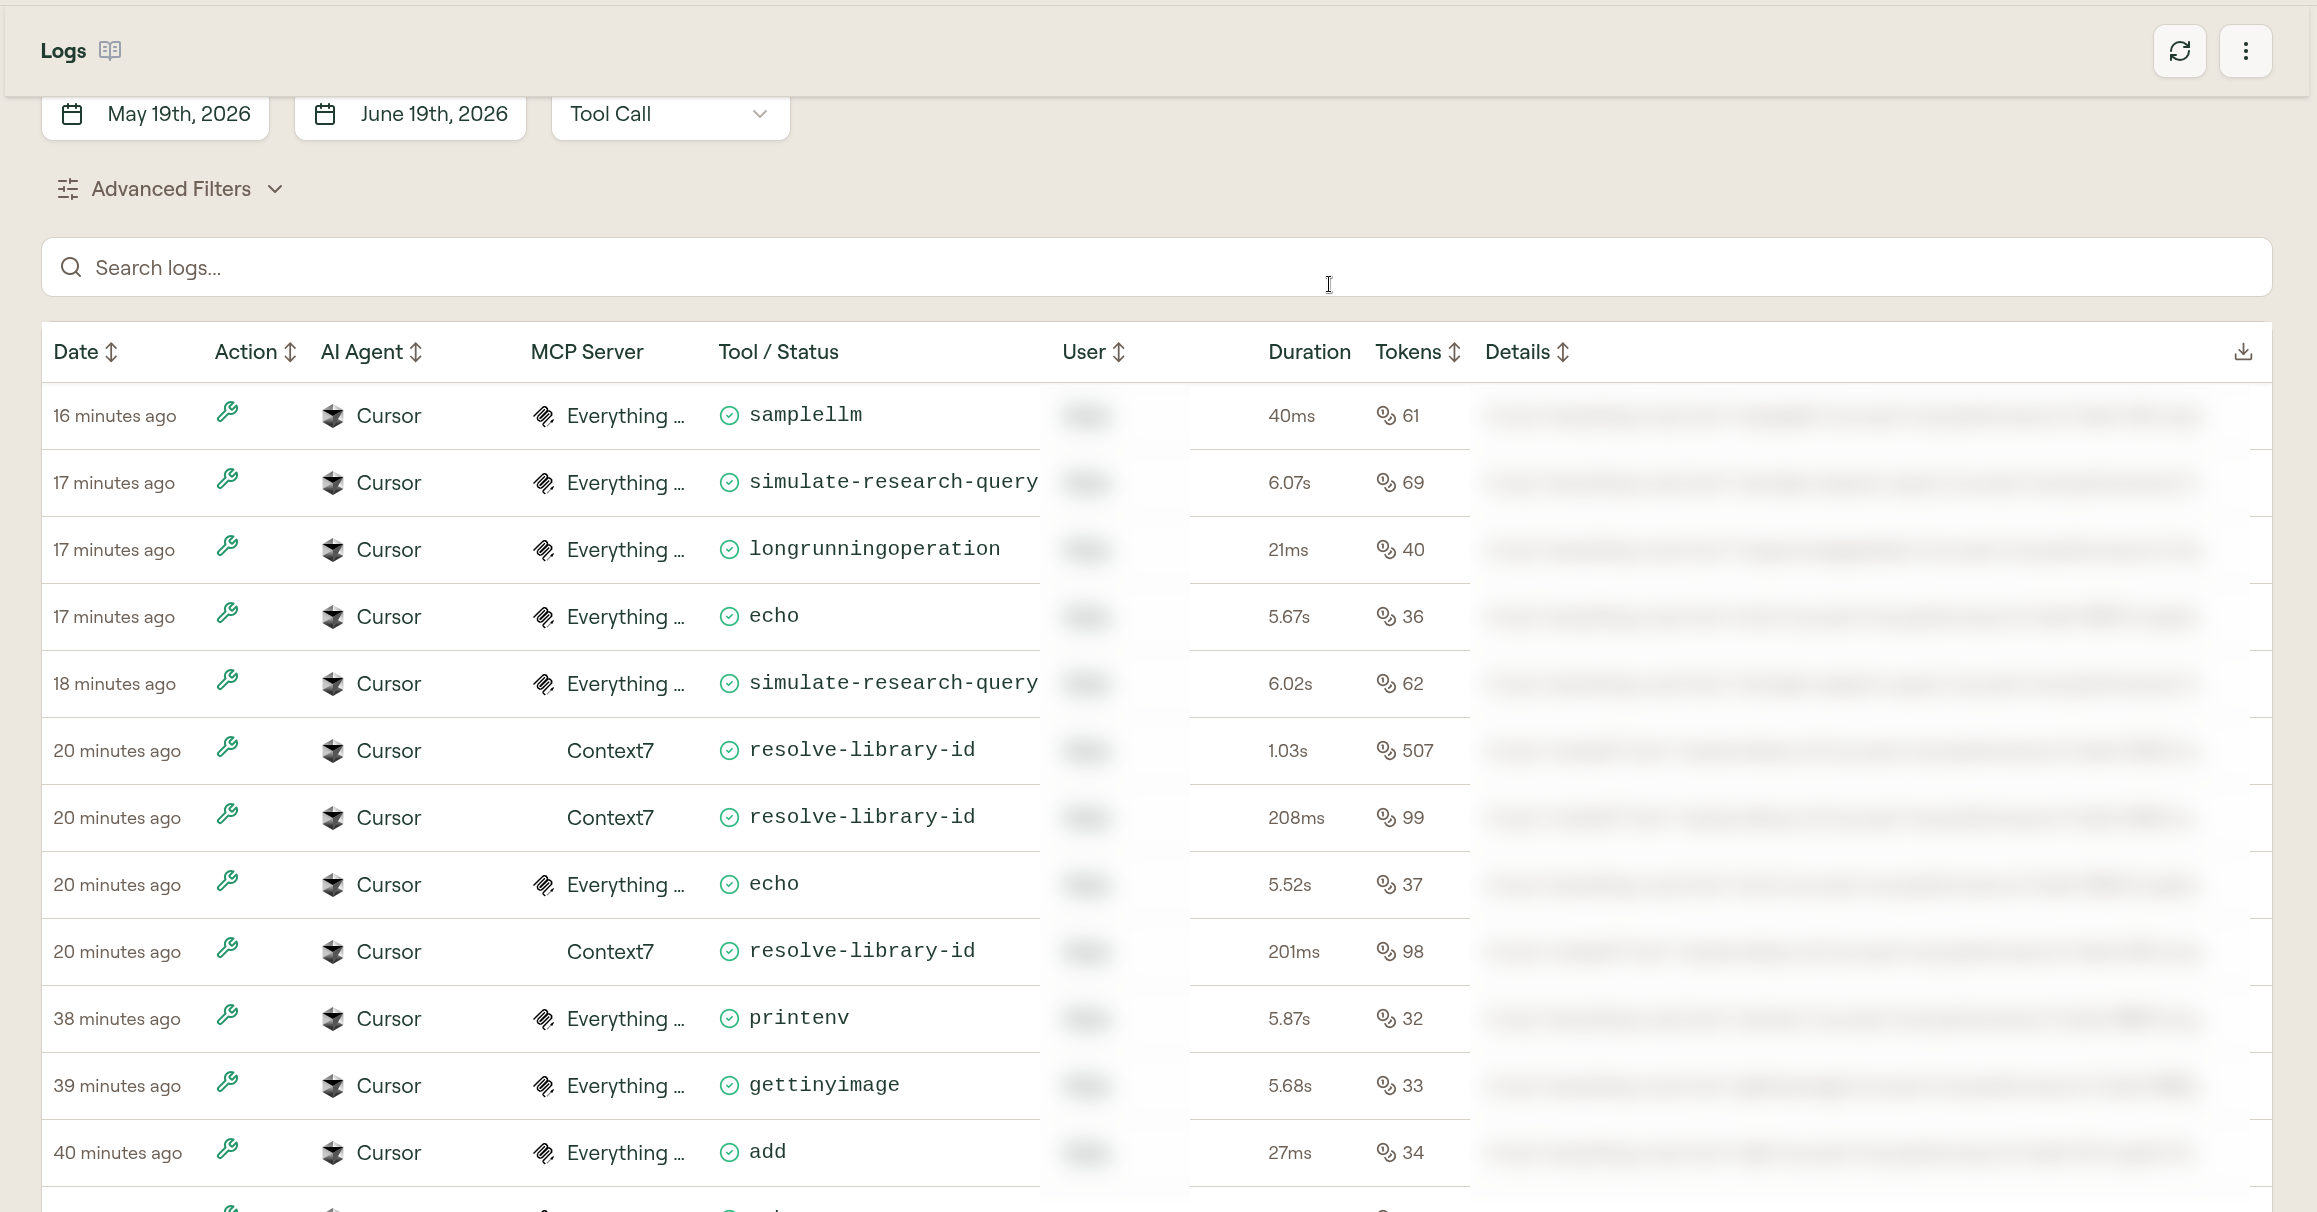
Once they have connected, open Monitor > Logs in the admin dashboard. Find the entries for their connection and first tool call. A successful run shows the AI client, MCP server, tool name, user, status, and duration.
If no call appears, check:
- the MCP server is published and active, not in
draft - the MCP server is assigned to the user's group
- the user is a member of that group
See Monitor Logs for filtering and reading log entries.
Verify it worked
You are done when all of these are true:
- the user appears in the Users table
- a group exists with at least one MCP server assigned
- the user is a member of that group
- the user accepted the invitation and signed in
- the user's AI client connects through the Willow MCP URL
- a test tool call from the user's client succeeds
- the call appears in Logs attributed to that user