Getting Started
From your invite email to running your first tool call in under 10 minutes.
What You'll Do
- Accept your invite (1 minute)
- Sign in and explore (2 minutes)
- Connect your AI client (5 minutes)
- Run your first tool (2 minutes)
Prerequisites:
- An invite email from your admin
- Access to one of these AI clients: Cursor, Claude Code, VS Code, or Claude Web
Step 1: Accept Your Invite (1 minute)
You'll receive an email titled "Welcome to Your Secure AI Basecamp."
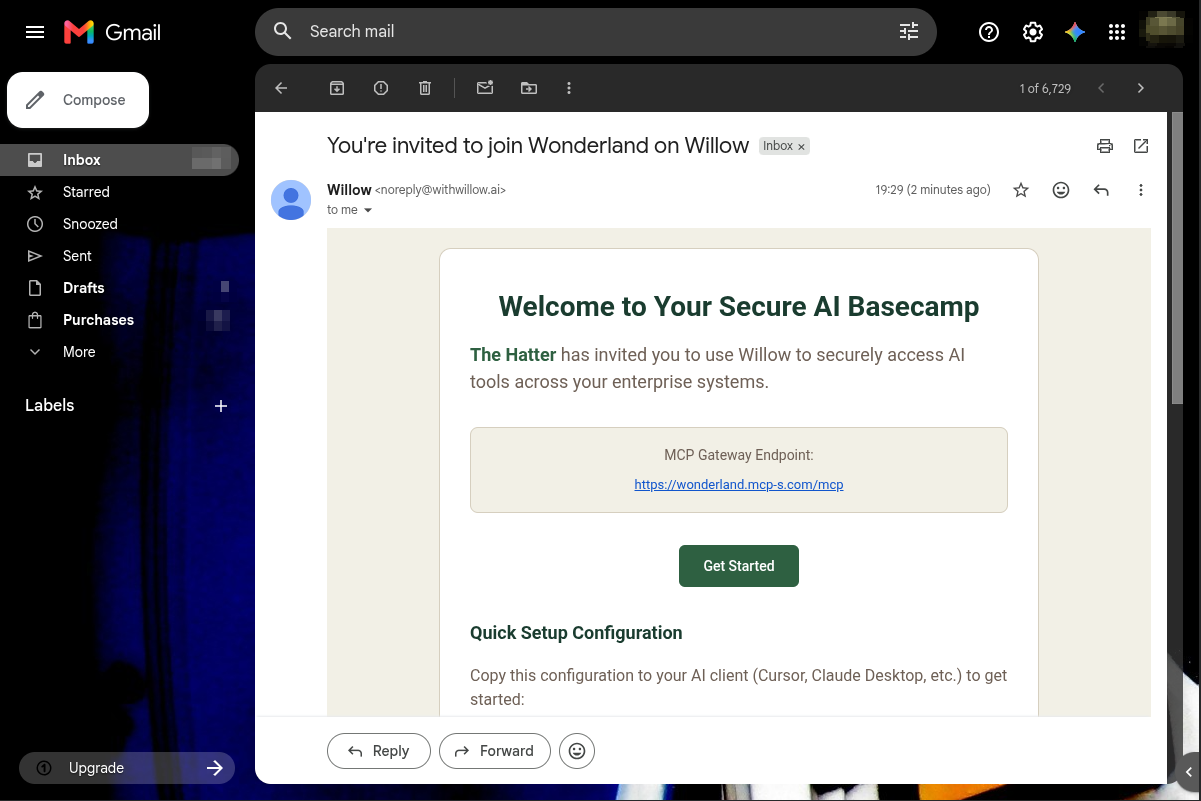
What to do:
- Click the green "Get Started" button
- Enter your login credentials
- You'll land on your Willow dashboard
Success: You see the dashboard with three "Explore" cards.
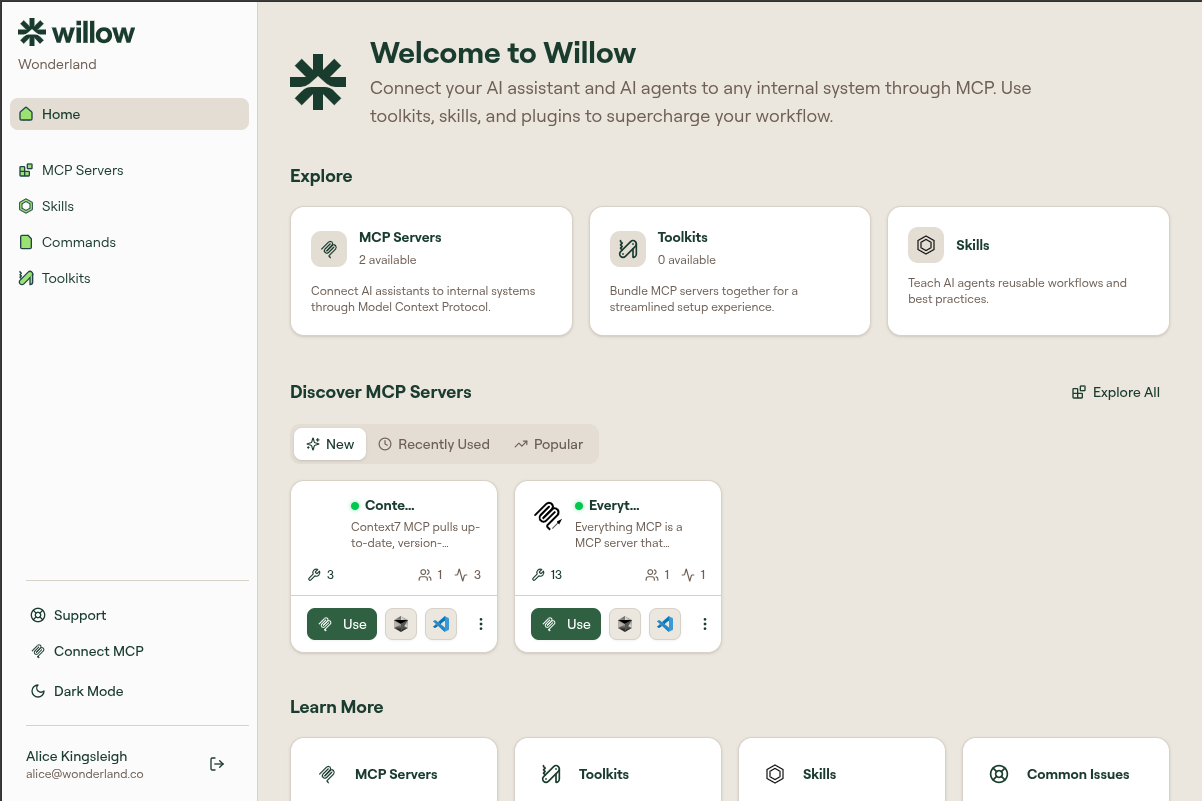
Step 2: Check Your Access (2 minutes)
Look at the Explore section. The three numbers tell you what your admin has made available to your account.
Success: At least one number is non-zero. If all three show zero, your admin hasn't finished setting up your access. Contact them before continuing. There's nothing to connect to yet.
Take a moment to browse Discover MCP Servers to see what you'll be working with. When you're ready, move to Step 3.
Step 3: Connect Your AI Client (5 minutes)
Click "Connect MCP" at the bottom of the left sidebar.
A dialog will open.
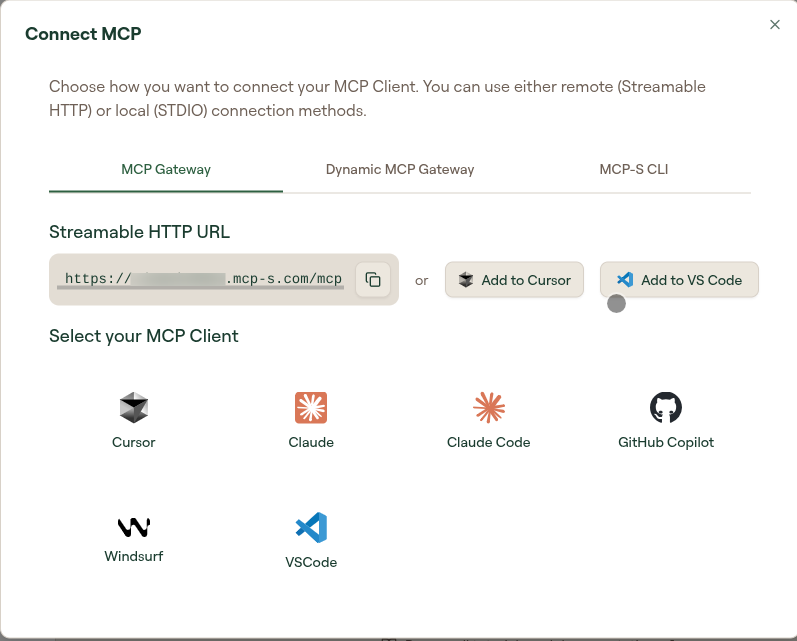
Choose your AI client from the list.
For Cursor (one-click setup):
- Click "Add to Cursor"
- Cursor will open and auto-configure
- Restart Cursor
For other clients:
Success: Your AI client shows the connection is working.
Step 4: Run Your First Tool (2 minutes)
In your AI client, ask it:
"List what tools you have access to"
Your AI will respond with the available tools.
Success: You see the list of tools.
What Just Happened
You've completed the core Willow flow:
- Authenticated with your organization
- Connected your AI client to Willow
- Made your first tool call
Your admin can now see this in the activity logs.
Next Steps
- Browse and Enable MCP Servers: Browse available tools
- Create Your First Skill: Build custom AI capabilities
- Troubleshooting: Something doesn't work?