Create a Toolkit
Bundle your tools, skills, and commands for a specific workflow.
Steps
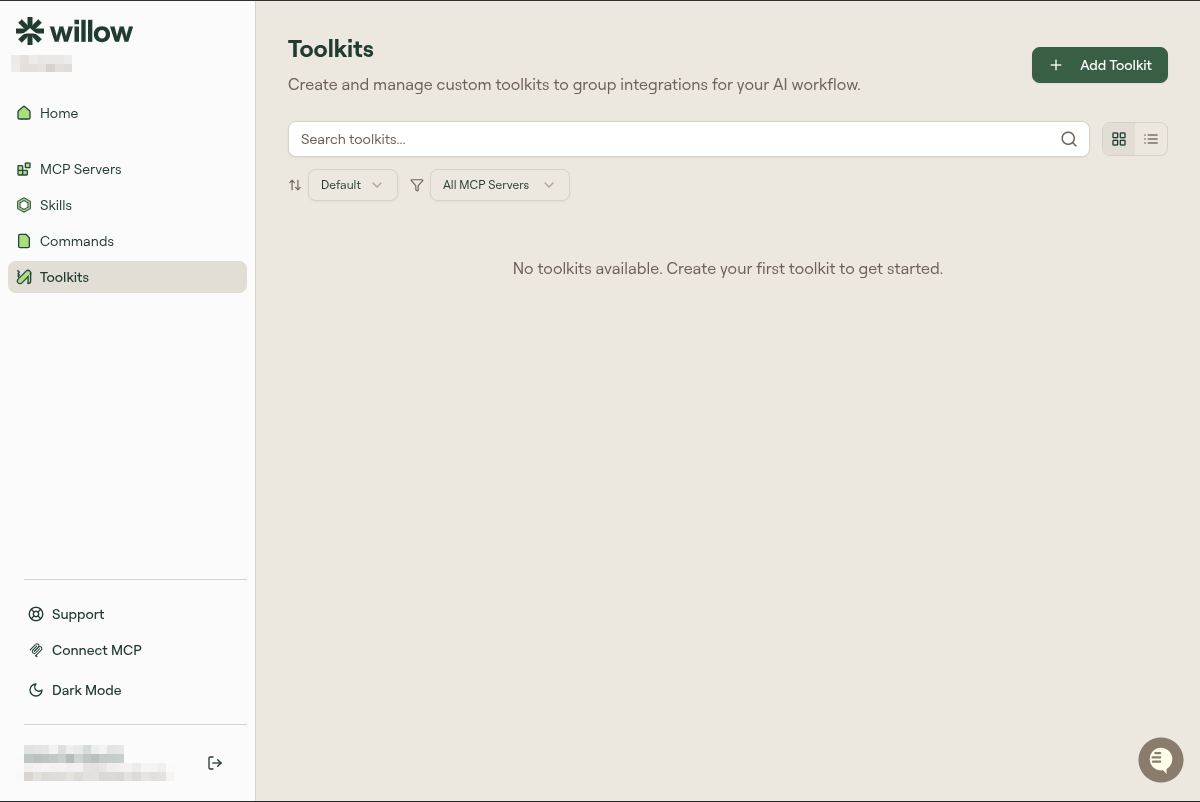
- Click Toolkits in the sidebar
- Click + Add Toolkit. A dialog opens.
- Fill in the toolkit details:
- Toolkit Name: What to call it (e.g., "Frontend Dev", "Bug Investigation")
- Description: What this toolkit is for
- Slug: A URL-safe identifier, auto-generated from the name
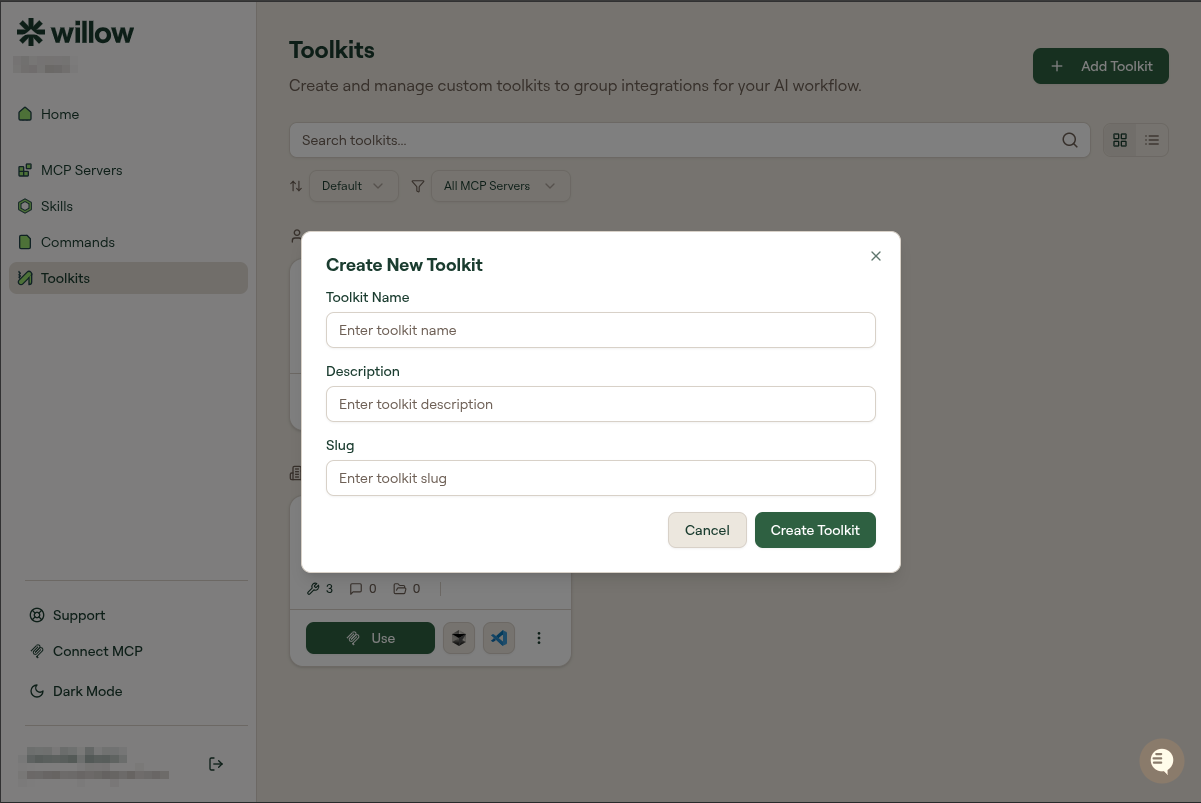
- Click Create Toolkit. Willow creates the toolkit and opens the edit page.
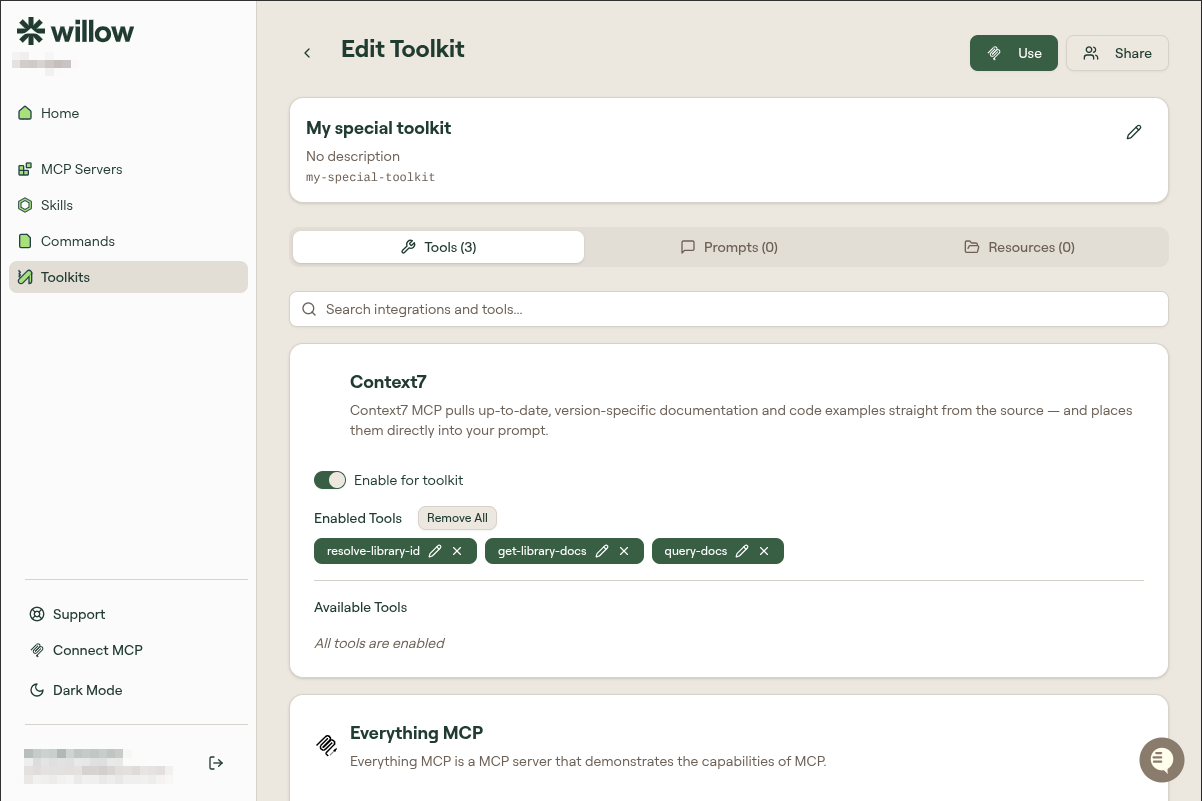
- On the Tools tab: toggle Enable for toolkit on each MCP server you want included
- Optionally switch to Prompts or Resources tabs to add context and reference content
- Your changes save automatically
Your toolkit appears in the Toolkits list under Your toolkits.
What if I want to add more later?
Click any toolkit you own to reopen the Edit Toolkit page. See Edit a Toolkit for a full walkthrough of the Tools, Prompts, and Resources tabs.
Organizing multiple toolkits
There's no limit to how many toolkits you can create. A practical approach:
- One toolkit per project or client
- One toolkit per mode of work (coding, writing, reviewing)
- One toolkit for your default everyday use
Toolkits don't activate automatically. You choose when to use them.