Toolkits
A toolkit bundles tools, prompts, and resources together for a specific workflow.
What toolkits are for
Without toolkits, you configure tools and context piecemeal. That works, but it doesn't scale when you have different modes of work (frontend development, debugging, writing, customer support), each needing a different set of tools and instructions.
A toolkit says "here is everything I need for this job." Activate it, and your AI has exactly the right tools and context for that workflow. Switch to a different toolkit for a different kind of work.
What a toolkit contains
The Edit Toolkit page has three tabs:
| Tab | What it holds |
|---|---|
| Tools | MCP servers enabled for this toolkit. The tools your AI can call |
| Prompts | Instruction text that shapes how your AI approaches tasks in this context |
| Resources | Reference content your AI can access during this workflow |
A toolkit doesn't have to use all three. A toolkit with just two MCP servers and no prompts is valid.
Your toolkits vs. admin-created toolkits
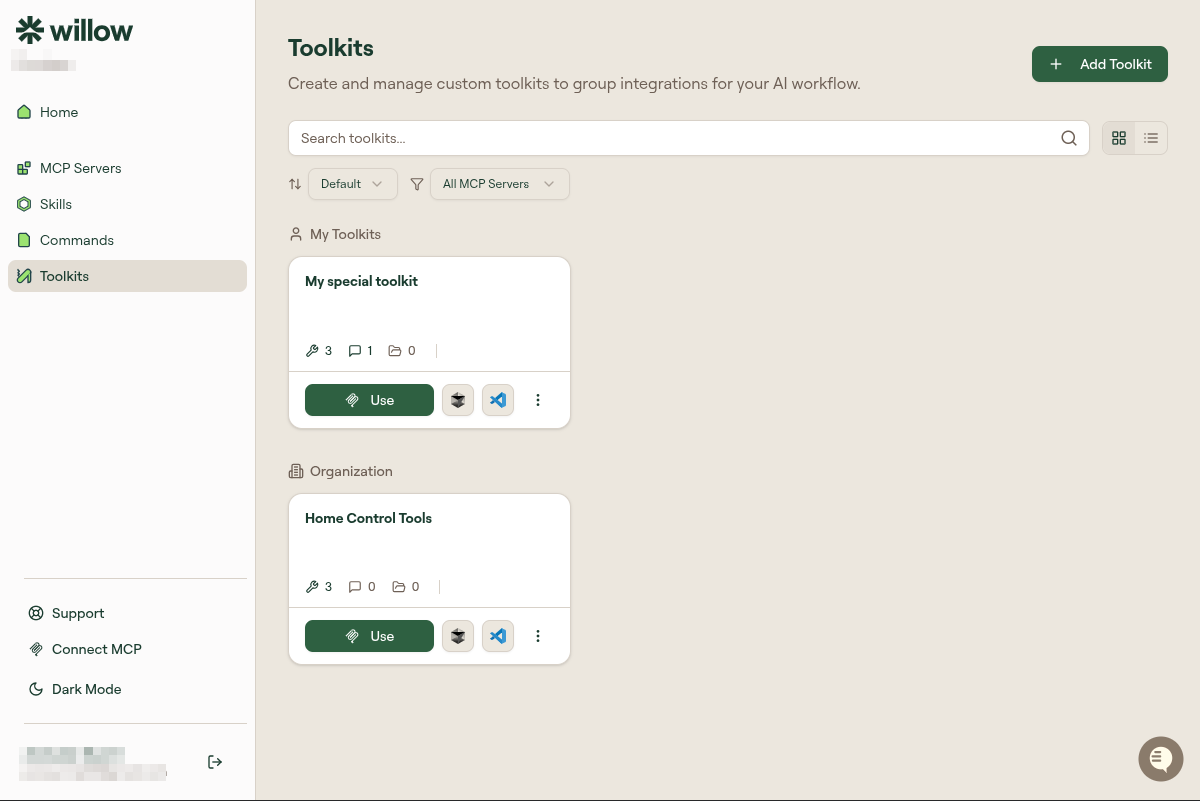
The Toolkits page shows two sections:
Your toolkits: Toolkits you created yourself. You can edit, duplicate, or delete these.
Available toolkits: Toolkits your admin has created and shared with your group or organization. You can use these but not edit them.
How toolkits work with your AI client
When you connect your AI client to Willow, you're connecting to a specific MCP server, or to the dynamic gateway. Toolkits are a Willow-side concept. They organize your resources, but the connection method still determines what your AI can see.
If your admin has published a toolkit as a package, they may share a specific connection URL that loads that toolkit's servers. Ask your admin if this applies to your setup.
Using a toolkit
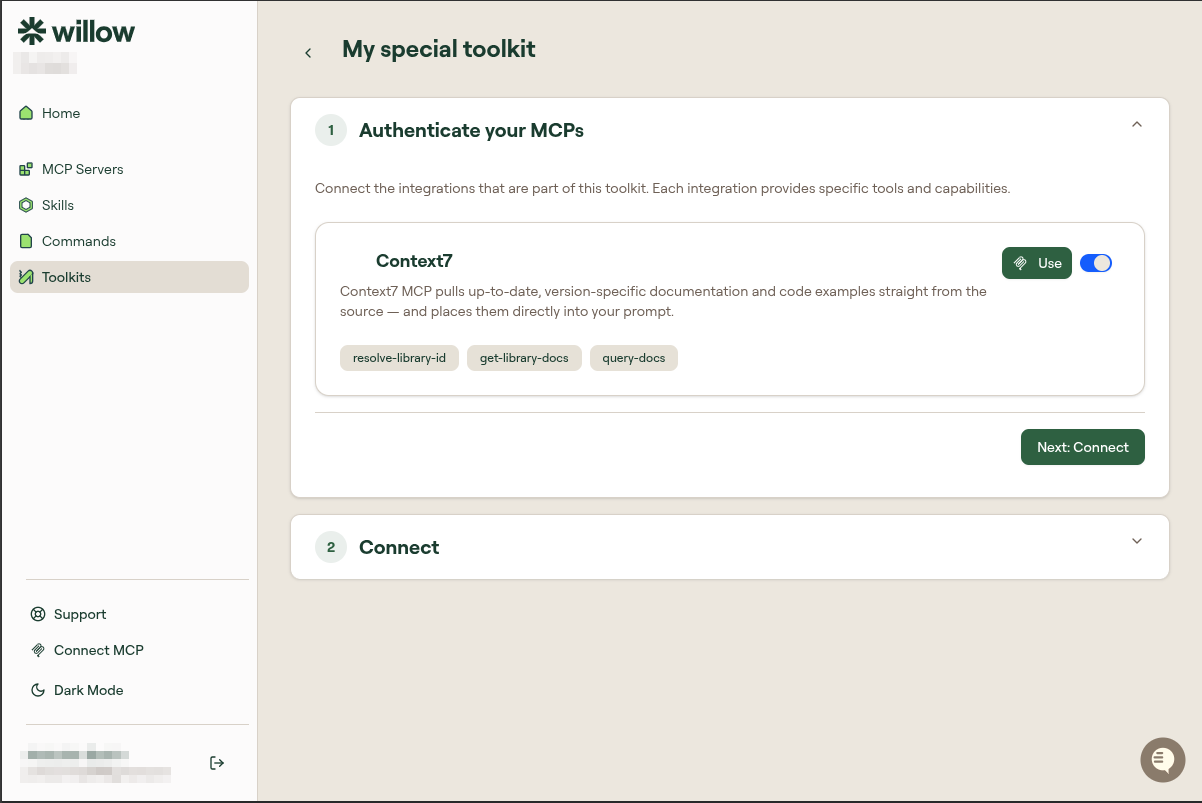
Click Use on any toolkit card. This opens a two-step flow.

Step 1: Authenticate your MCPs
Each MCP server in the toolkit is listed with its tools. Toggle Use on for each one, then click Next: Connect.
Step 2: Connect your AI client
Willow gives you a toolkit-specific connection URL. Add it to your AI client using Add to Cursor, Add to VS Code, or copy the URL manually.
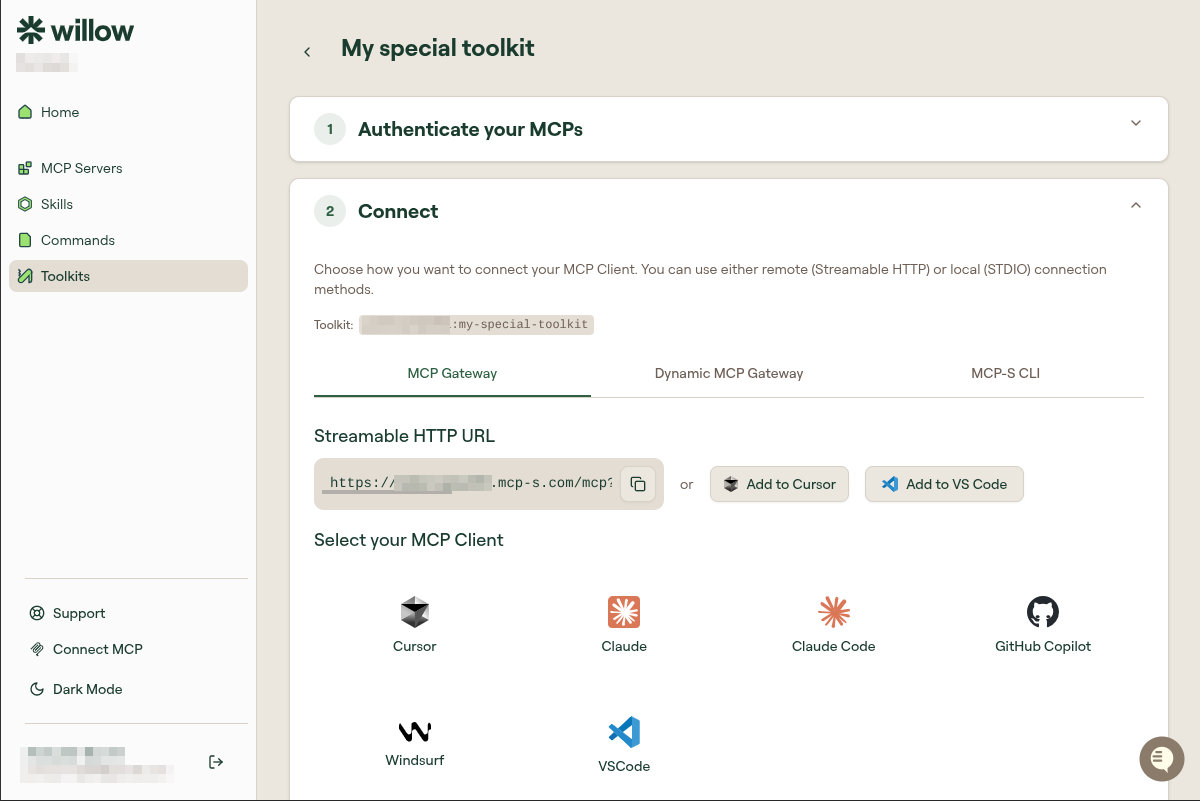
When your AI client connects to this URL, it loads every MCP server in the toolkit at once. Switching toolkits means connecting to a different URL, and your AI client then has a different set of tools.
Prompts
The Prompts tab lets you create instruction text scoped to this toolkit. When your AI client connects using the toolkit URL, these prompts are available as context.
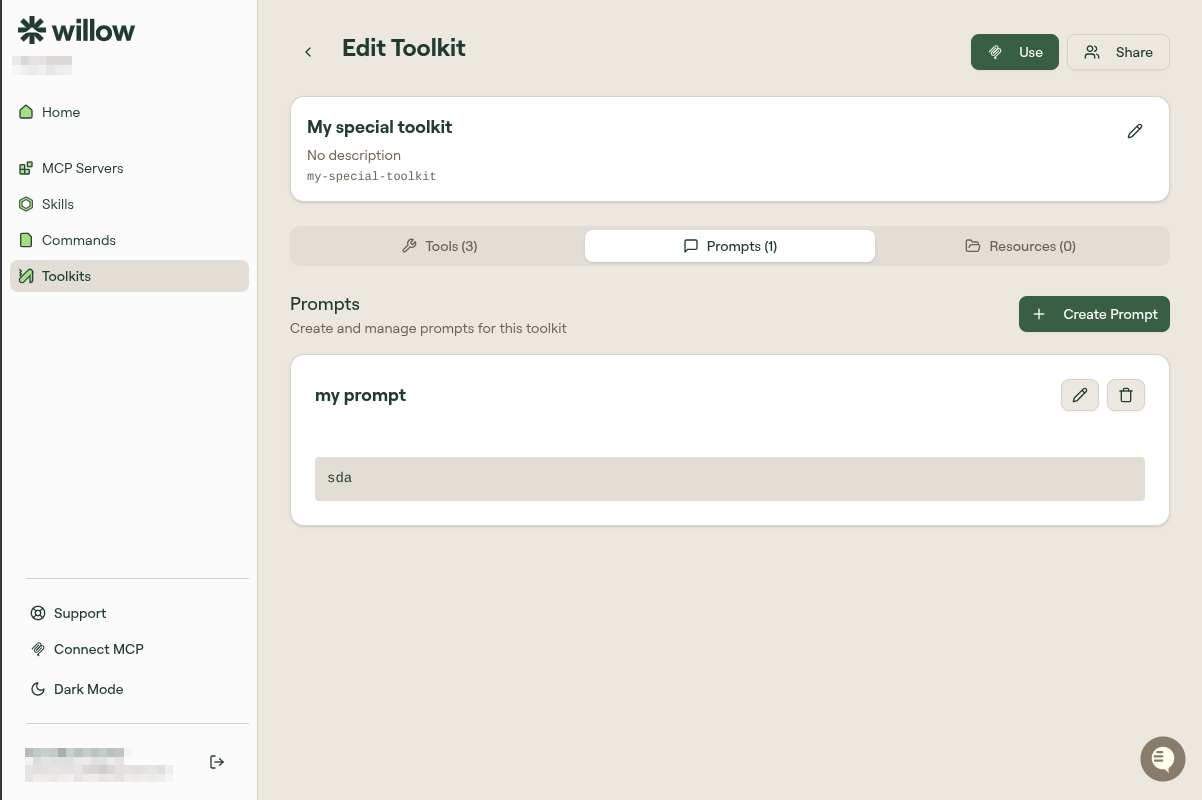
Click + Create Prompt to add a new prompt. Each prompt has a name and content (plain text or Markdown).
Resources
The Resources tab lets you create reference content scoped to this toolkit: schemas, style guides, data dictionaries, anything your AI should be able to read during the workflow.
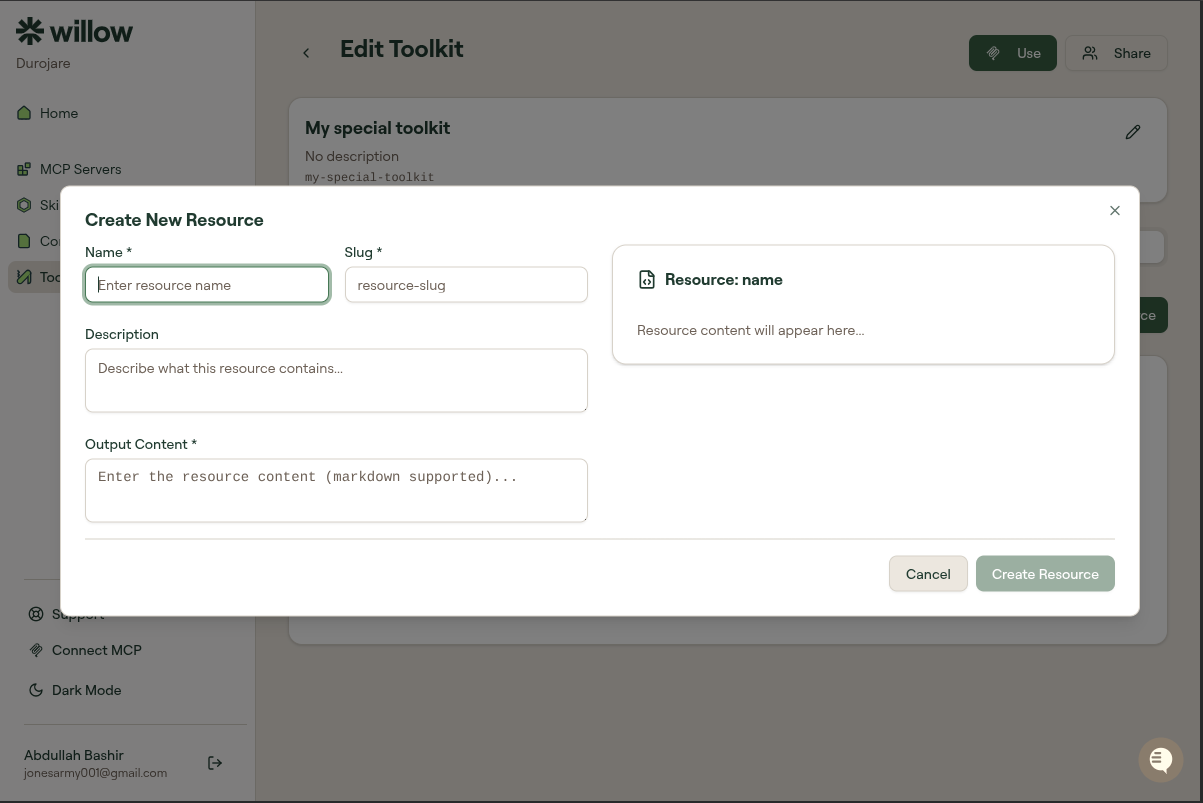
Click + Create Resource to add one. Resources have a Name, Slug, Description, and Output Content (Markdown supported).
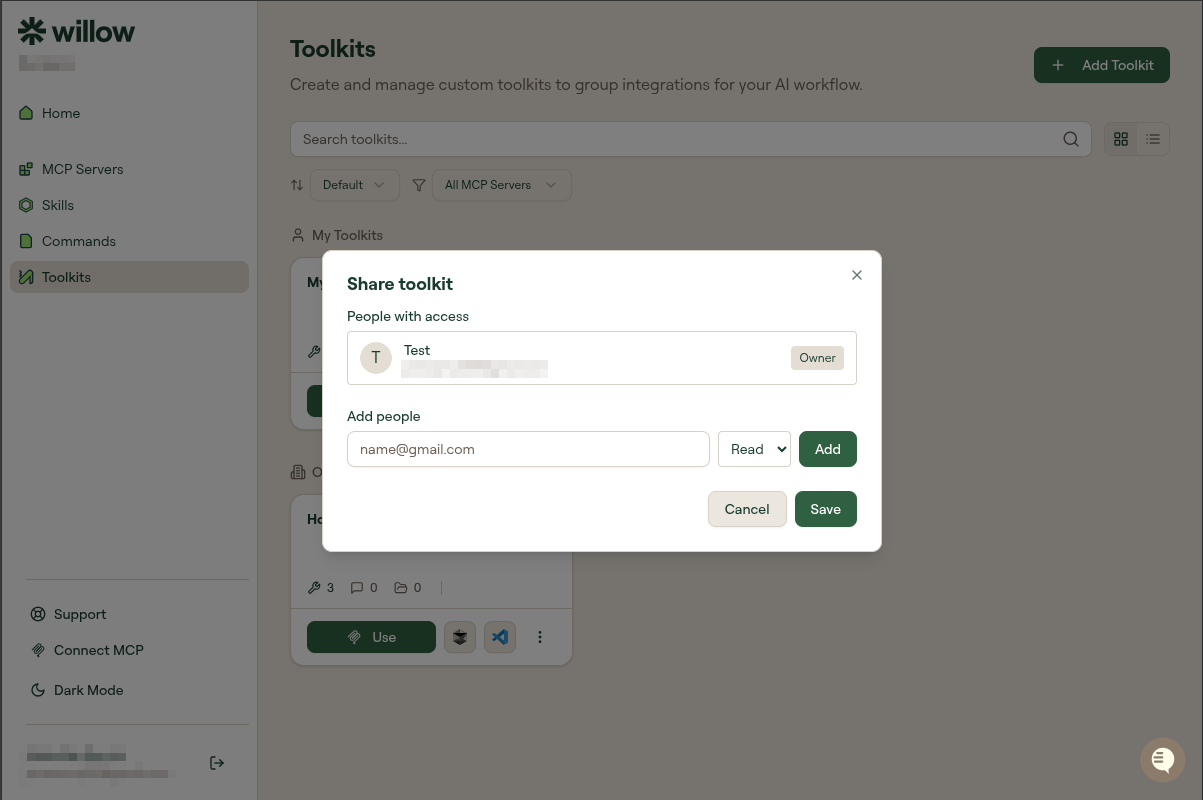
Sharing a toolkit
Click the Share button on any toolkit you own to share it with specific teammates. Set their permission to Read (they can use it) or Write (they can also edit it).