Create Skills
Skills are Markdown documents that instruct your AI on how to approach a task. There are three ways to create them.
Method 1: Manual (write in the editor)
The fastest way for short skills or when you're writing from scratch.
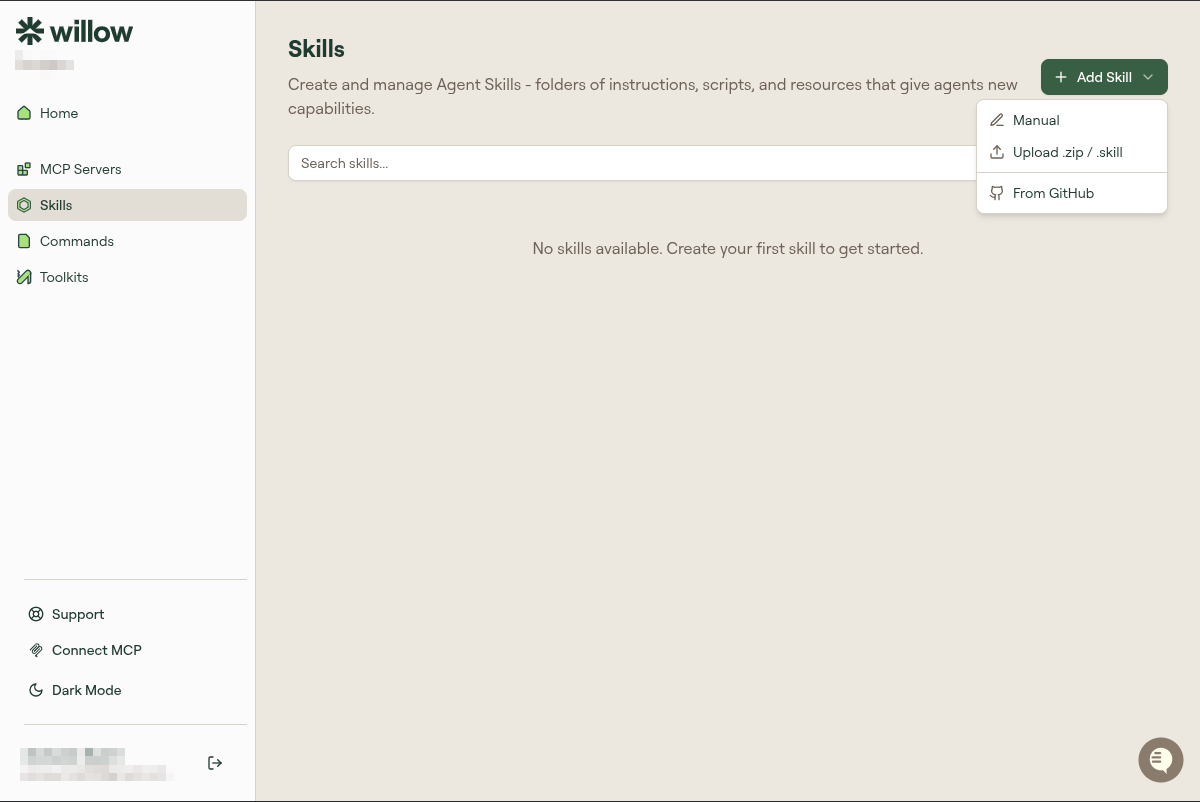
- Click Skills in the sidebar
- Click + Add Skill
- Select Manual
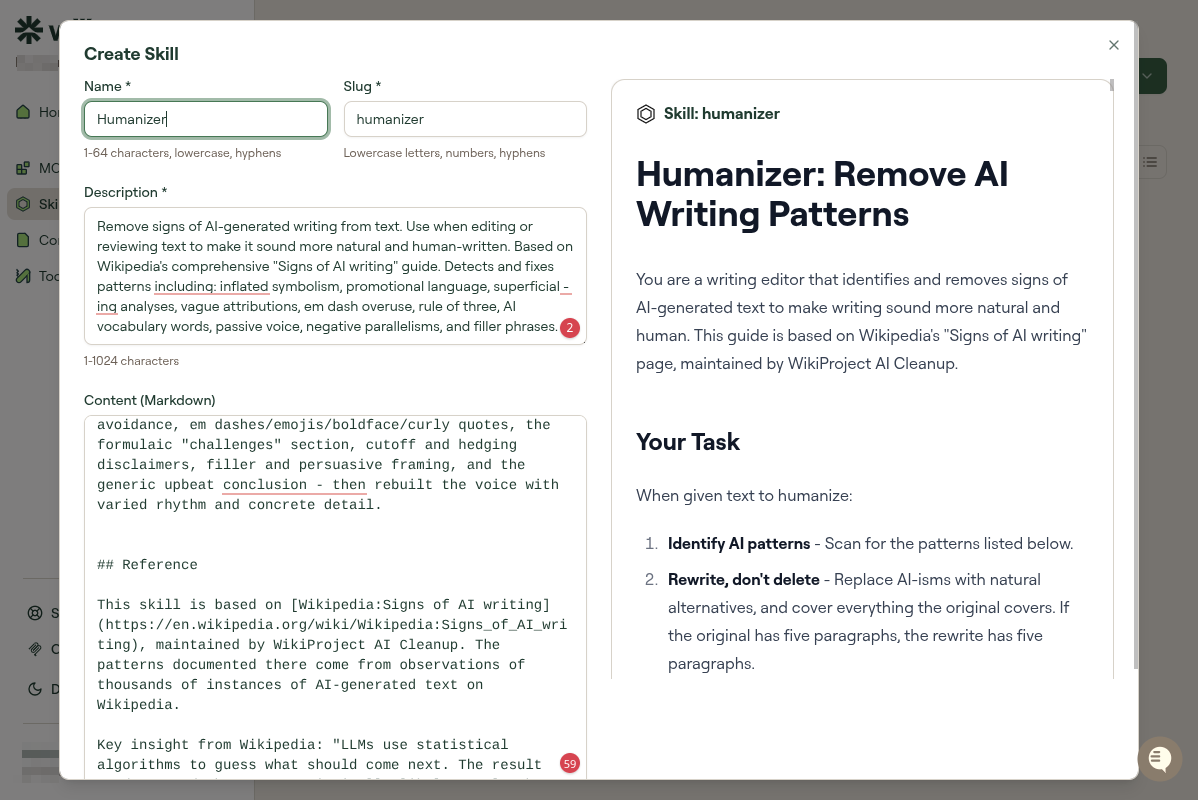
- Fill in the form:
- Name: Display name
- Slug: URL-safe identifier (auto-generated from name, but editable)
- Description: One sentence about what this skill is for
- Content: The skill body in Markdown
- Click Create Skill
The preview panel on the right shows how the content renders as you type.
Method 2: Upload (.skill or .zip)
Use this when you have skill files on your computer, either exported from another Willow instance or created with the MCP-S CLI.
- Click + Add Skill
- Select Upload .zip / .skill
- A file picker opens. Select your
.skillor.zipfile. - Review the imported content
- Click Create Skill
.skill files are individual skills. .zip files can contain multiple skills at once.
Method 3: From GitHub
Pull a skill directly from a GitHub repository. Useful when your team stores skills in version control.
- Click + Add Skill
- Select From GitHub
- Connect your GitHub account if not already connected
- Enter the repository URL or search for a repo
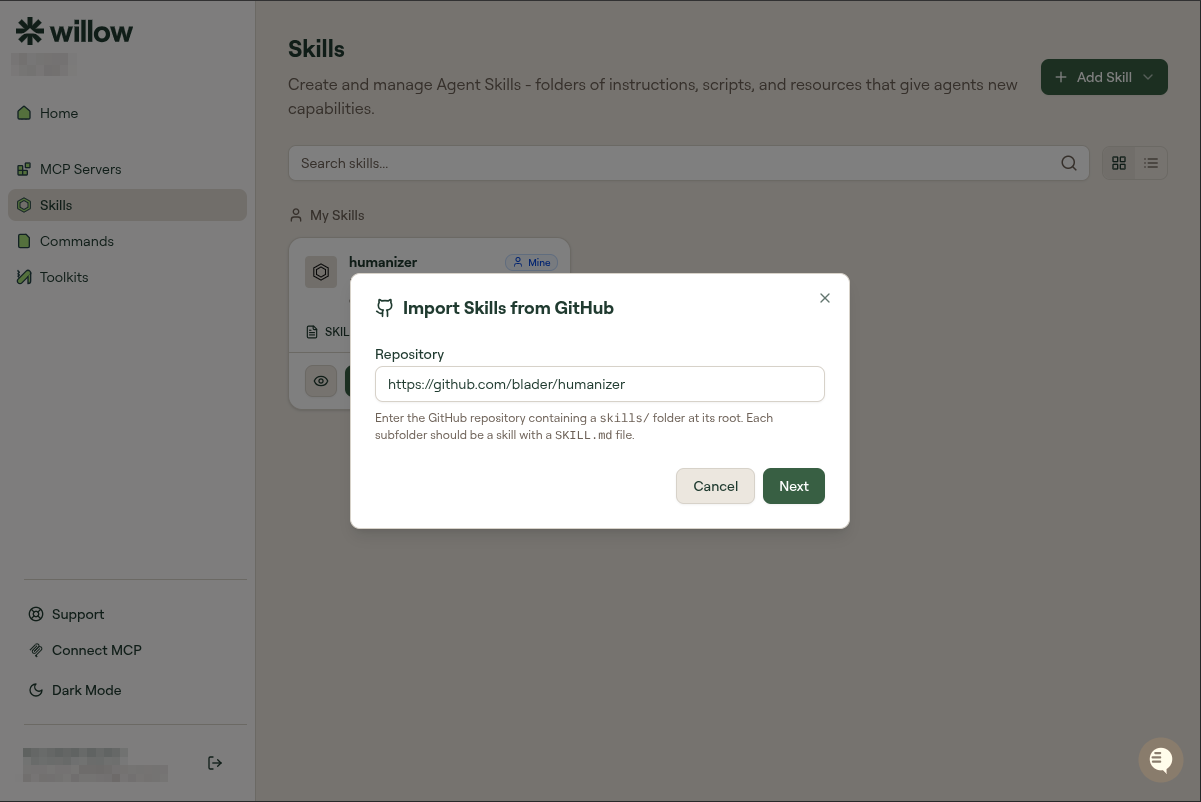
- Select the branch and file path to the skill Markdown file
- Click Import
Skills imported from GitHub can be re-synced when the source file changes.
Managing existing skills
Each skill card shows the name, description, and a preview. Available actions:

Eye icon (View): See the full skill content.
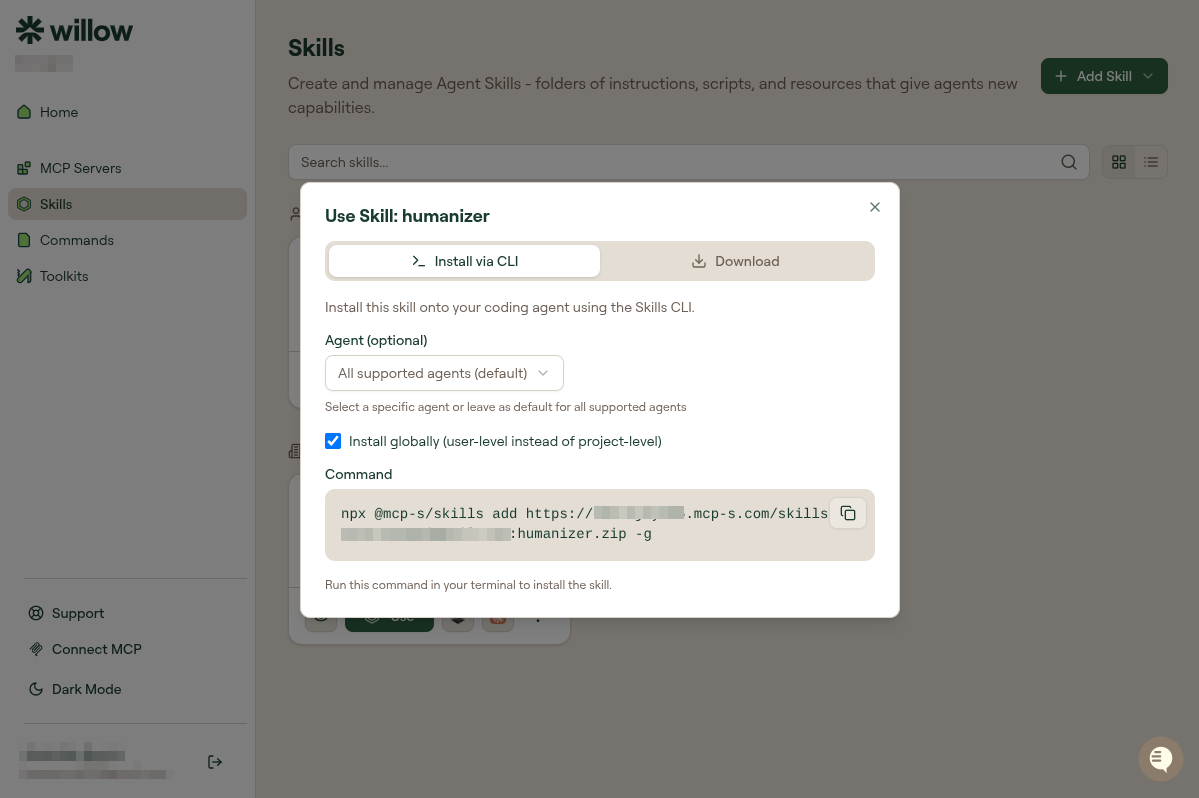
Use: Opens a dialog to install the skill into your coding agent. Choose Install via CLI to run the install command in your terminal (npx @mcp-s/skills add ...), or Download to save the skill file locally.
Three-dot menu (⋮): Opens additional actions.
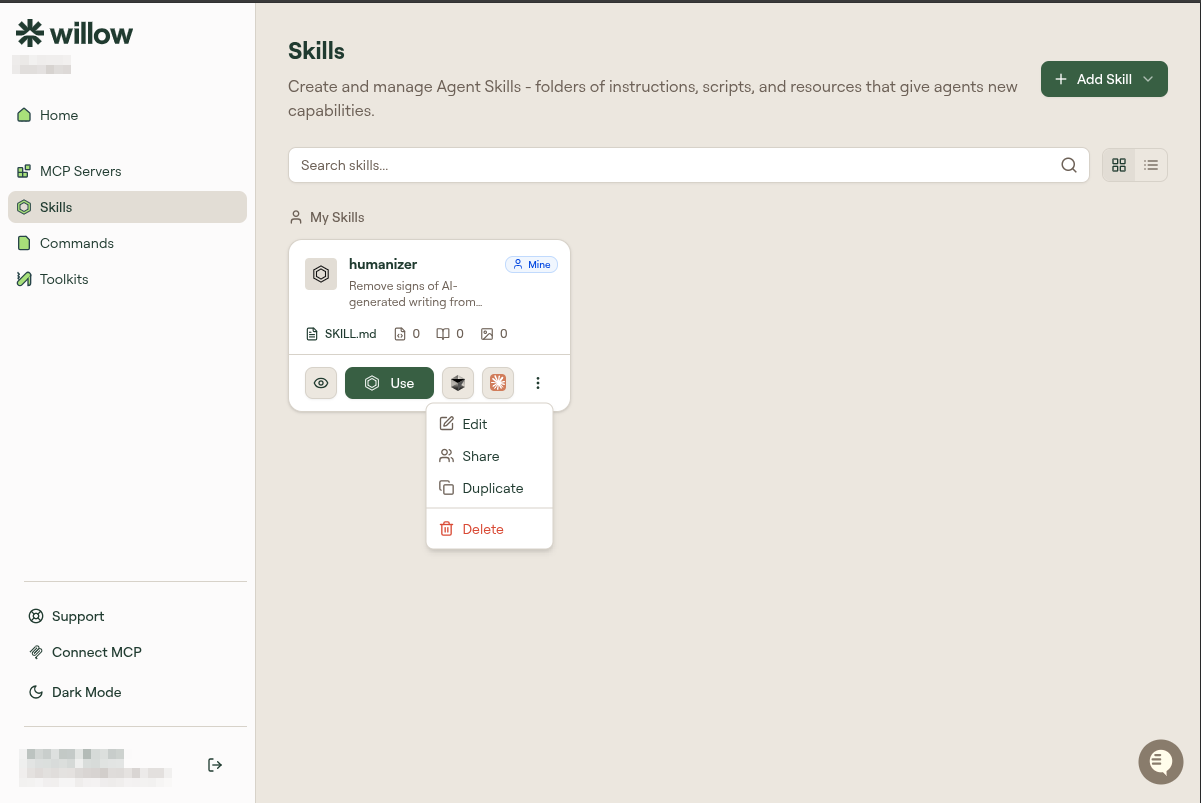
- Edit: Open in the editor to modify name, description, or content.
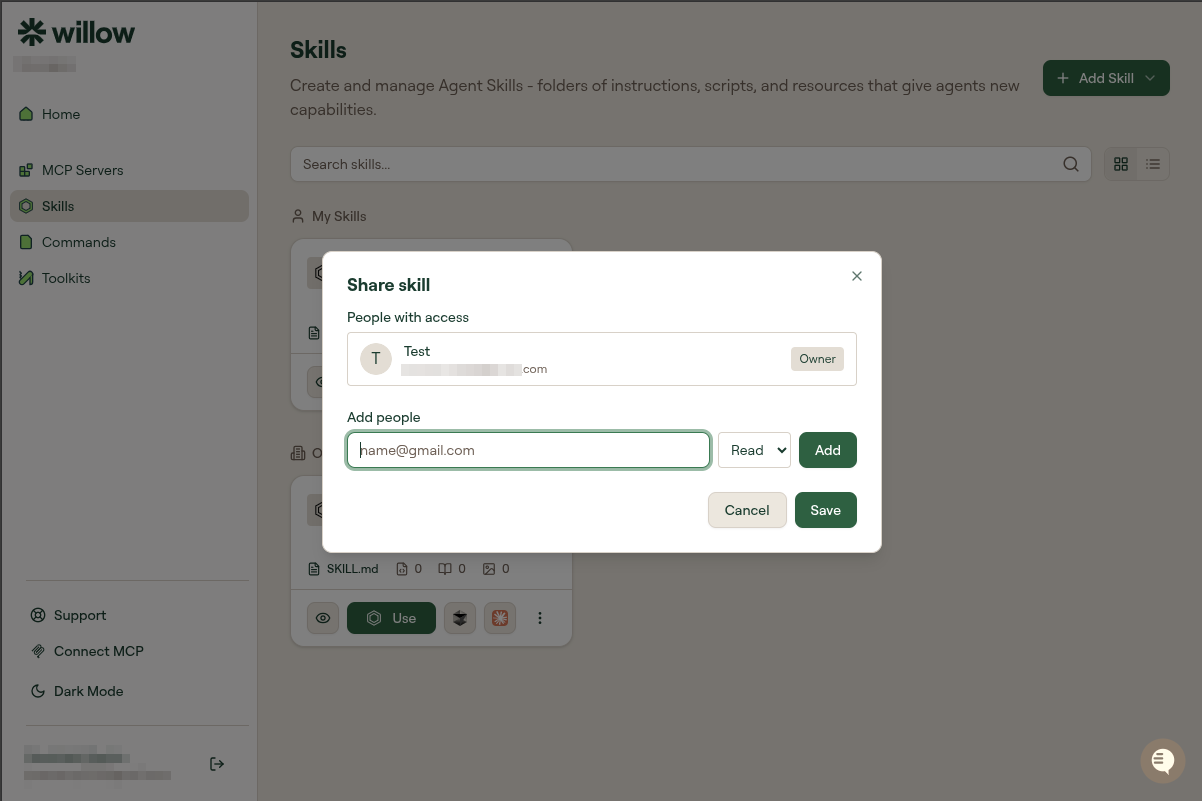
- Share: Share this skill with specific teammates by email. Set their permission to Read or Write.
- Duplicate: Creates a copy. Useful as a starting point for a variation.
- Delete: Permanently removes the skill.
Skill content format
Skills are plain Markdown. Write them as instructions to your AI:
# Code Review Process

When reviewing code, follow this sequence:

1. Check for logic errors and edge cases
2. Verify error handling is complete
3. Look for missing test coverage
4. Review for security issues (injection, auth, data exposure)
5. Check code style matches the project conventions

For each issue found, note:
- The line or section
- Why it's a problem
- A suggested fix
Keep skills focused on one task. Broad skills ("be a good developer") are less useful than specific ones ("how we review pull requests").
Related
- Create your first skill: step-by-step tutorial
- Create commands: for text templates, not instructions