Create Your First Skill in 15 Minutes
In this tutorial you'll create a code review checklist skill, from the first form field to seeing it live in your Skills list.
Prerequisites
- Basic familiarity with the Willow dashboard
- 15 minutes
Step 1: Open Skills
Click Skills in the sidebar.
If you've never added a skill, the page is empty. That's expected.
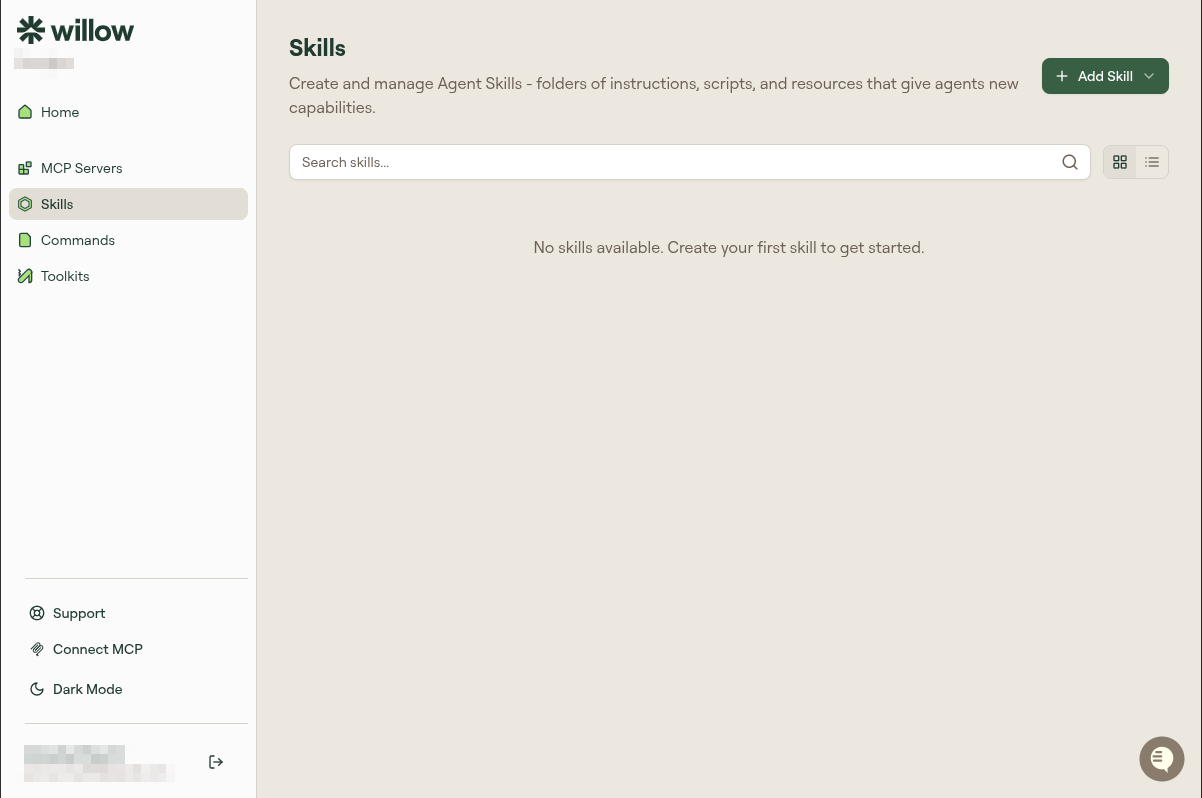
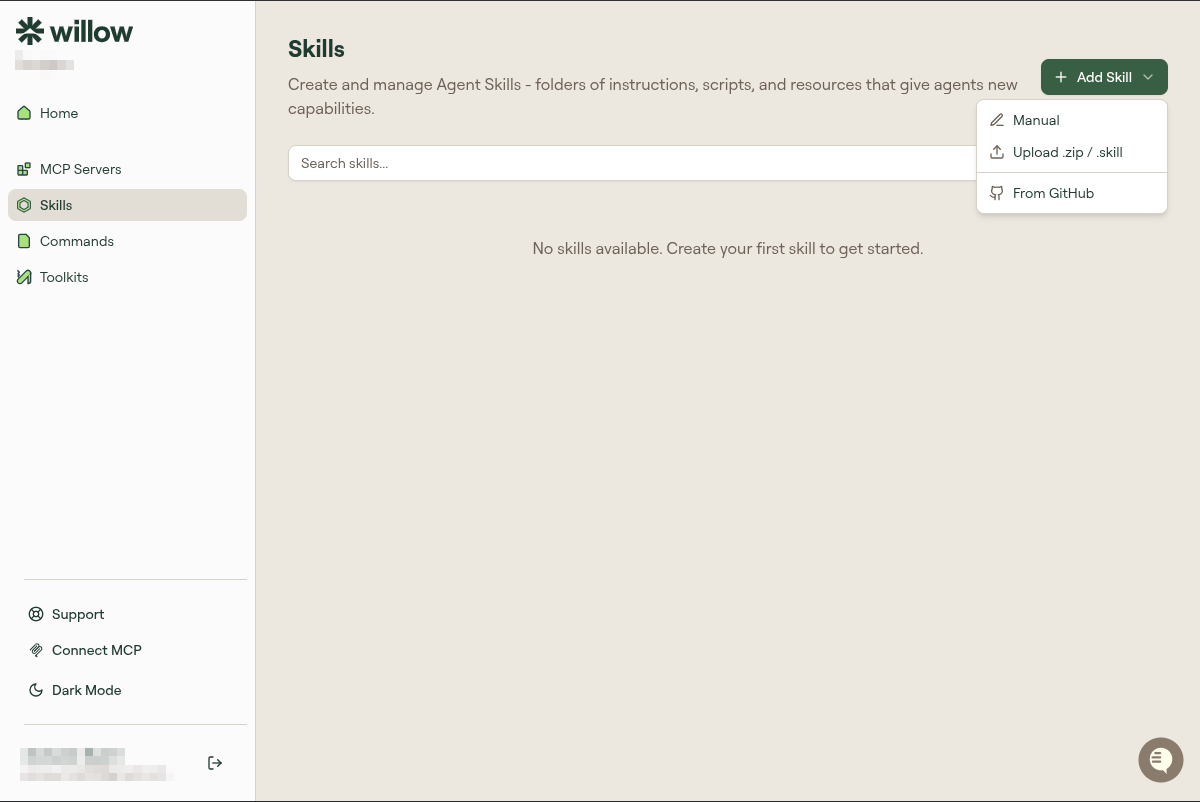
Click + Add Skill.
A dropdown appears with three options: Manual, Upload .zip / .skill, and From GitHub. Click Manual.
Step 2: Fill in the details
A form opens with four fields:
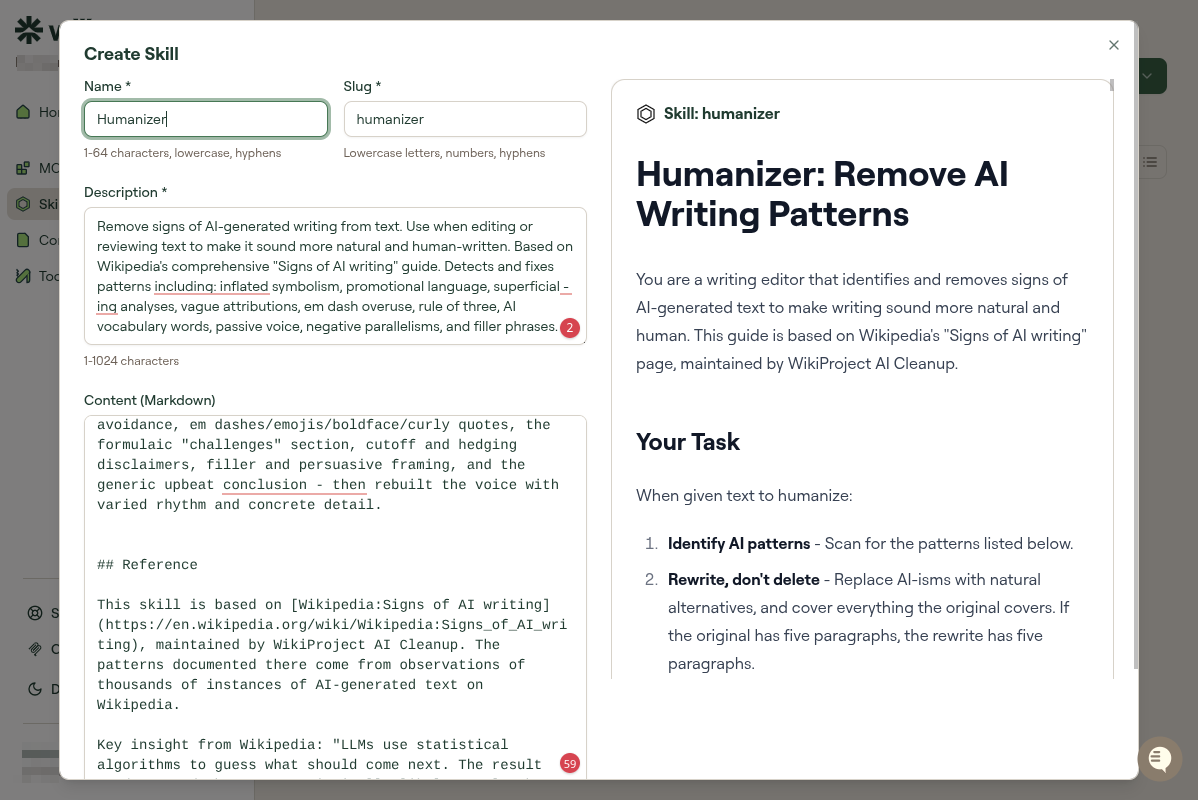
Name: The human-readable label shown in the Willow UI. This is for you, not for your AI.
Code Review Checklist
Slug: A unique identifier for this skill, used internally and for deduplication. Lowercase, hyphens only, no spaces. You won't type this anywhere. It's how Willow tracks the skill.
code-review-checklist
Description: A short summary of what the skill does. Used when browsing multiple skills to understand what each one is for.
A structured process for reviewing code changes.
Content: The Markdown your AI will read. Write it as if you're writing instructions for a capable colleague who doesn't know your team's conventions yet.
# Code Review Checklist

When asked to review code, follow this process systematically.

## What to check

1. Logic and correctness: are there obvious bugs or edge cases the code doesn't handle?
2. Error handling: are errors caught and handled at the right level?
3. Test coverage: does new code have tests? Do the tests actually cover the important paths?
4. Style consistency: does this match the patterns already in the codebase?
5. Security: are there injection risks, exposed secrets, or unsafe operations?

## What good feedback looks like

Be specific: "line 42: this will throw if `user` is null" rather than "null handling needs work."

Distinguish blocking issues from suggestions: not everything needs to be fixed before merge.
Step 3: Review the preview
The right panel renders your Markdown as it will appear. Look for two things:
- Formatting: Check that headers, numbered lists, and code blocks rendered correctly. If something looks wrong here, your AI will receive garbled input.
- Completeness: Read it as if you're the AI encountering it cold. Is anything ambiguous? Would someone following these instructions produce the output you want?
If the content is good, continue.
Step 4: Create the skill
Click Create Skill.
You should see a confirmation and your skill appears in the Skills list under My Skills.

This skill is personal. It's only visible to your AI client, not to other users in your organization. If your admin has published org-level skills, you'll see those in a separate section, but yours won't appear there until an admin adds them to an org-level toolkit.
What's next
Your skill exists, but it's not connected to anything yet. To use it:
- Add it to a toolkit: Group it with MCP servers and commands for a specific workflow. See Create a Toolkit.
- Use it directly: Some AI clients let you reference skills by name. Check your AI client's documentation for how it handles context files.
For other ways to create skills (upload a file, import from GitHub), see All Ways to Create Skills.