Create Your First Plugin
Plugins are a beta feature. End users will only see the Plugins tab in their sidebar if your organization has beta features enabled. To request access, contact Willow. Once enabled, a Beta Features tab will appear in Settings.
This tutorial takes you from an empty Plugins page to a published plugin that end users can access from their Plugins tab. You will create a plugin, add a skill to it, configure which clients it targets, and publish it to your organization.
By the end, you will have:
- created a plugin with a name and description
- added a skill as a plugin component
- set the target platforms for the plugin
- published the plugin so end users can access it
Prerequisites
You need:
- admin access to Willow
- at least one skill in your organization
If you do not have a skill yet, open Build > Skills and create one before continuing. A plugin with no components produces an empty package.
Step 1: Open Plugins
In the admin dashboard, open Build > Plugins.
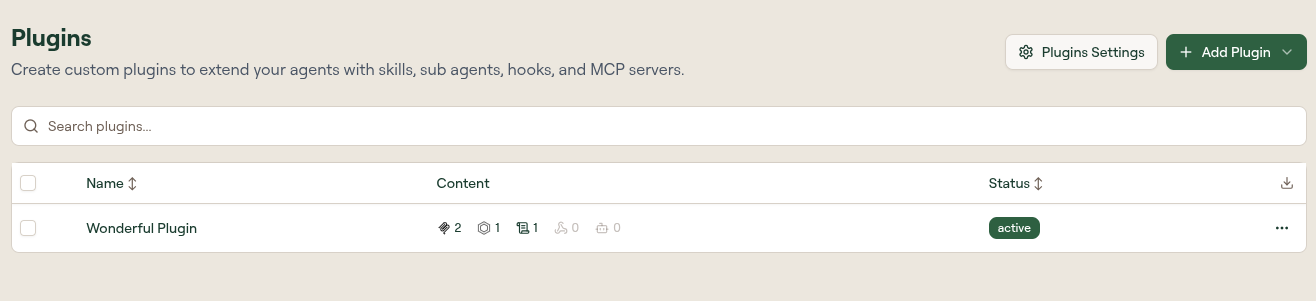
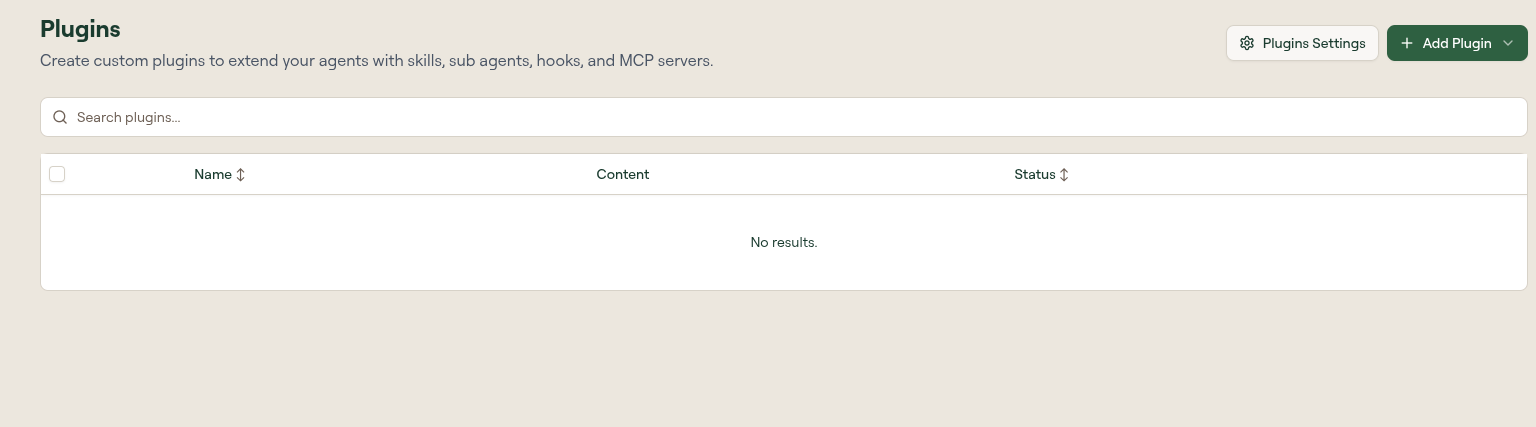
The Plugins page lists every plugin in your organization. The table shows each plugin's name, content summary, and status. A plugin bundles skills, toolkits, commands, rules, hooks, sub-agents, and MCP server configurations into a single package that AI clients can install and use.
Select Add Plugin.
Step 2: Create the plugin
In the Create Plugin modal, enter a Name. Willow auto-generates the Slug from the name: lowercase letters, numbers, and hyphens only. Add a Description that tells users what the plugin does.
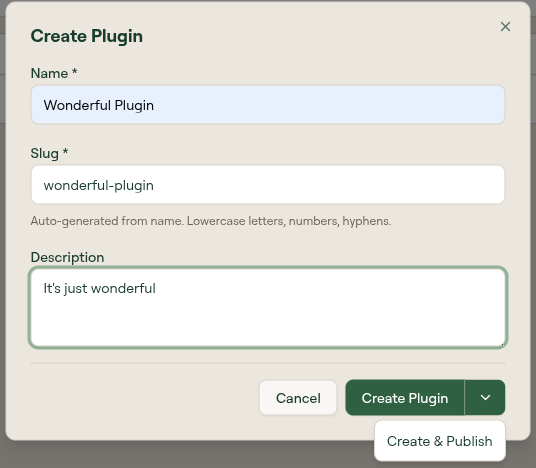
Select Create Plugin. Willow creates the plugin and opens the edit page.
Step 3: Add a skill
The edit page organizes plugin components into collapsible sections. The right side shows a Marketplace Preview, a live view of the file structure Willow will generate for the plugin. The preview updates as you add components.
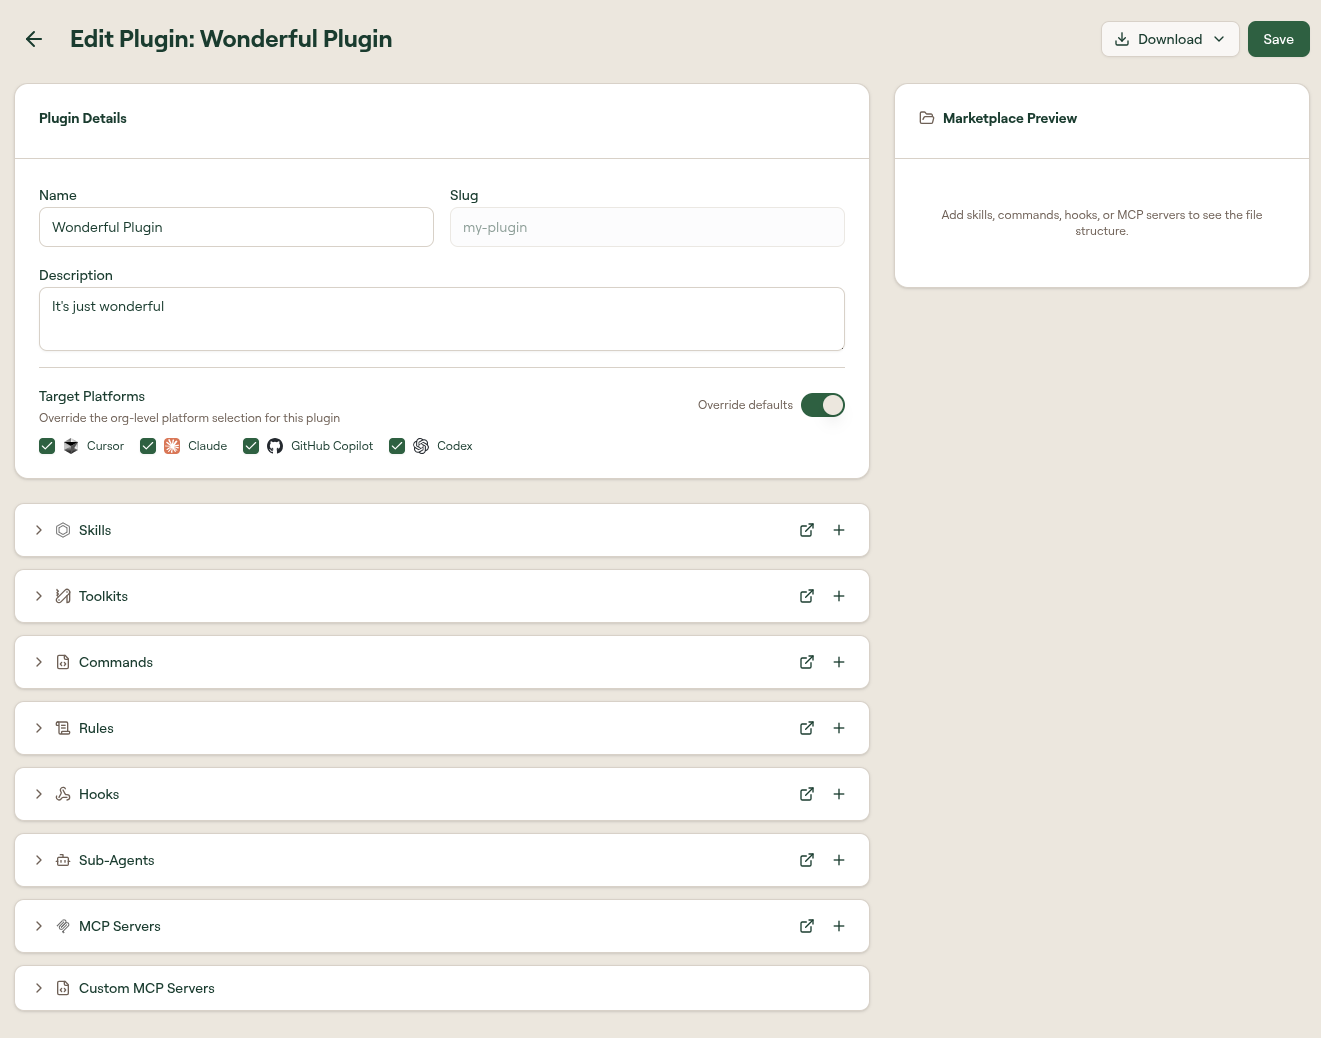
Expand the Skills section. An available skills list appears with a search box. Find the skill you want to include and select the + button next to it.
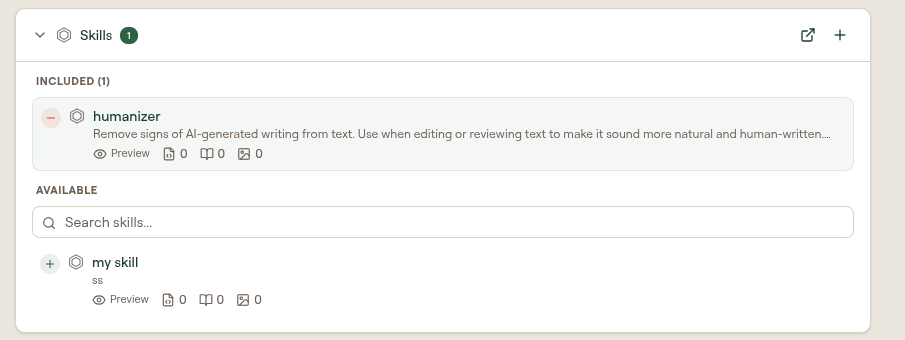
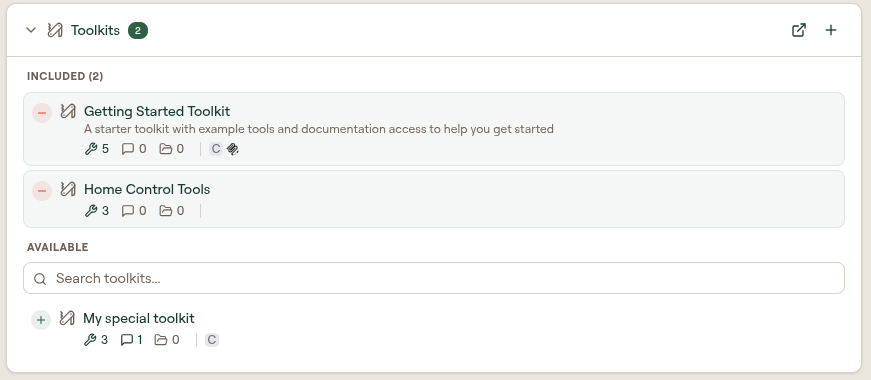
The skill is added to the plugin and the Marketplace Preview updates to show it in the file structure. Every other section works the same way: expand it, search, and select + to include items. For example, expand Toolkits to add one or more toolkits to the plugin.
Step 4: Set target platforms
In the Plugin Details section at the top of the edit page, find Target Platforms. These determine which AI clients Willow generates configuration for when the plugin is used.
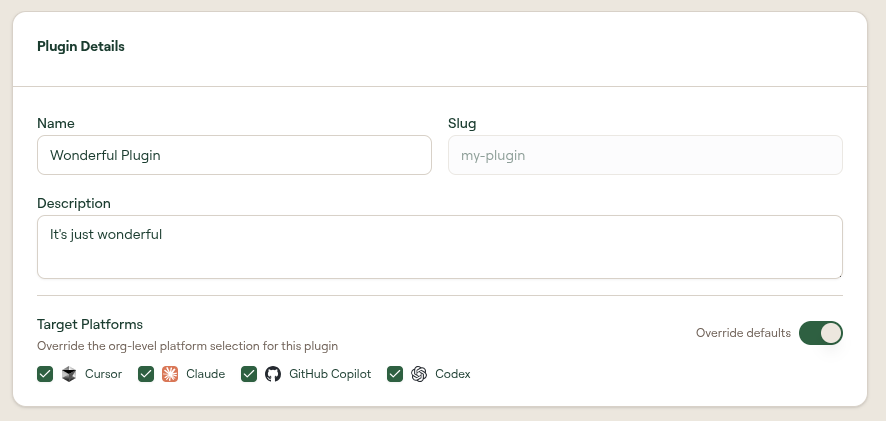
The platform checkboxes default to your organization-level settings from Plugin Settings. Enable Override defaults if this plugin should target a different set of clients, then check or uncheck Cursor, Claude, GitHub Copilot, and Codex as needed.
Select Save in the top-right corner.
Step 5: Publish the plugin
Select Publish to make the plugin available to end users in your organization.
Once published, end users will see the plugin listed under the Plugins tab in their sidebar. They can install it from there directly into their AI client with no manual file distribution required.
Verify it worked
You are done when all of these are true:
- the plugin appears in the Plugins table with an active status
- the Marketplace Preview on the edit page shows your components in the file structure
- end users with beta features enabled see the plugin listed in their Plugins sidebar tab