Create and Publish a Skill
There are three ways to add a skill: author it manually, upload an existing skill file, or import from a GitHub repository. Open Build > Skills to start.
Prerequisites
You need:
- admin access to Willow
- for GitHub import: a repository whose root contains a
skills/folder
Create a skill manually
- Open Build > Skills.
- Select Add Skill, then Manual.
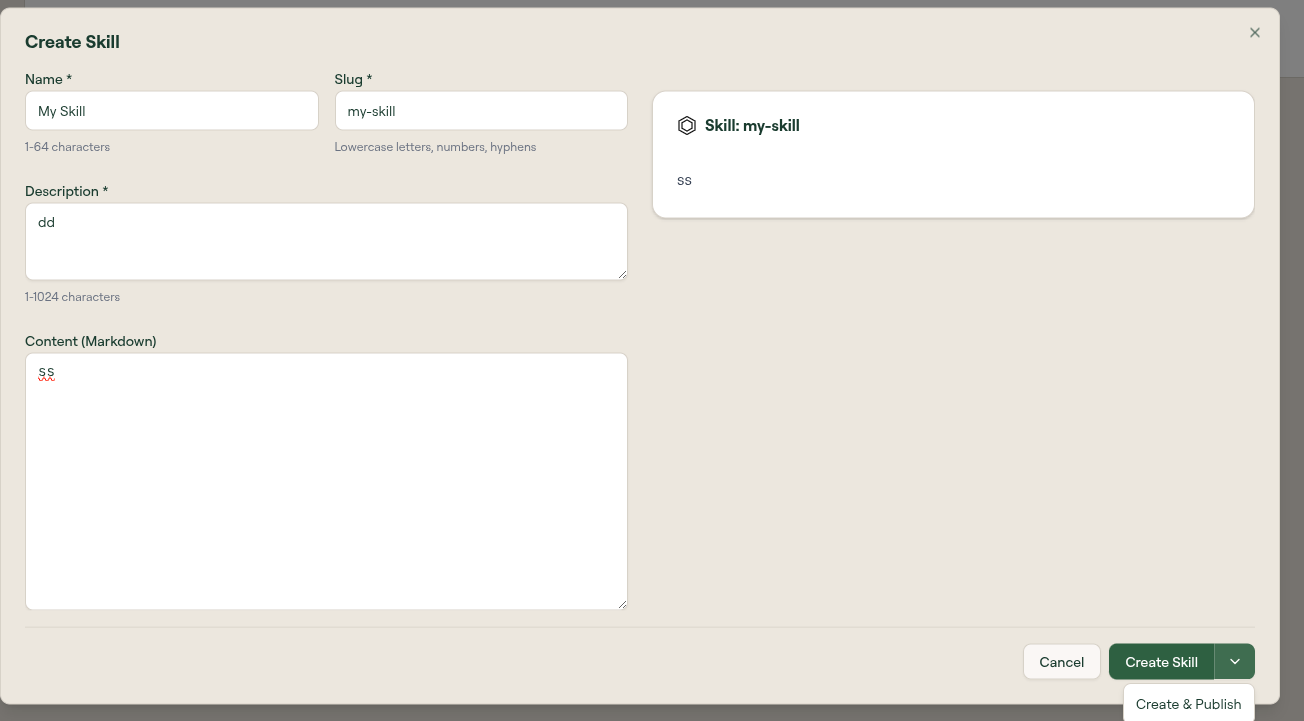
- Fill in the Create Skill form:
- Name: display name of the skill.
- Slug: URL-safe identifier, auto-generated from the name.
- Description: what the skill does and when the agent should use it.
- Content: the skill body in Markdown.
- Select Create Skill to save it as a
draft, or Create & Publish to save and publish in one step.
Upload a skill file
- Select Add Skill, then Upload .md / .zip / .skill.
- Choose the file to upload:
.mdfor a single-file skill..zipor.skillfor a skill that includes scripts, references, or assets.
- Willow imports the skill and opens it for review.
Import skills from GitHub
- Select Add Skill, then From GitHub.
- To import from a private repository, select Connect on the "Connect your GitHub to access private repos" row and authorize Willow. Public repositories need no connection.
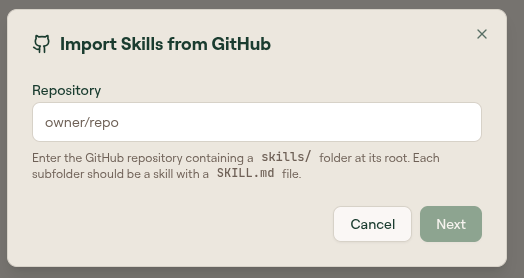
- Enter the repository in
owner/repoformat. - Willow imports every skill it finds. The repository should contain a
skills/folder at its root, with each subfolder holding one skill and aSKILL.mdfile.
To keep imported skills in sync over time, configure a source repository in Skills Settings.
Publish a skill
A skill created manually (without Create & Publish) or imported starts as a draft. To make it available:
- From the Skills list, open the
...menu on the skill row. - Select Publish. The status changes to
active.
To let people use the skill, assign it to a group. To distribute it through your marketplace, bundle it into a plugin.
What to do next
- Skills: list columns, scopes, and settings
- Assign skills to groups
- Bundle skills into a plugin