Configure Keycloak
Set up Keycloak as your identity provider.
Before you start, find your callback URL on the Configure SSO page: {gatewayUrl}/api/auth/callback/keycloak.
Create a client in Keycloak
- In your realm, create a client (OpenID Connect, confidential)
- Set Valid redirect URIs to
{gatewayUrl}/api/auth/callback/keycloak - Copy the Issuer (realm URL, e.g.
https://keycloak.example.com/realms/your-realm), Client ID, and Client Secret
For more details, see the Keycloak guide to creating an OIDC client.
Finish in Willow
- Go to Admin → Settings → Authentication Settings
- Select Provider: Keycloak
- Enter the Issuer, Client ID, and Client Secret
- Select Save Changes
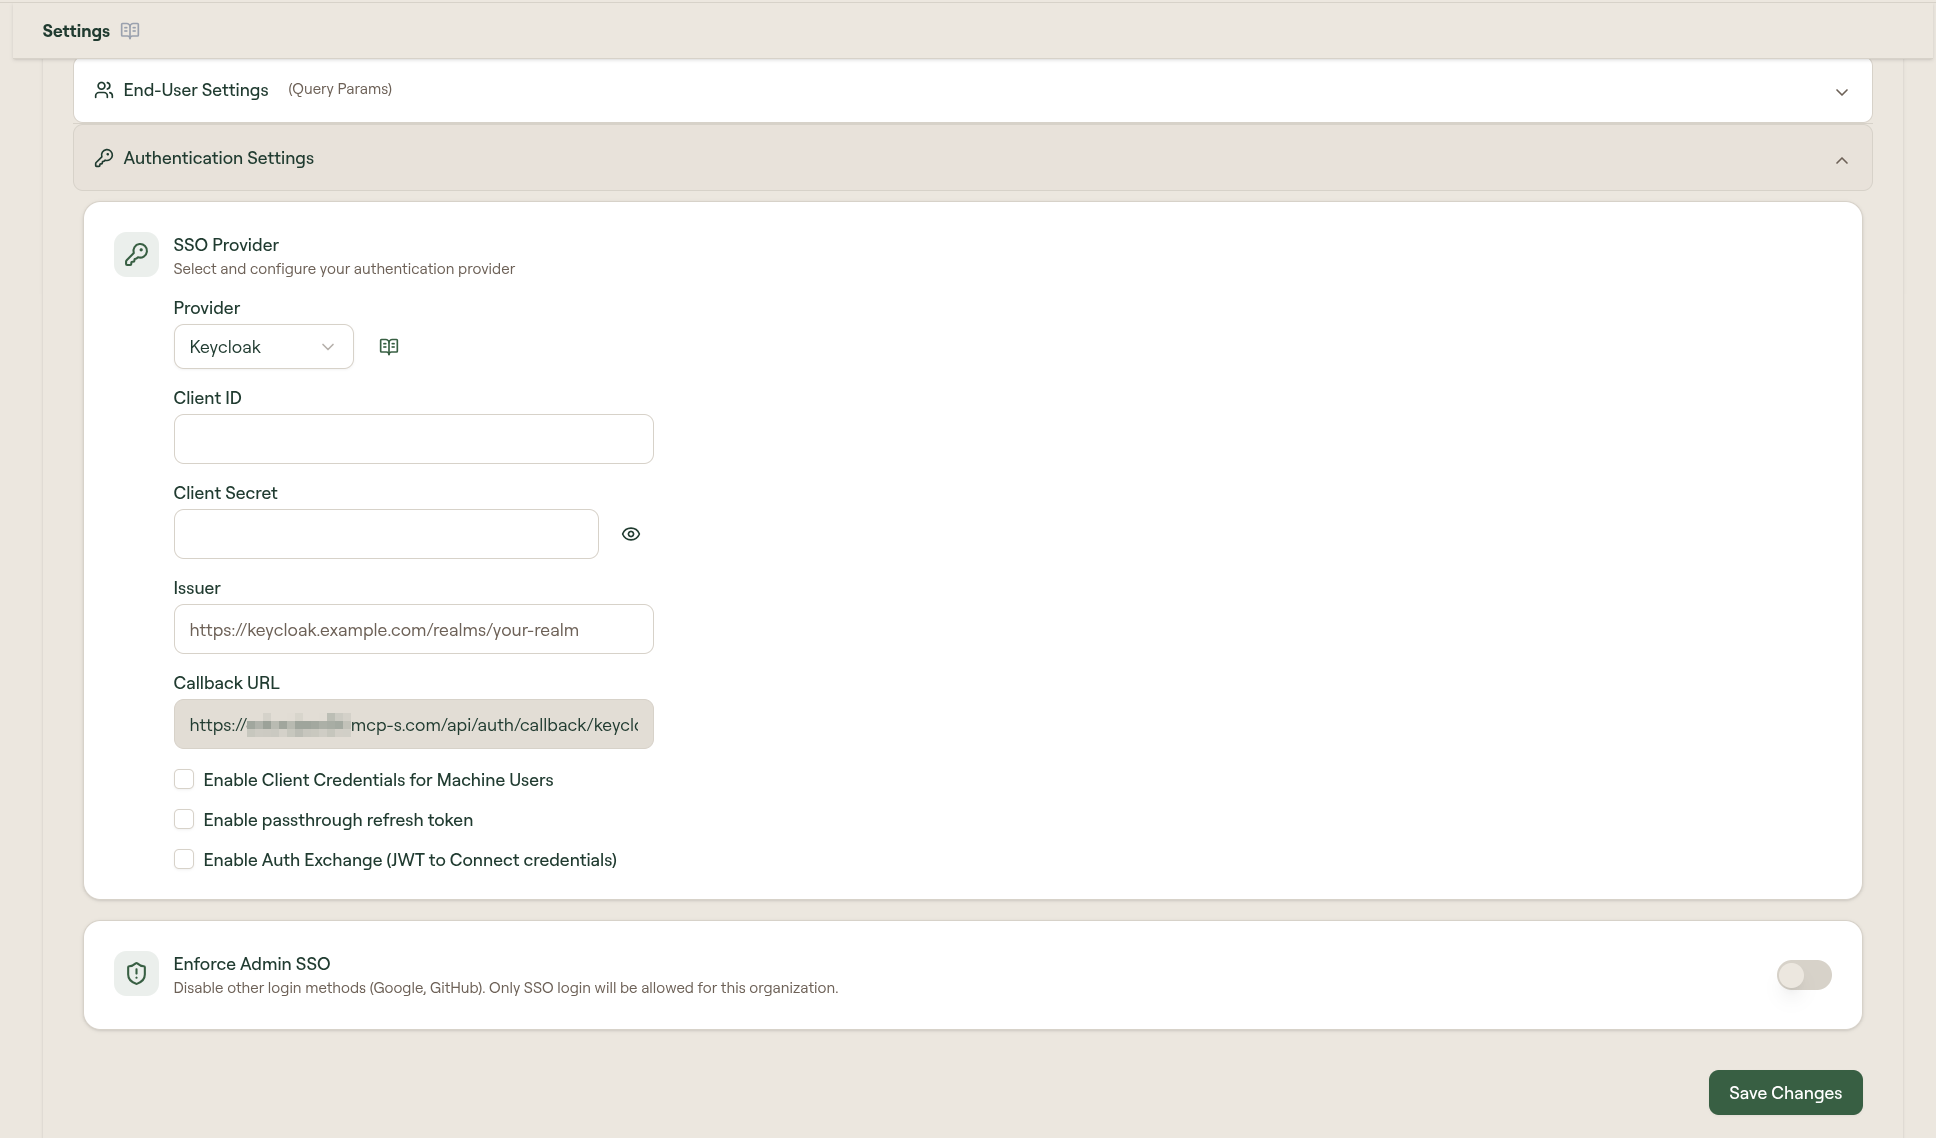
Advanced options
After saving, three optional settings are available beneath the credential fields:
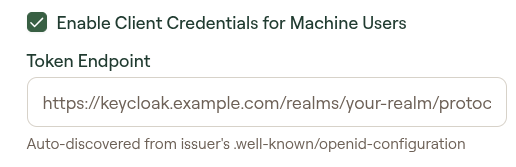
Enable Client Credentials for Machine Users: allows machine users to authenticate using OAuth client credentials. When enabled, a Token Endpoint field appears, auto-discovered from your issuer's .well-known/openid-configuration.
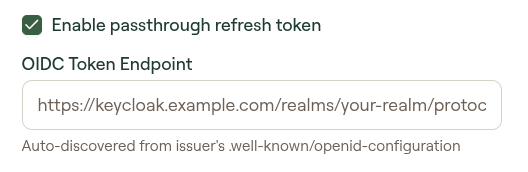
Enable passthrough refresh token: forwards the user's SSO JWT to internal MCP servers automatically. When enabled, an OIDC Token Endpoint field appears, auto-discovered. See JWT Passthrough for the full setup.
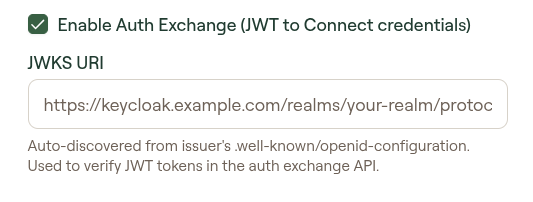
Enable Auth Exchange (JWT to Connect credentials): enables JWT token verification using your IdP's JWKS endpoint. When enabled, a JWKS URI field appears, auto-discovered. Used to verify JWT tokens in the auth exchange API.