Configure JumpCloud
Set up JumpCloud as your identity provider using a Custom OIDC App.
Before you start, find your callback URL on the Configure SSO page: {gatewayUrl}/api/auth/callback/jumpcloud.
Create a Custom OIDC App in JumpCloud
- In the JumpCloud Admin Portal, go to Access → SSO Applications
- Select + Add New Application → search for
OIDC→ select Custom OIDC App → Next - Under General Info, set a Display Label (e.g. "Willow")
- Select Configure Application, then open the SSO tab
- Configure:
- Grant Types: leave Authorization Code checked
- Redirect URIs:
{gatewayUrl}/api/auth/callback/jumpcloud - Client Authentication Type: Client Secret Basic
- Login URL: your Willow dashboard URL
- Ensure Email and Profile standard scopes are selected under Attribute Mapping
- Select Activate. JumpCloud displays the Client ID and Client Secret once, copy both immediately
For more details, see JumpCloud's guide to SSO with OIDC.
Finish in Willow
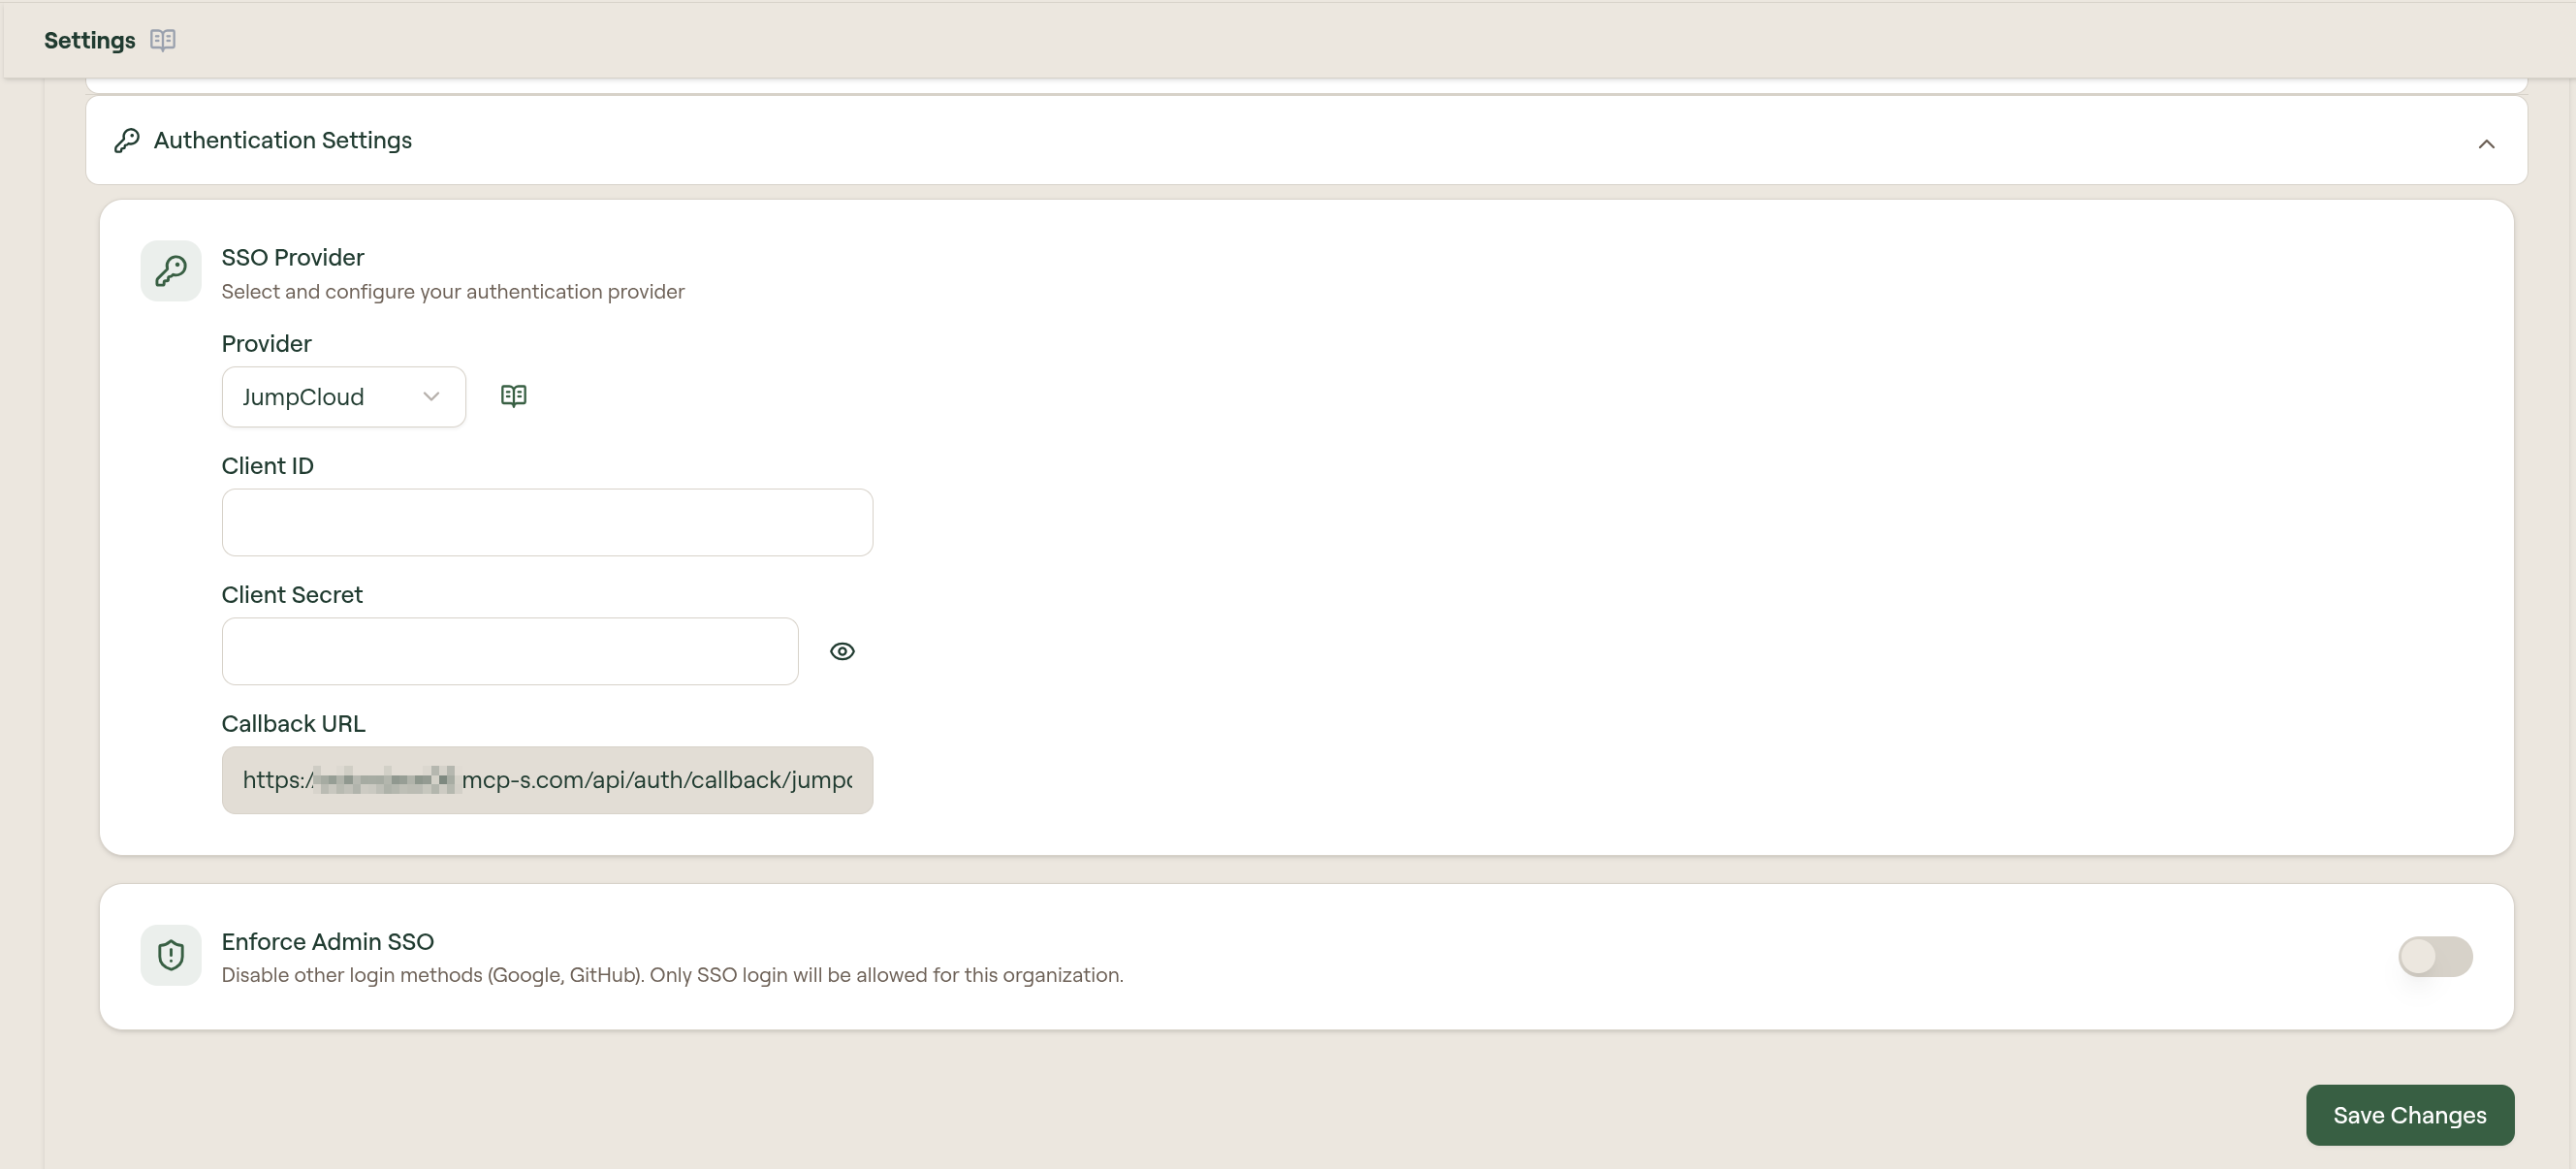
- Go to Admin → Settings → Authentication Settings
- Select Provider: JumpCloud
- Enter the Client ID and Client Secret
- Select Save Changes
Assign users or groups
In the JumpCloud Admin Portal, open the Willow application → User Groups tab → assign the groups that should have access.
After SSO is working, configure SCIM provisioning to automate user and group lifecycle management between JumpCloud and Willow. When SCIM is active, JumpCloud creates, updates, and deprovisions users and groups automatically. See SCIM Provisioning with JumpCloud for step-by-step instructions.