Configure MCP Server Authentication
The Setup tab on an MCP server edit page controls how Willow authenticates to the upstream MCP server on behalf of users. The right mode depends on what the server expects: organization-level OAuth tokens, per-user API keys, forwarded SSO credentials, or nothing at all. Choose it before syncing tools. Authentication errors during a tool test almost always trace back to a mismatched or missing auth configuration.
Prerequisites
You need:
- admin access to Willow
- an MCP server already added to your organization
Go to Build > MCP Servers, click the server row to open its edit page, then select the Setup tab.
Authentication types
| Type | Use when |
|---|---|
| Proxy OAuth | The MCP server supports OAuth and each user should authorize access through Willow's proxied flow. |
| Proxy API Key | Each user provides their own API key, or you define setup keys users complete during connection. |
| Proxy Passthrough | The user's SSO provider JWT ID token should be sent to the MCP server as the Authorization header. |
| None | The upstream server requires no authentication. Use only for local or trusted test servers. |
Do not choose None for production systems just to complete setup. Match the auth mode to how the server will actually be used.
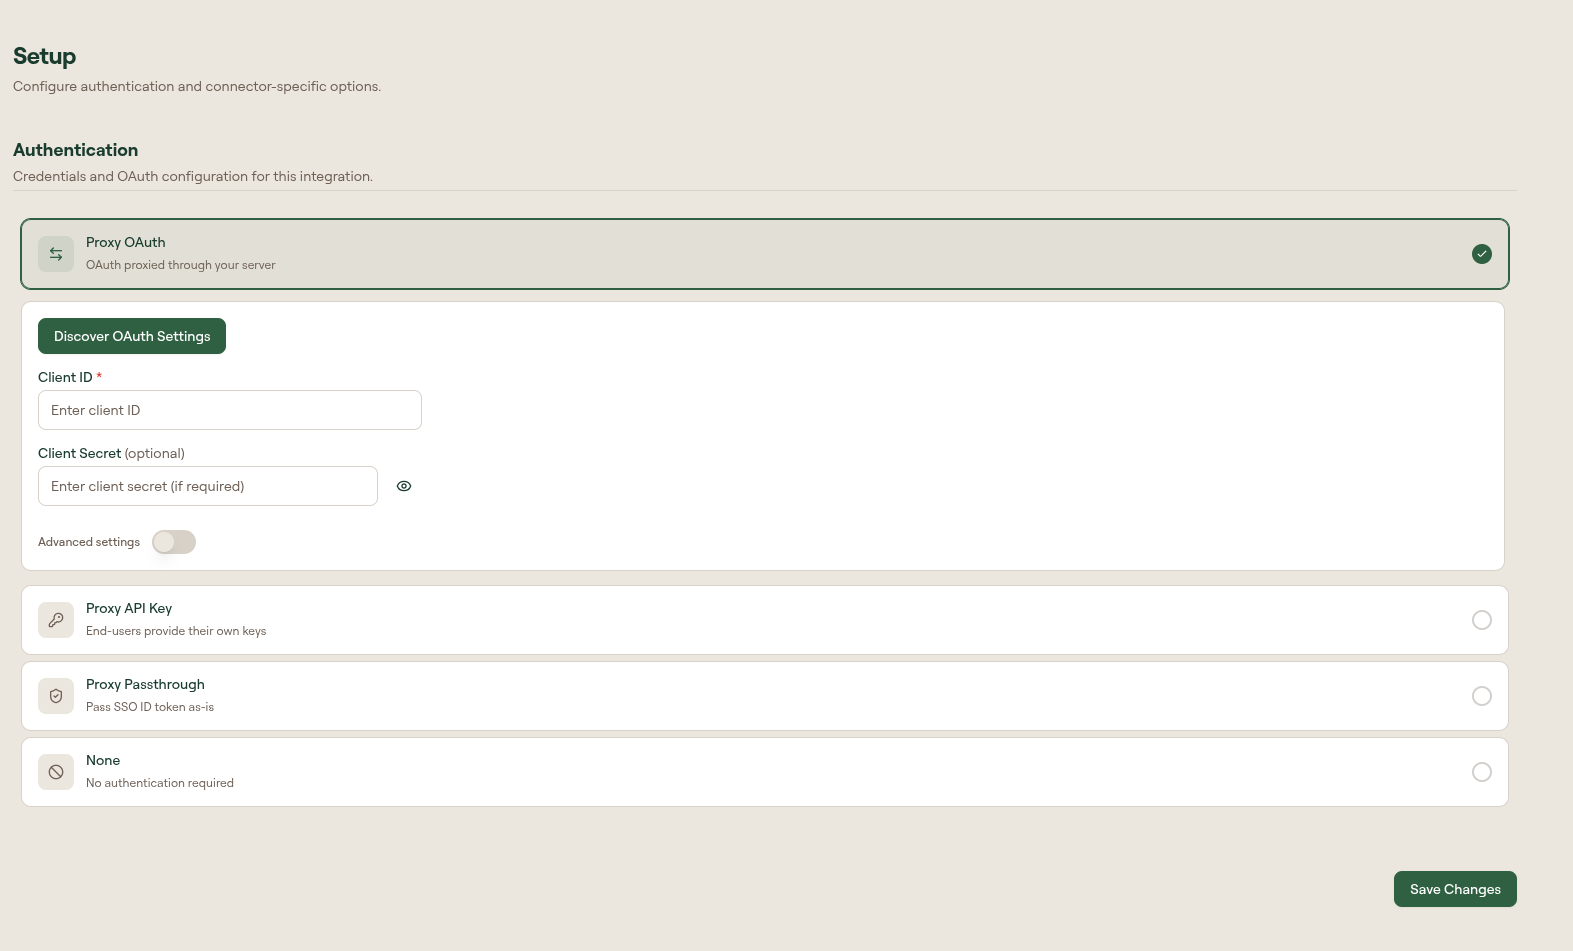
Configure Proxy OAuth
- On the Setup tab, select Proxy OAuth.
- Select Discover OAuth Settings if Willow can auto-detect endpoints from the server.
- Enter Client ID and Client Secret (optional) from your OAuth application.
- Select Save Changes.
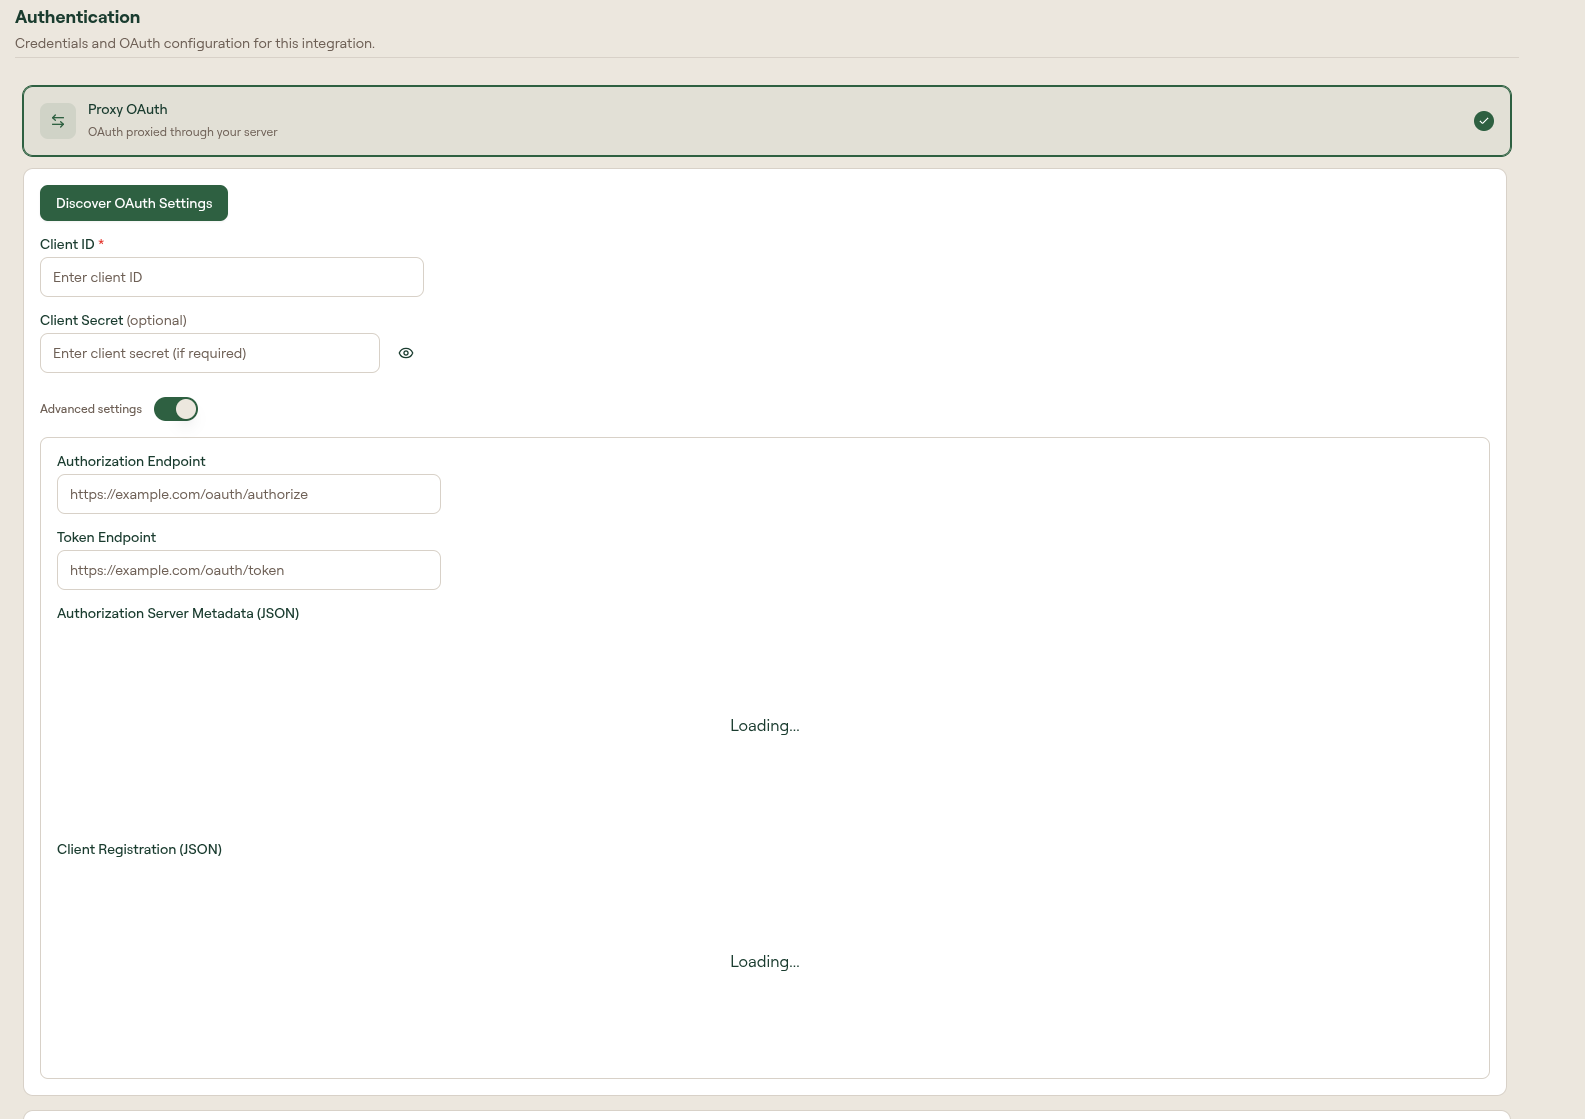
For servers that need manual endpoint configuration, expand Advanced settings and fill in:
- Authorization Endpoint
- Token Endpoint
- Authorization Server Metadata (JSON)
- Client Registration (JSON)
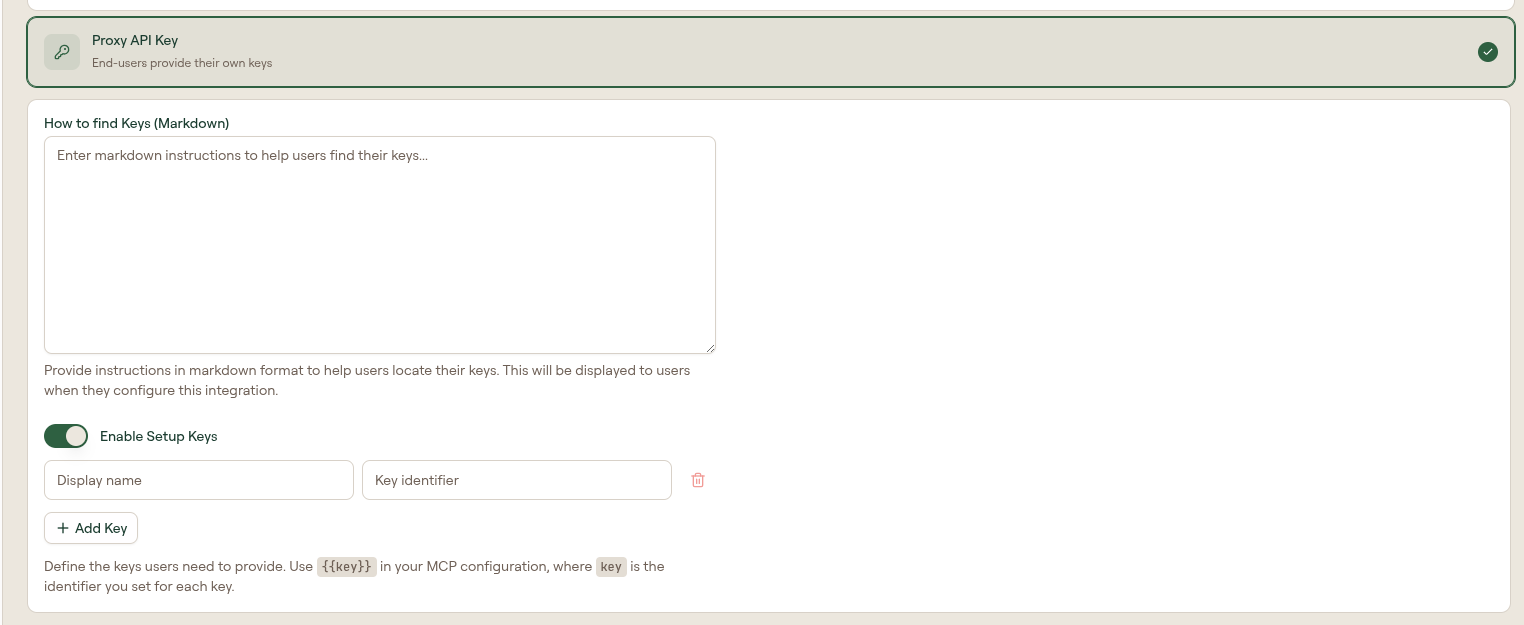
Configure Proxy API Key
- On the Setup tab, select Proxy API Key.
- Optionally add How to find Keys (Markdown) instructions for end users.
- Turn on Enable Setup Keys if users should provide keys during connection.
- Add key rows with a display name and key identifier.
- In the MCP configuration on the Settings tab, reference the key using
{{key}}wherekeyis the identifier you set. - Select Save Changes.
You can also configure API key behavior at creation time for custom MCP servers. See Add an MCP Server.
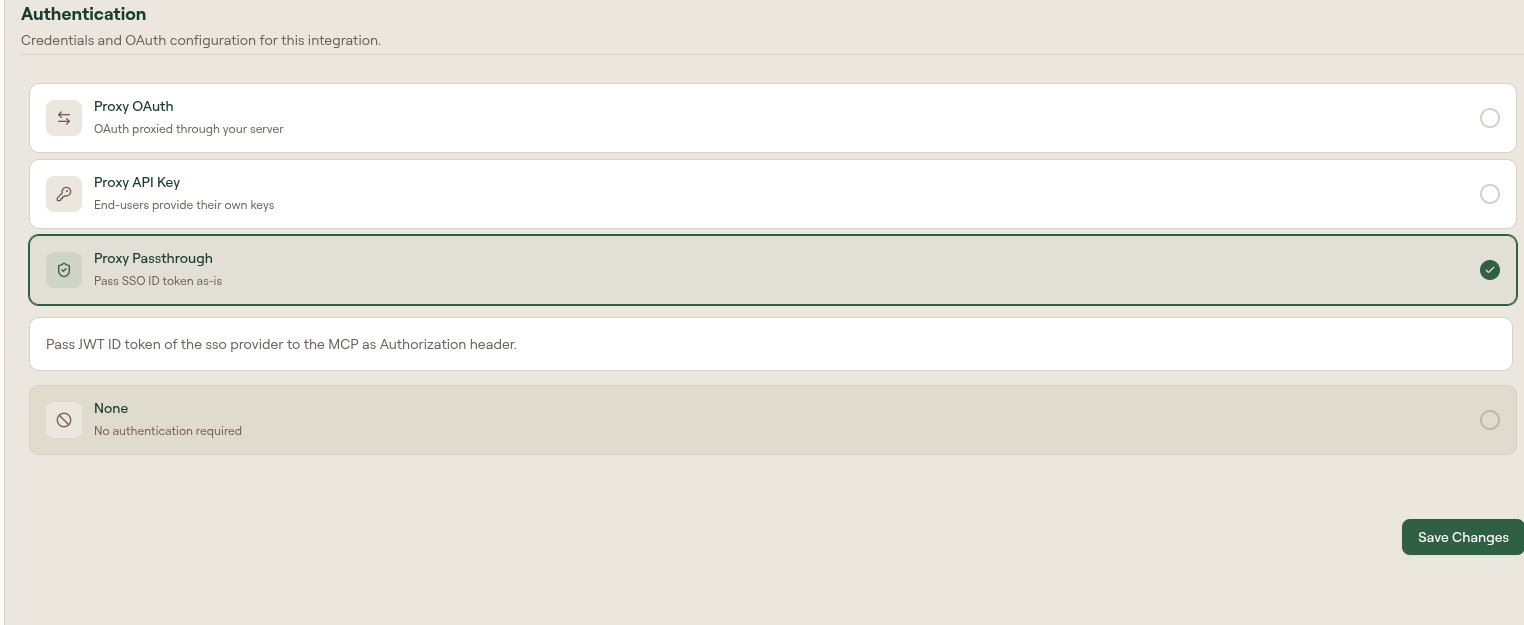
Configure Proxy Passthrough
Proxy Passthrough requires no server-side credentials. Instead, Willow takes the user's JWT ID token from your SSO provider and forwards it as the Authorization header on every upstream request. The MCP server receives the token directly and handles validation itself.
- On the Setup tab, select Proxy Passthrough.
- Select Save Changes.
This mode only works when users are authenticated through your configured SSO provider. Anyone without an active SSO session cannot make tool calls. See SSO Overview.
Using vault secrets
Store sensitive values in the Vault and reference them in MCP configuration with:
{{vault.SECRET_NAME}}
On the Settings > MCP Configuration section, use Insert Secret to search vault secrets and insert the placeholder into the JSON editor. See MCP Server Settings Reference.
Test the connection
After saving authentication settings:
- Use the run or test area on the Setup tab if the connector exposes one.
- Save your changes and open the Tools tab.
- Select Sync Tools, then test a low-risk tool.
A successful test confirms Willow can reach the upstream MCP server with the current credentials. If the test fails, check the auth mode, vault secret references, OAuth client details, and upstream server reachability before changing gateway or client settings.