Connect VS Code to Willow
Get GitHub Copilot in VS Code talking to Willow.
Prerequisites
- VS Code 1.99 or later
- GitHub Copilot extension enabled
- Your organization's Willow URL (from the Connect MCP modal)
Step 1: Get Your Connection URL
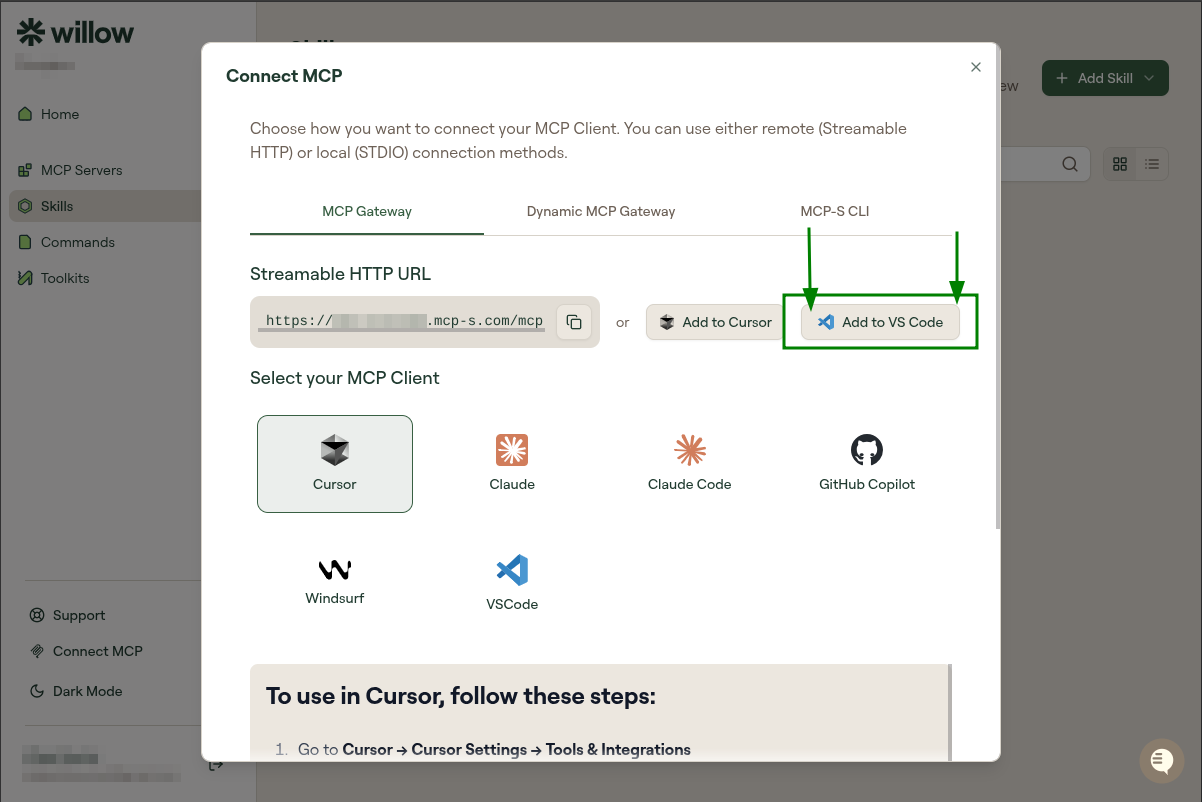
In Willow, click Connect MCP at the bottom of the left sidebar. Select VS Code from the client grid.
You'll see your connection URL and two options:
- Add to VS Code (recommended): one-click setup. VS Code opens and prompts you to add the MCP server automatically. Skip to Step 3.
- Copy URL: paste it manually if you prefer (see Step 2).
Step 2: Configure Manually
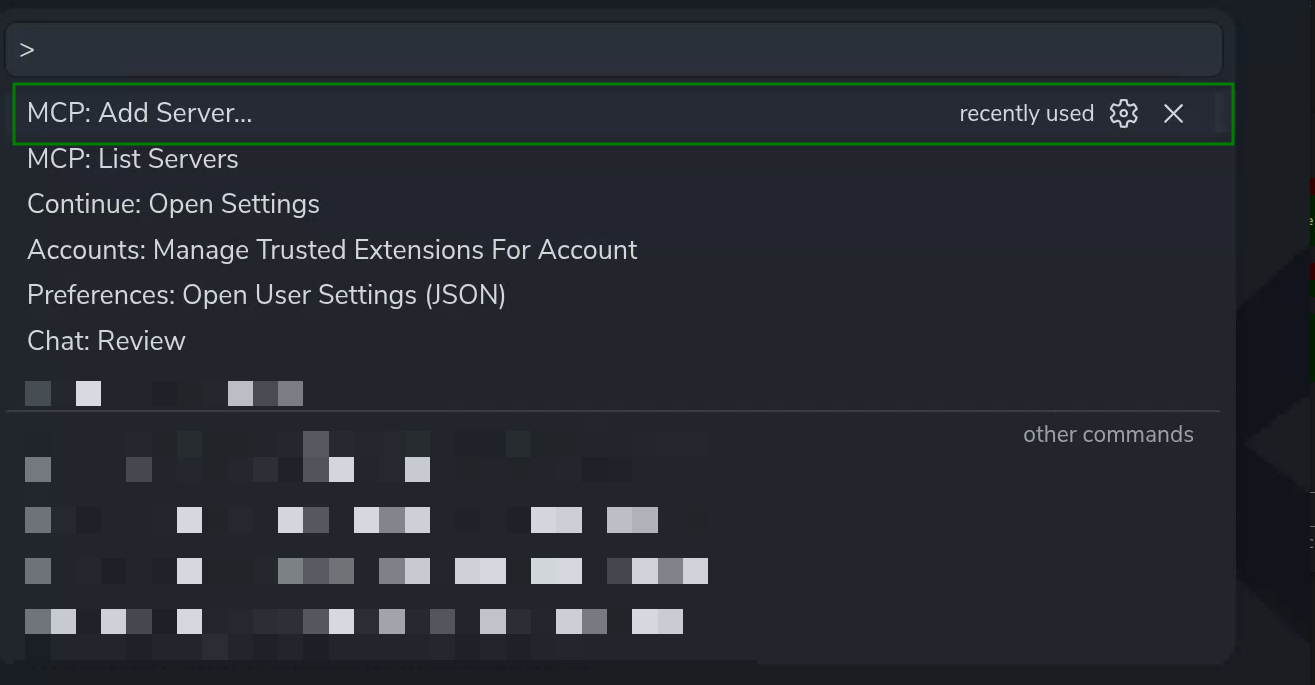
Open the Command Palette (Ctrl+Shift+P / Cmd+Shift+P) and run MCP: Add Server....
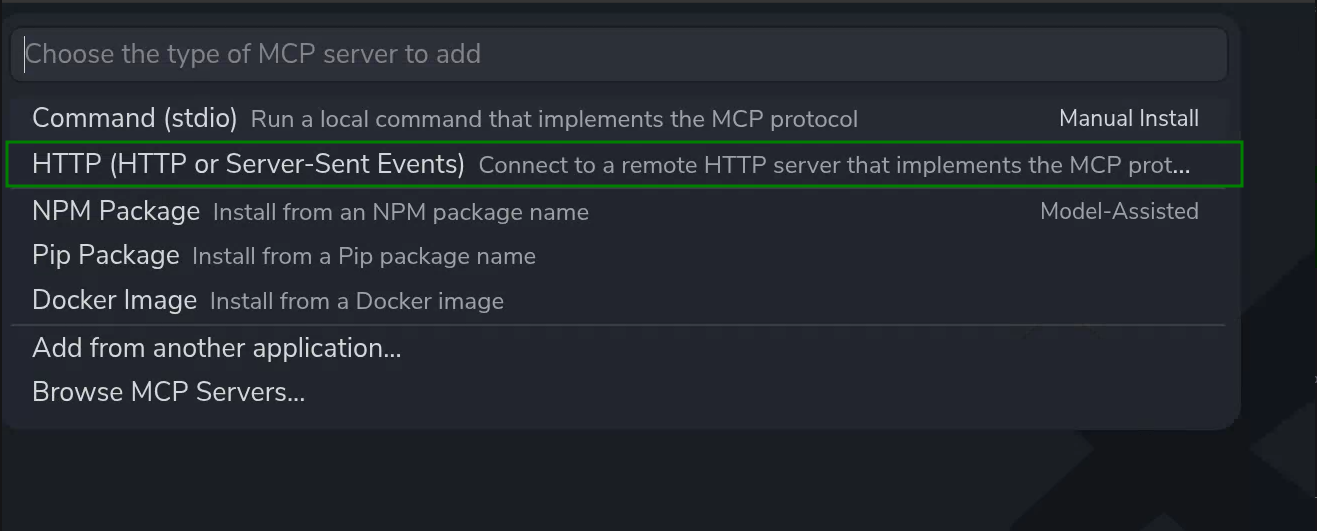
Select HTTP (HTTP or Server-Sent Events).
Paste your Willow URL and press Enter.

Enter a name for the server (e.g. Willow) and press Enter.

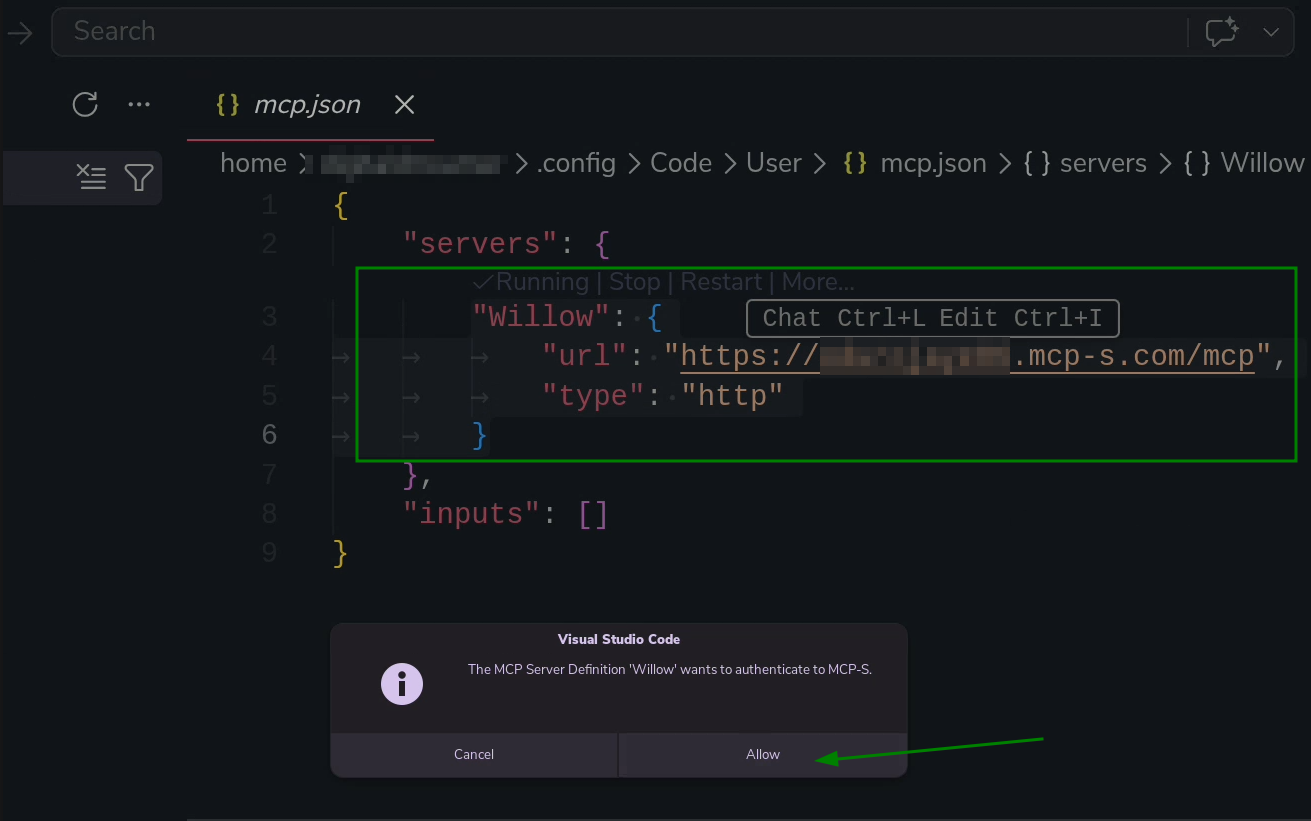
VS Code writes the entry to mcp.json and starts the server automatically.
Step 3: Authorize
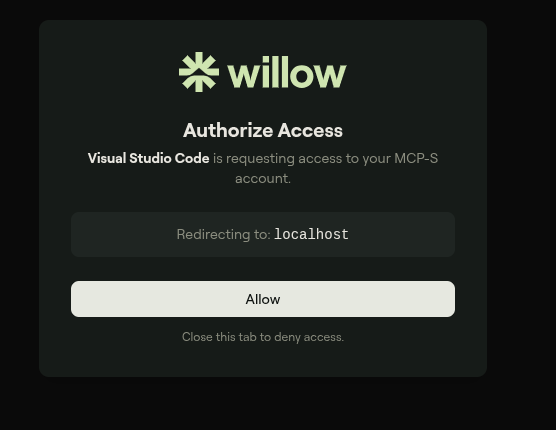
VS Code shows a notification: "The MCP Server Definition 'Willow' wants to authenticate to MCP-S." Click Allow.
VS Code then asks: "Do you want Code to open the external website?" Click Open.

Your browser opens the Willow authentication page. Log in to your Willow account if prompted, then complete the authorization.
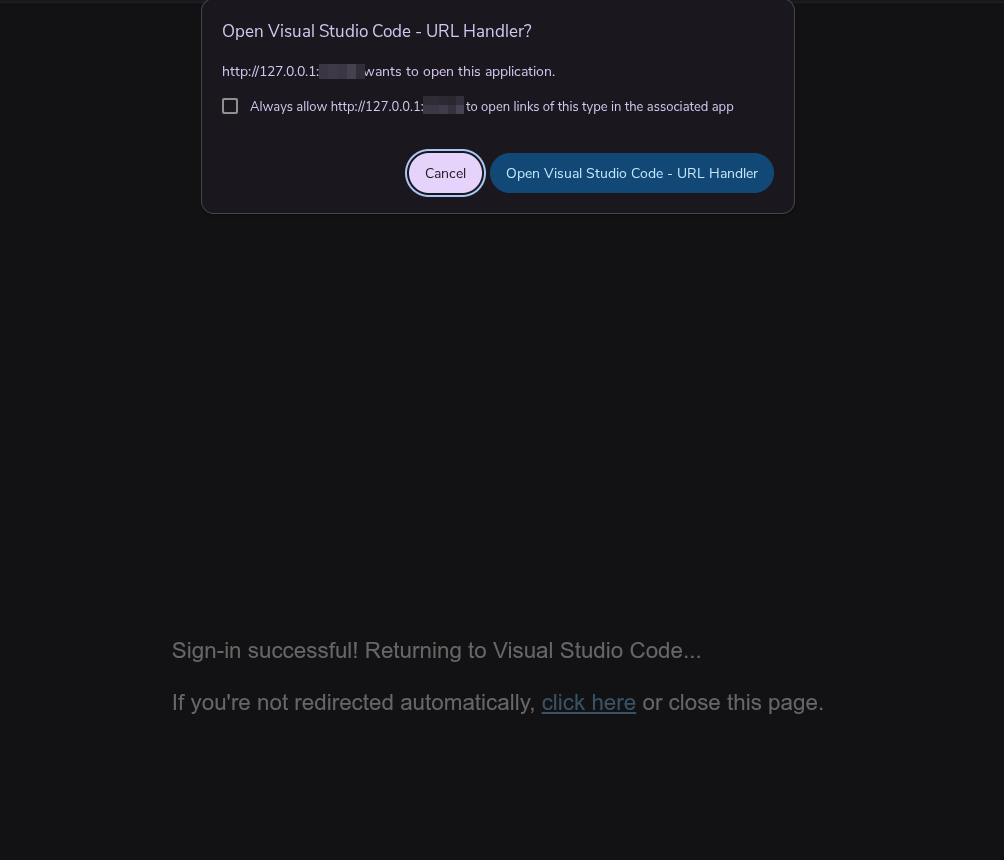
After authenticating, the browser shows a sign-in success message and a system dialog: "Open Visual Studio Code - URL Handler?" Click Open Visual Studio Code - URL Handler.
Step 4: Verify It Works
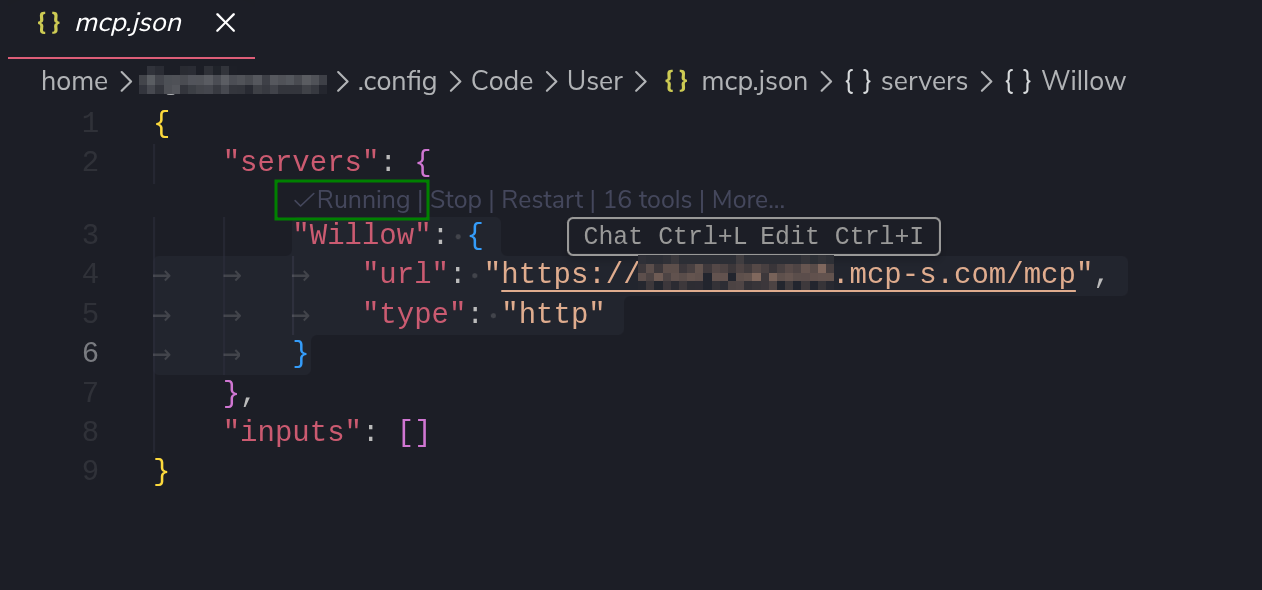
Back in VS Code, hover over the server name in mcp.json. The status bar shows Running | 16 tools (the number will match your connected servers).
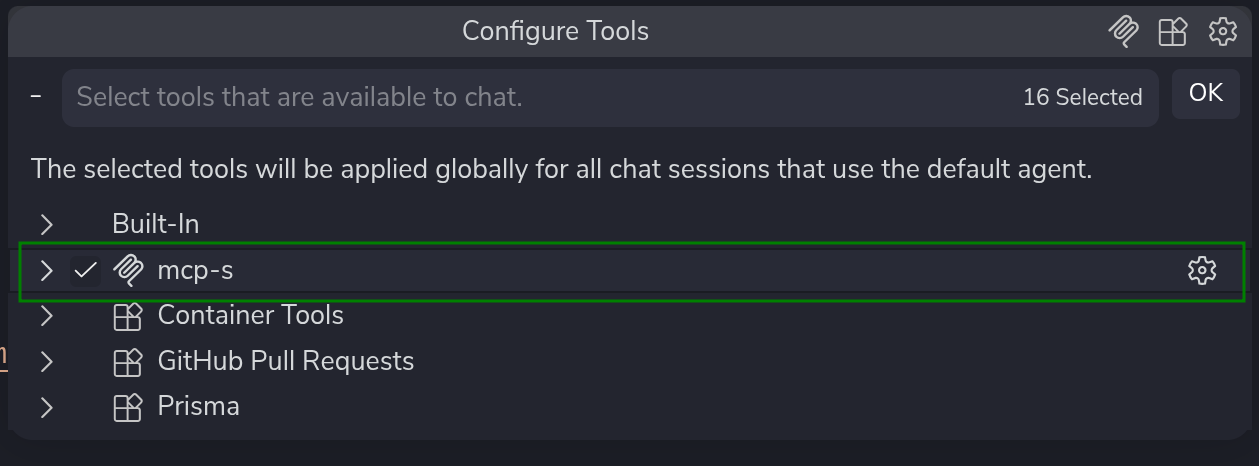
Open Copilot Chat. Click the sliders icon in the chat bar to open Configure Tools.
In the Configure Tools panel, look for Willow or mcp-s (VS Code may display either name). Make sure it is checked, then click OK.
Now ask:
"List what tools you have access to in Willow MCP"
Copilot should respond with your connected Willow tools, grouped by server.
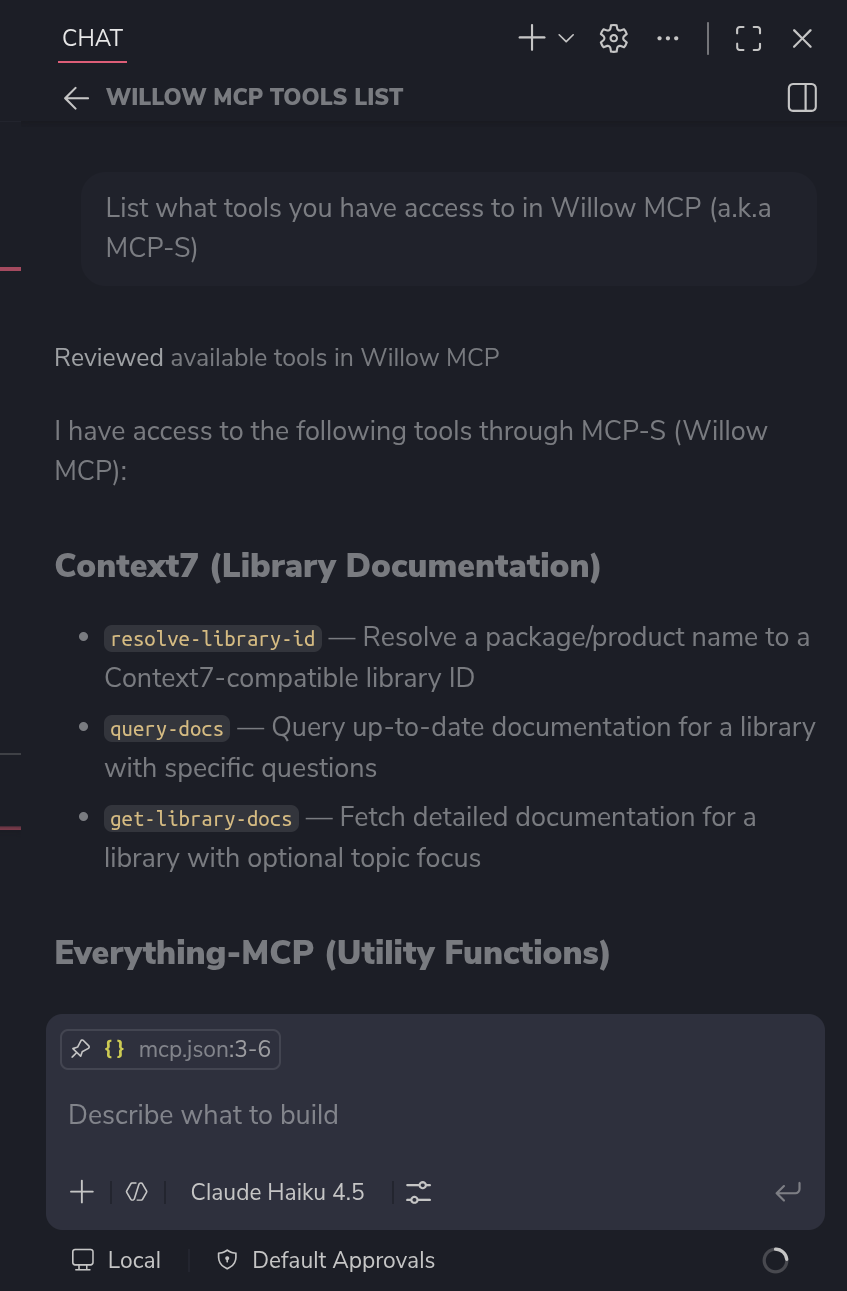
The tools you see will depend on which MCP servers your organization admin has installed, which tools on those servers they have enabled, and what tools each MCP server exposes. Your list may look different from the one shown here.
Troubleshooting
Copilot doesn't see any tools
- Check that MCP is enabled: Settings → search for
github.copilot.mcp - Confirm the server appears in Command Palette → MCP: List Servers
- Restart VS Code
Authorization prompt doesn't appear
- Open Command Palette → MCP: List Servers and check the status
- Try reconnecting from the MCP server list
"type" field errors
- Make sure
"type": "http"is present in your config. Some older VS Code versions need this explicitly.
See also: General Troubleshooting
Related
- All AI Clients: Setup for other clients
- Connection Methods: MCP Gateway vs Dynamic vs CLI