Connect Devin Desktop to Willow
Use Devin Desktop (formerly Windsurf) with your organization's Willow tools through the Cascade MCP Marketplace.
Prerequisites
- Windsurf installed with Devin Desktop enabled
- Your organization's Willow URL (from the Connect MCP modal)
Step 1: Get Your Connection URL
In Willow, click Connect MCP at the bottom of the left sidebar.
Click Devin Desktop in the client grid. Copy the URL shown. You'll need it in the next step.
Step 2: Open the Cascade MCP Marketplace
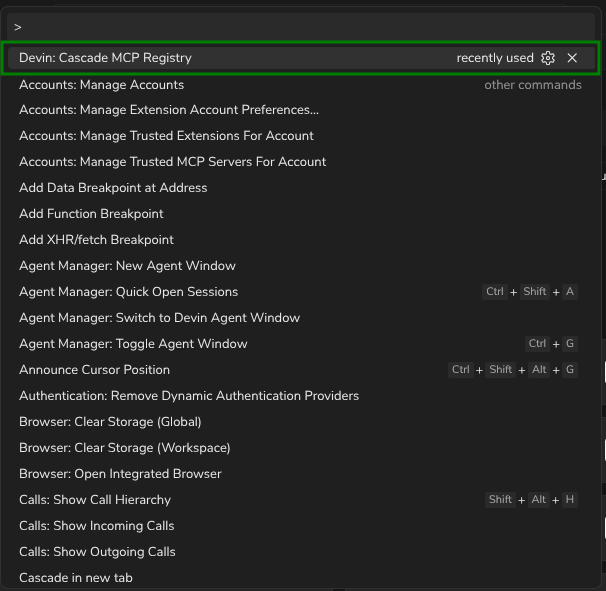
Press Ctrl+Shift+P to open the Command Palette. Type Cascade MCP Registry and select Devin: Cascade MCP Registry.
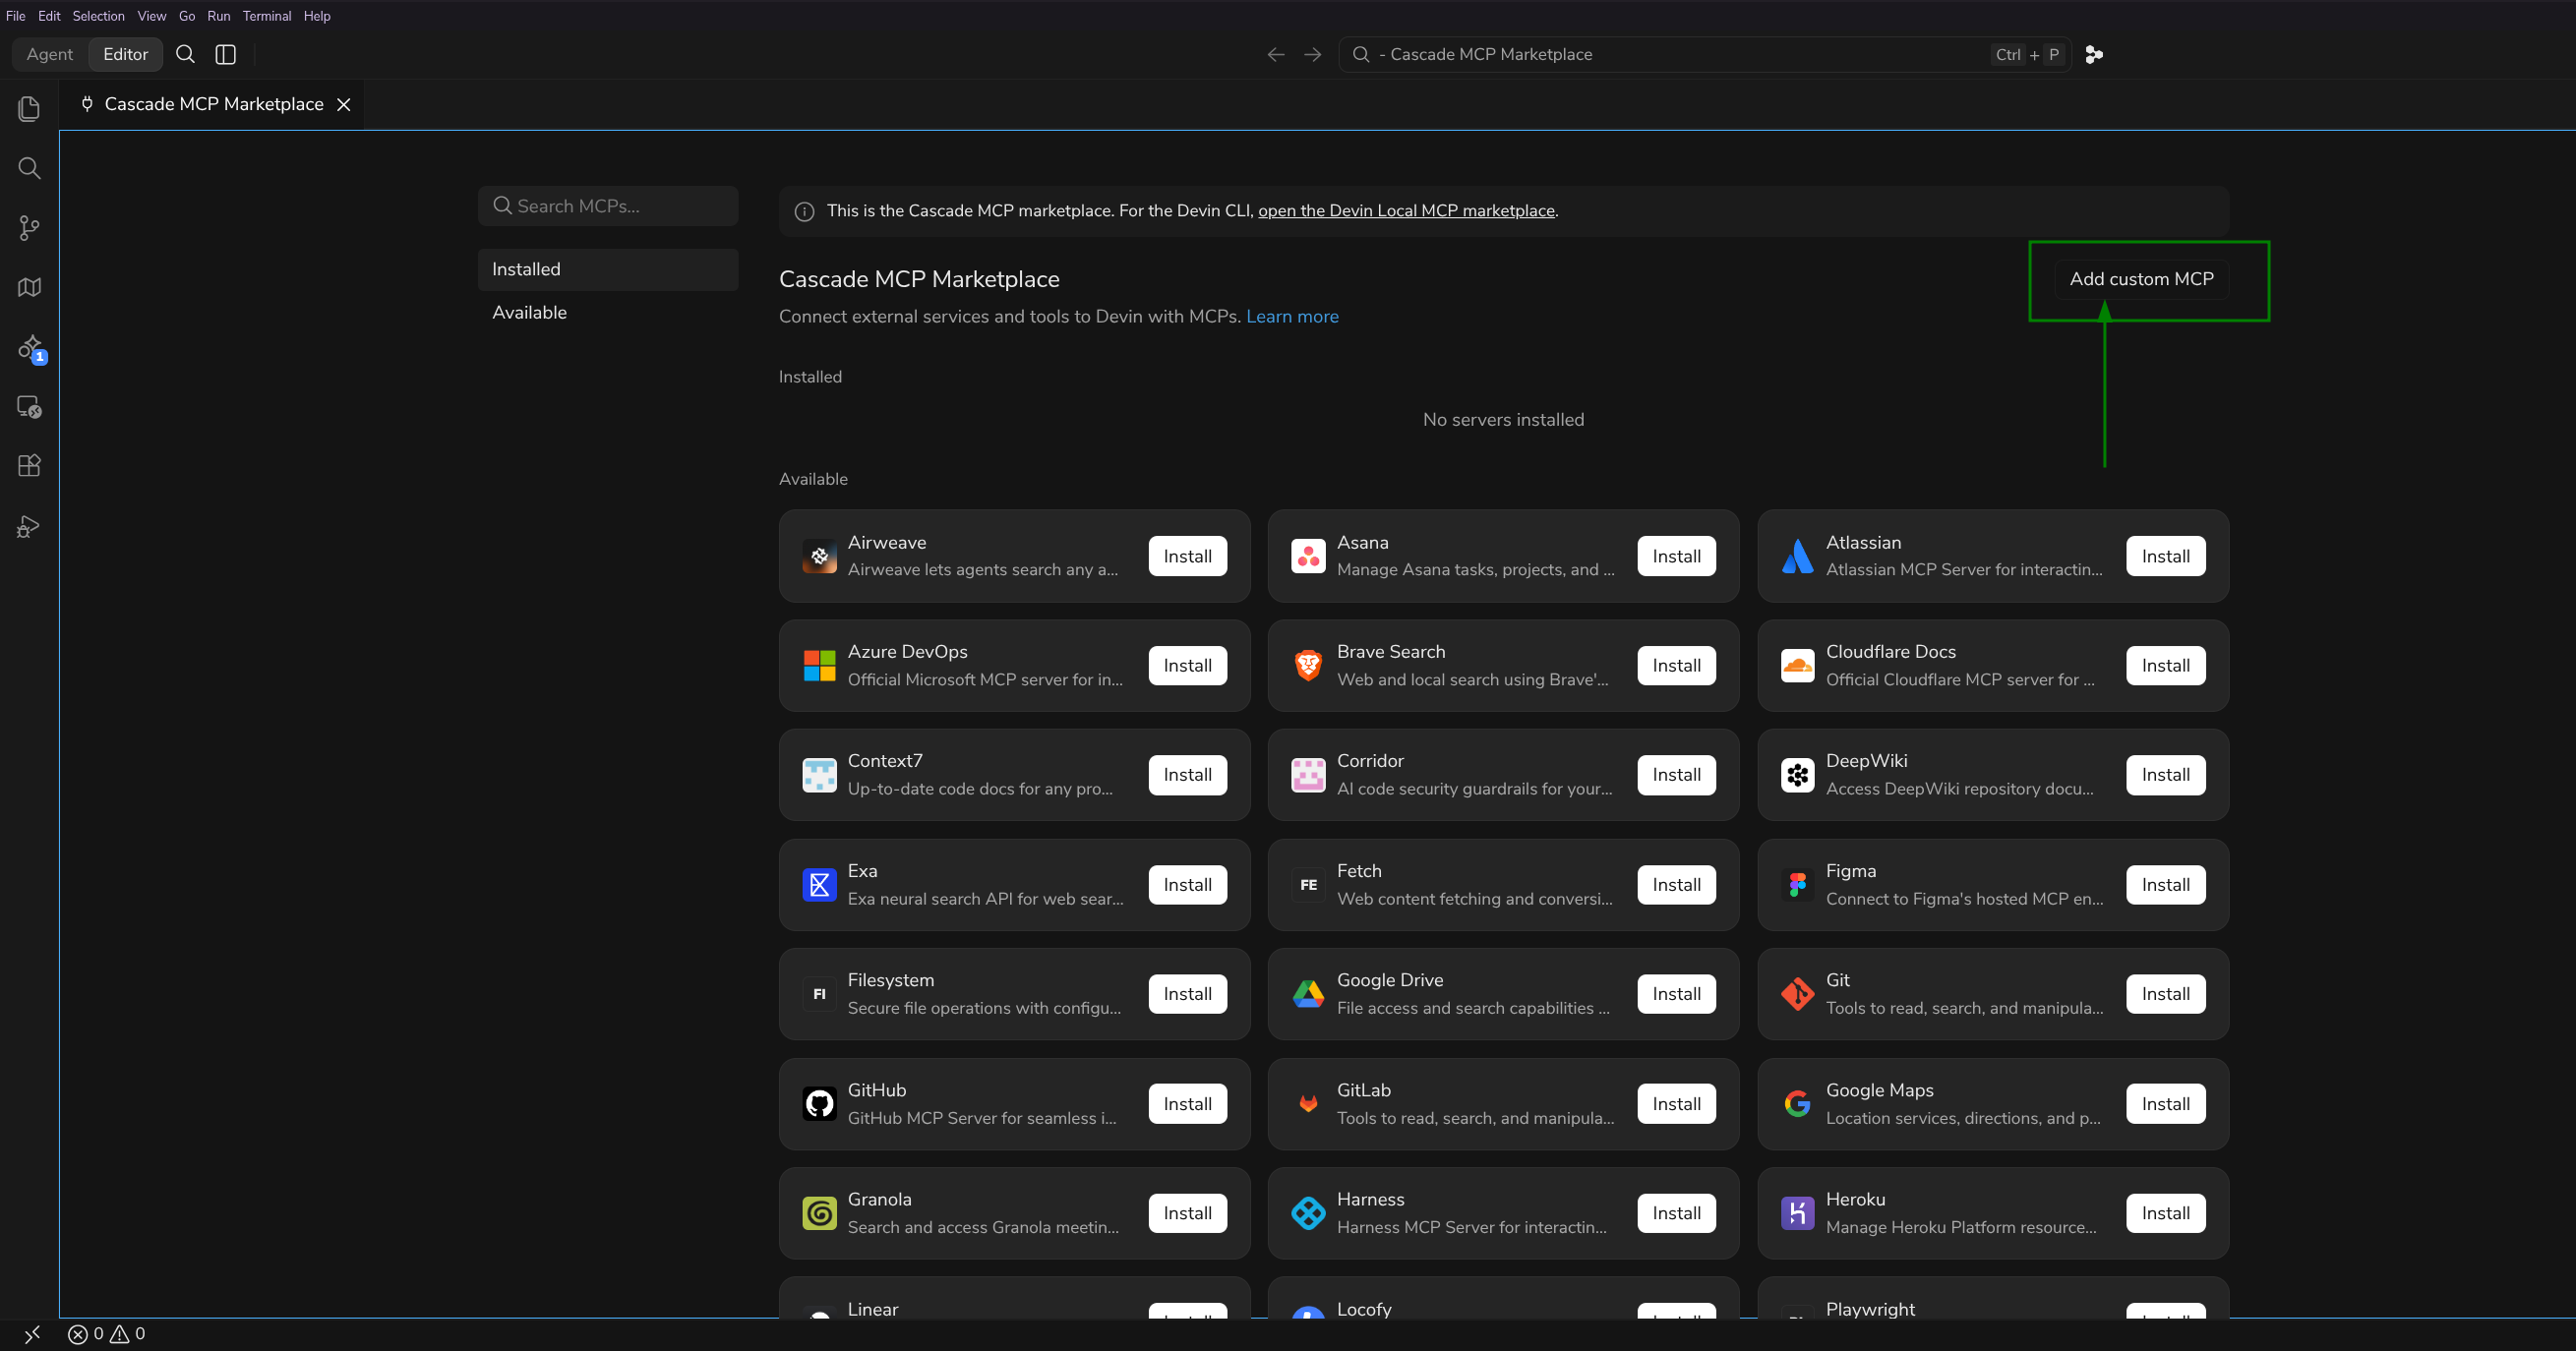
The Cascade MCP Marketplace opens. Click Add custom MCP in the top right.
Step 3: Add Willow to mcp_config.json
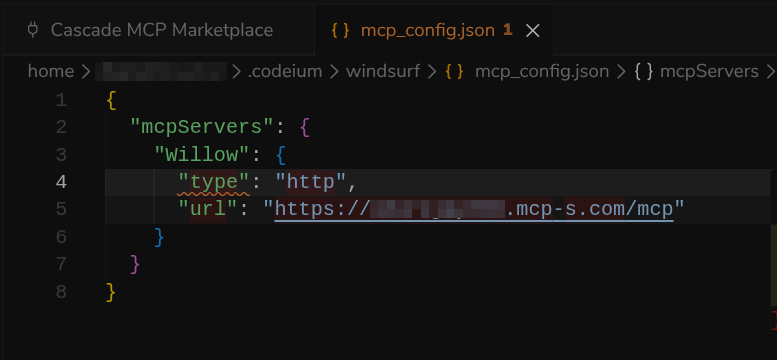
Clicking Add custom MCP opens mcp_config.json. Add a Willow entry inside mcpServers:
{
  "mcpServers": {
    "Willow": {
      "type": "http",
      "url": "https://yourorg.mcp-s.com/mcp"
    }
  }
}
Replace the URL with the one you copied from Willow. If mcp_config.json already has other entries, add the Willow block alongside them. Do not replace the existing content.
Save the file. Devin Desktop will immediately prompt you to authenticate.
Step 4: Authenticate
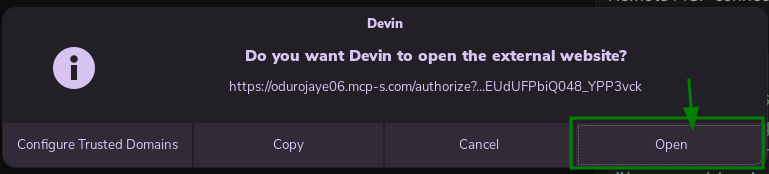
Devin Desktop shows a dialog asking to open the Willow authorization URL in your browser. Click Open.
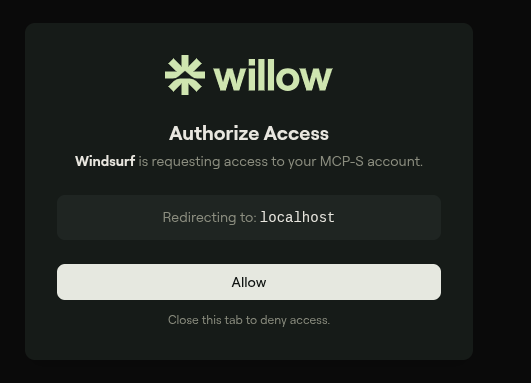
Your browser opens the Willow Authorize Access page. Click Allow.
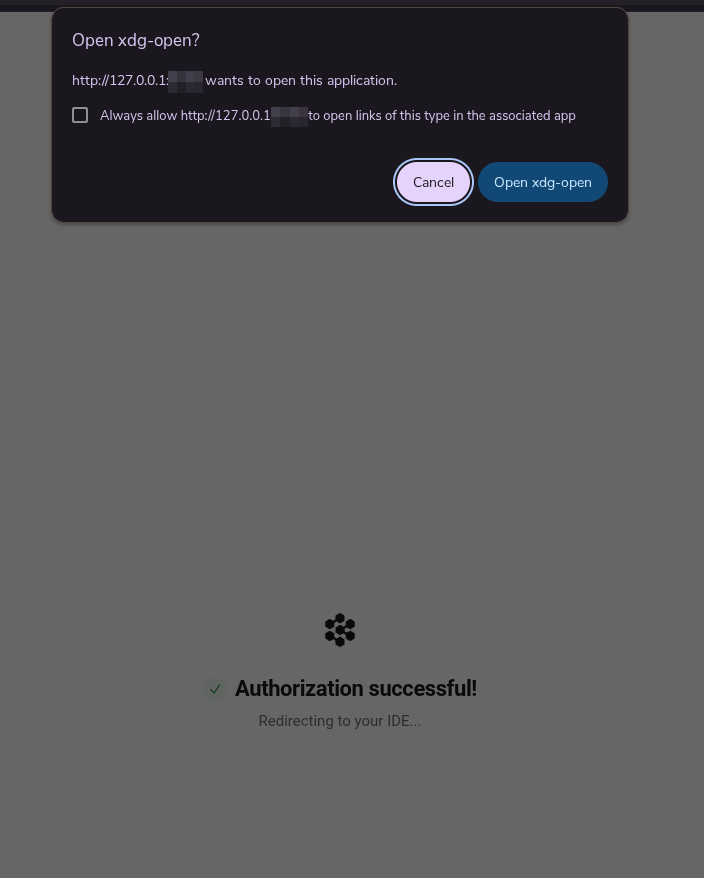
The browser shows Authorization successful! and attempts to redirect back to Windsurf. If a dialog appears asking to open xdg-open or Devin Desktop, click to confirm and complete the handoff.
Step 5: Verify It Works
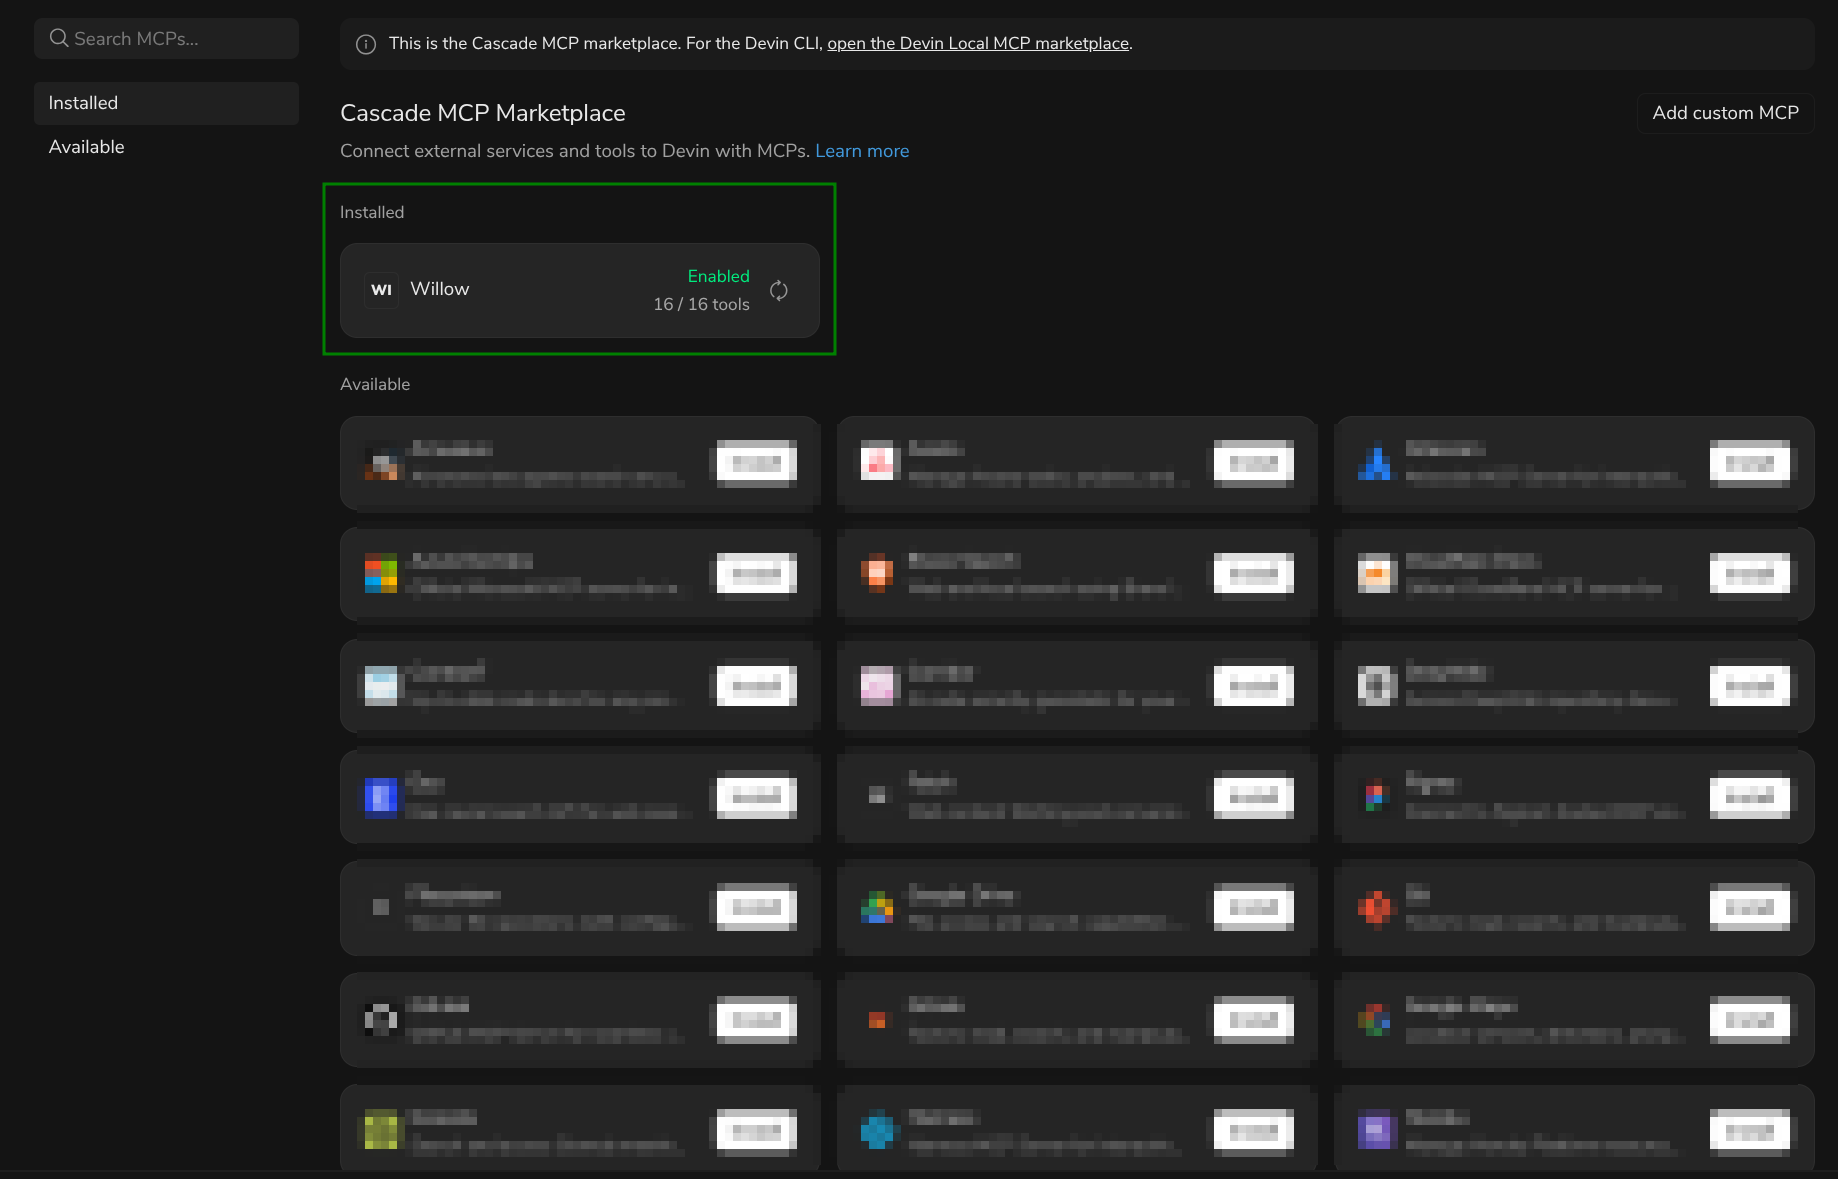
Back in the Cascade MCP Marketplace, Willow should appear under Installed showing Enabled and the tool count.
To confirm the tools are available, open a Devin Desktop chat in Code mode and ask:
"List what tools you have access to with Willow MCP"
You should see the tools from your Willow MCP servers.
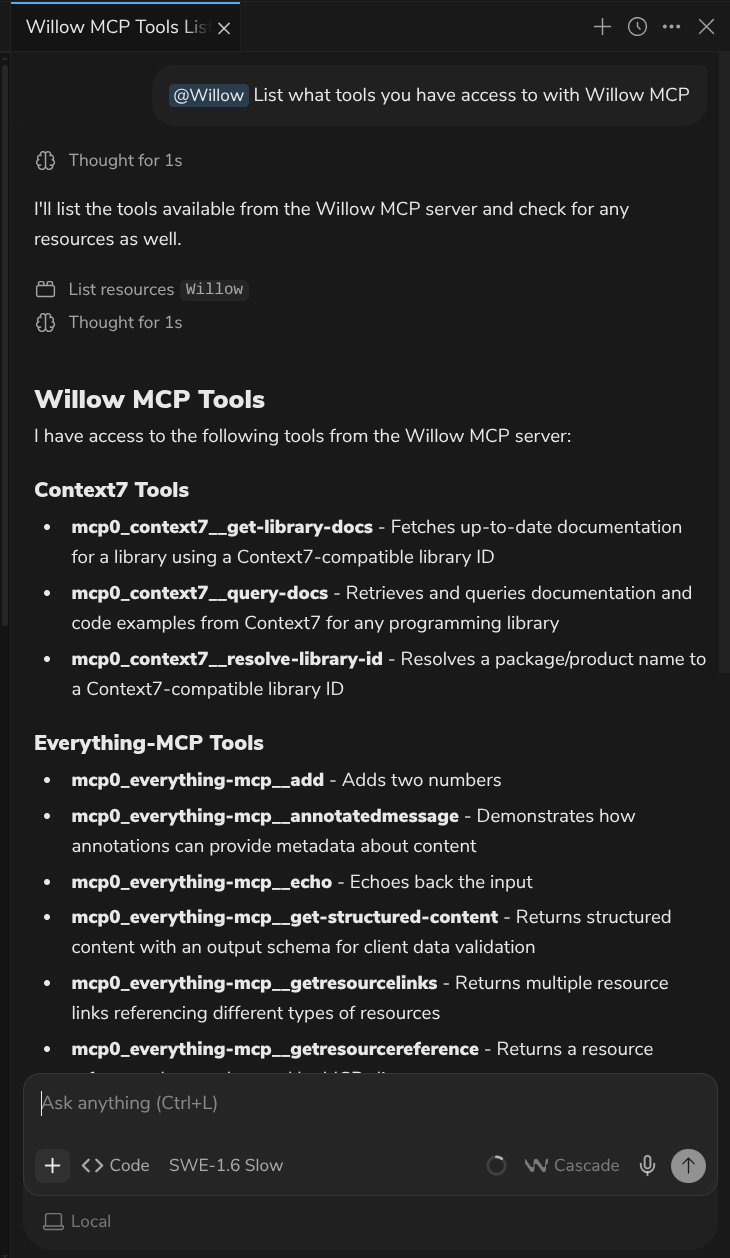
The tools you see depend on which MCP servers your organization admin has installed and enabled. Your list may look different from the one shown here.
Tips
Mention Willow explicitly in chat
When starting a conversation that should use Willow tools, type @ in the chat input, navigate to MCPs, and select Willow. This ensures Devin Desktop routes the request to Willow.
Use Code mode, not Ask mode
Devin Desktop can only see and use MCP tools in Code mode. Tools are not available in Ask mode.
Troubleshooting
Auth ends with a 404 on localhost
After clicking Allow, if your browser shows a 404 error on localhost, close the browser tab, return to Devin Desktop, and trigger authentication again (re-save mcp_config.json or re-open the Cascade MCP Marketplace). Retry a few times. It typically succeeds within two or three attempts.
Willow doesn't appear in the Installed section
- Confirm
mcp_config.jsonwas saved correctly with valid JSON - Check that the URL matches what the Willow modal shows
- Re-open the Cascade MCP Marketplace via the Command Palette
Devin Desktop doesn't see any tools
- Confirm you're in Code mode, not Ask mode
- Check that Willow shows Enabled in the Cascade MCP Marketplace
- Re-authenticate if the status shows a connection error
Related
- All AI Clients: Setup for other clients
- Connection Methods: MCP Gateway vs Dynamic vs CLI
- Troubleshooting: Common errors and fixes