Connect Claude Code to Willow
Get the Claude Code CLI talking to Willow and verified in under 5 minutes.
Prerequisites
- Claude Code CLI installed (
claude --versionto verify) - Your organization's Willow URL (from the Connect MCP modal)
Step 1: Get Your Connection URL
In Willow, click Connect MCP at the bottom of the left sidebar.
Select your AI client from the grid, then choose the tab for the connection type you want:
- MCP Gateway: one specific server (
https://yourorg.mcp-s.com/mcp?mcp=servername) - Dynamic MCP Gateway: all your servers through one endpoint (
https://yourorg.mcp-s.com/dmcp)
Copy the URL shown.
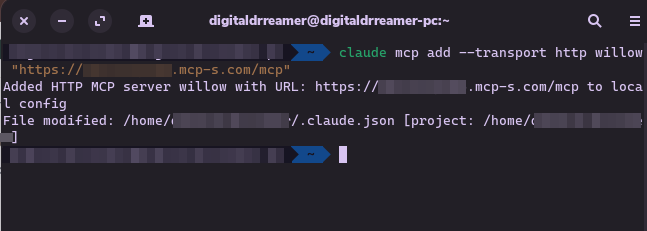
Step 2: Add the MCP Server
Run this command, replacing the URL with the one you copied:
claude mcp add --transport http willow "https://yourorg.mcp-s.com/mcp?mcp=servername"
To use the Dynamic MCP Gateway instead:
claude mcp add --transport http willow "https://yourorg.mcp-s.com/dmcp"
willow is the name you're giving this connection. You can use any name.
Choosing a scope
The --scope flag controls where the configuration is saved. If you omit it, Claude Code defaults to local.
| Scope | Flag | Stored in | When it loads |
|---|---|---|---|
| Local (default) | --scope local | ~/.claude.json under the project path | This project only, on this machine. Not in version control. |
| Project | --scope project | .mcp.json in your project root | Anyone who opens this repo, as long as .mcp.json is not gitignored. |
| User | --scope user | ~/.claude.json at the top level | Every project on this machine, for this user only. |
Examples:
# Store in the repo so it loads for anyone who clones it
claude mcp add --scope project --transport http willow "https://yourorg.mcp-s.com/mcp"

# Available in every project on this machine, private to you
claude mcp add --scope user --transport http willow "https://yourorg.mcp-s.com/mcp"
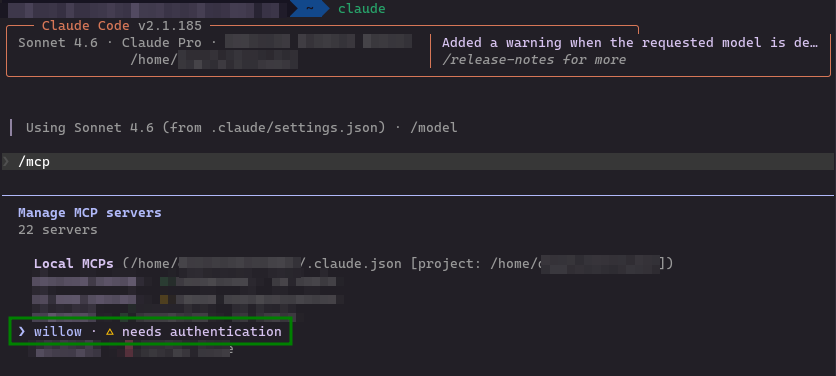
Step 3: Verify the Server Was Added
In a Claude Code session, run:
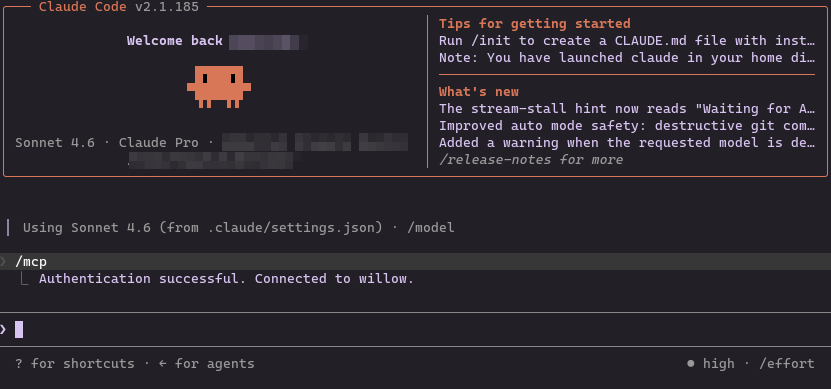
/mcp
You should see willow listed. It will show needs authentication until you complete Step 4.
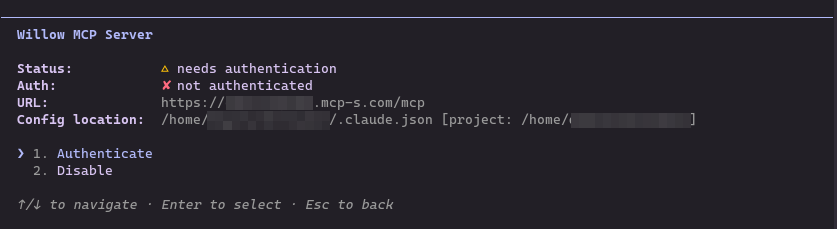
Step 4: Authenticate
Select willow from the /mcp list and choose Authenticate.
Claude Code will open a browser window for the OAuth flow. If it doesn't open automatically, copy the URL shown and paste it into your browser.
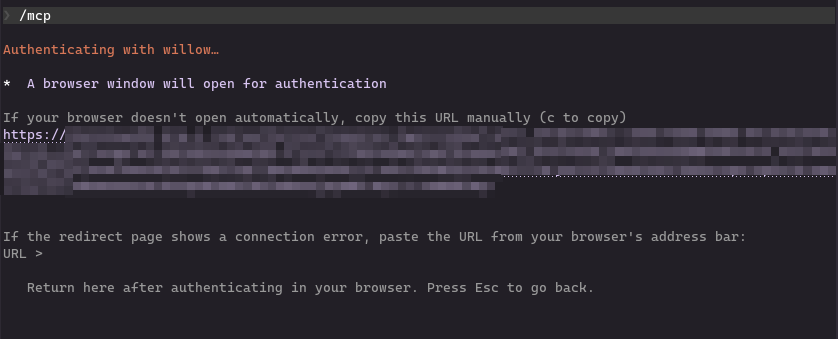
In the browser, click Allow to grant access.
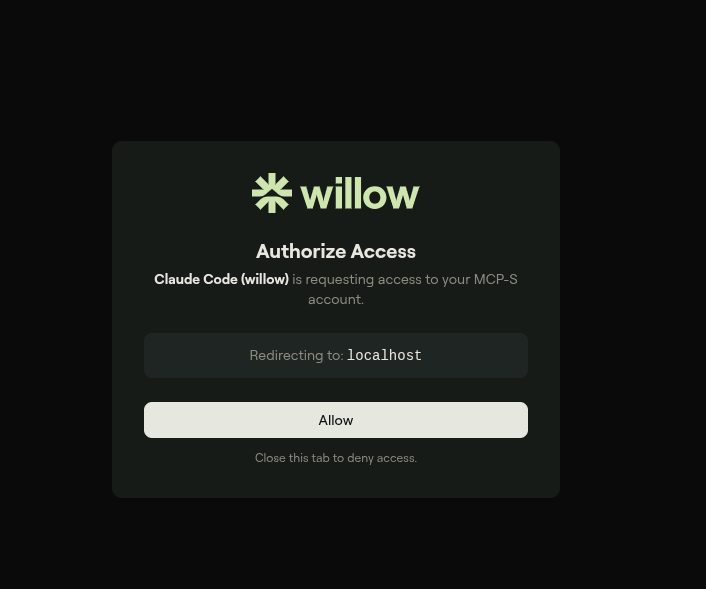
Once authorized, the browser confirms success and you can close the tab.
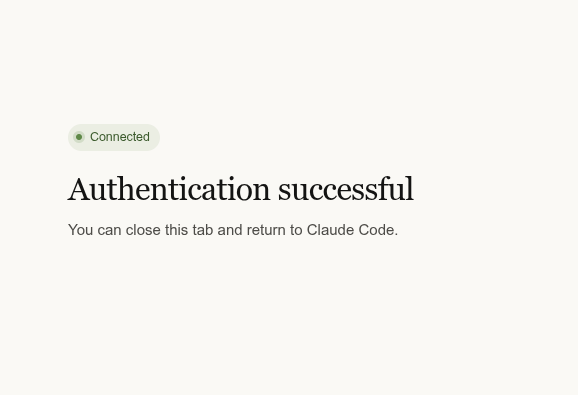
Back in Claude Code, the /mcp panel confirms the connection.
Step 5: Verify It Works
Ask Claude Code:
"List what tools you have access to in Willow MCP"
You should see the tools from the MCP server you connected to.
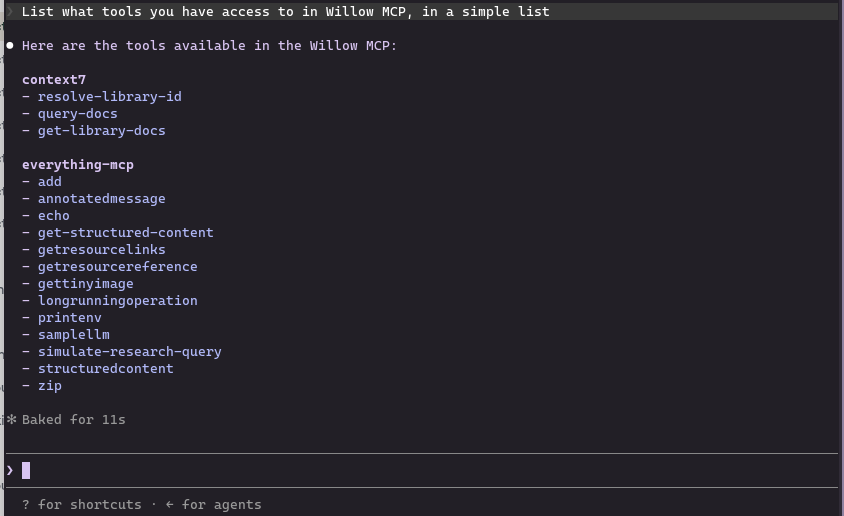
The tools you see will depend on which MCP servers your organization admin has installed, which tools on those servers they have enabled, and what tools each MCP server exposes. Your list may look different from the one shown here.
Managing Your Connections
View all MCP servers:
/mcp
Remove a connection:
claude mcp remove willow
Add another server (e.g., to connect to a different Willow server separately):
claude mcp add --transport http willow-github "https://yourorg.mcp-s.com/mcp?mcp=github"
Troubleshooting
No tools listed after /mcp
- Run
claude mcp listto confirm the server was added - Check that the URL is correct. Copy it fresh from the Connect MCP modal.
Auth prompt doesn't appear
- Trigger it by asking Claude to use a tool: "Use the [toolname] tool"
- If a browser window opens but hangs, check that popups aren't blocked
Connection refused
- Verify the organization URL is correct
- See General Troubleshooting
Related
- All Connection Methods: MCP Gateway vs Dynamic vs CLI
- Troubleshooting: Common errors and fixes